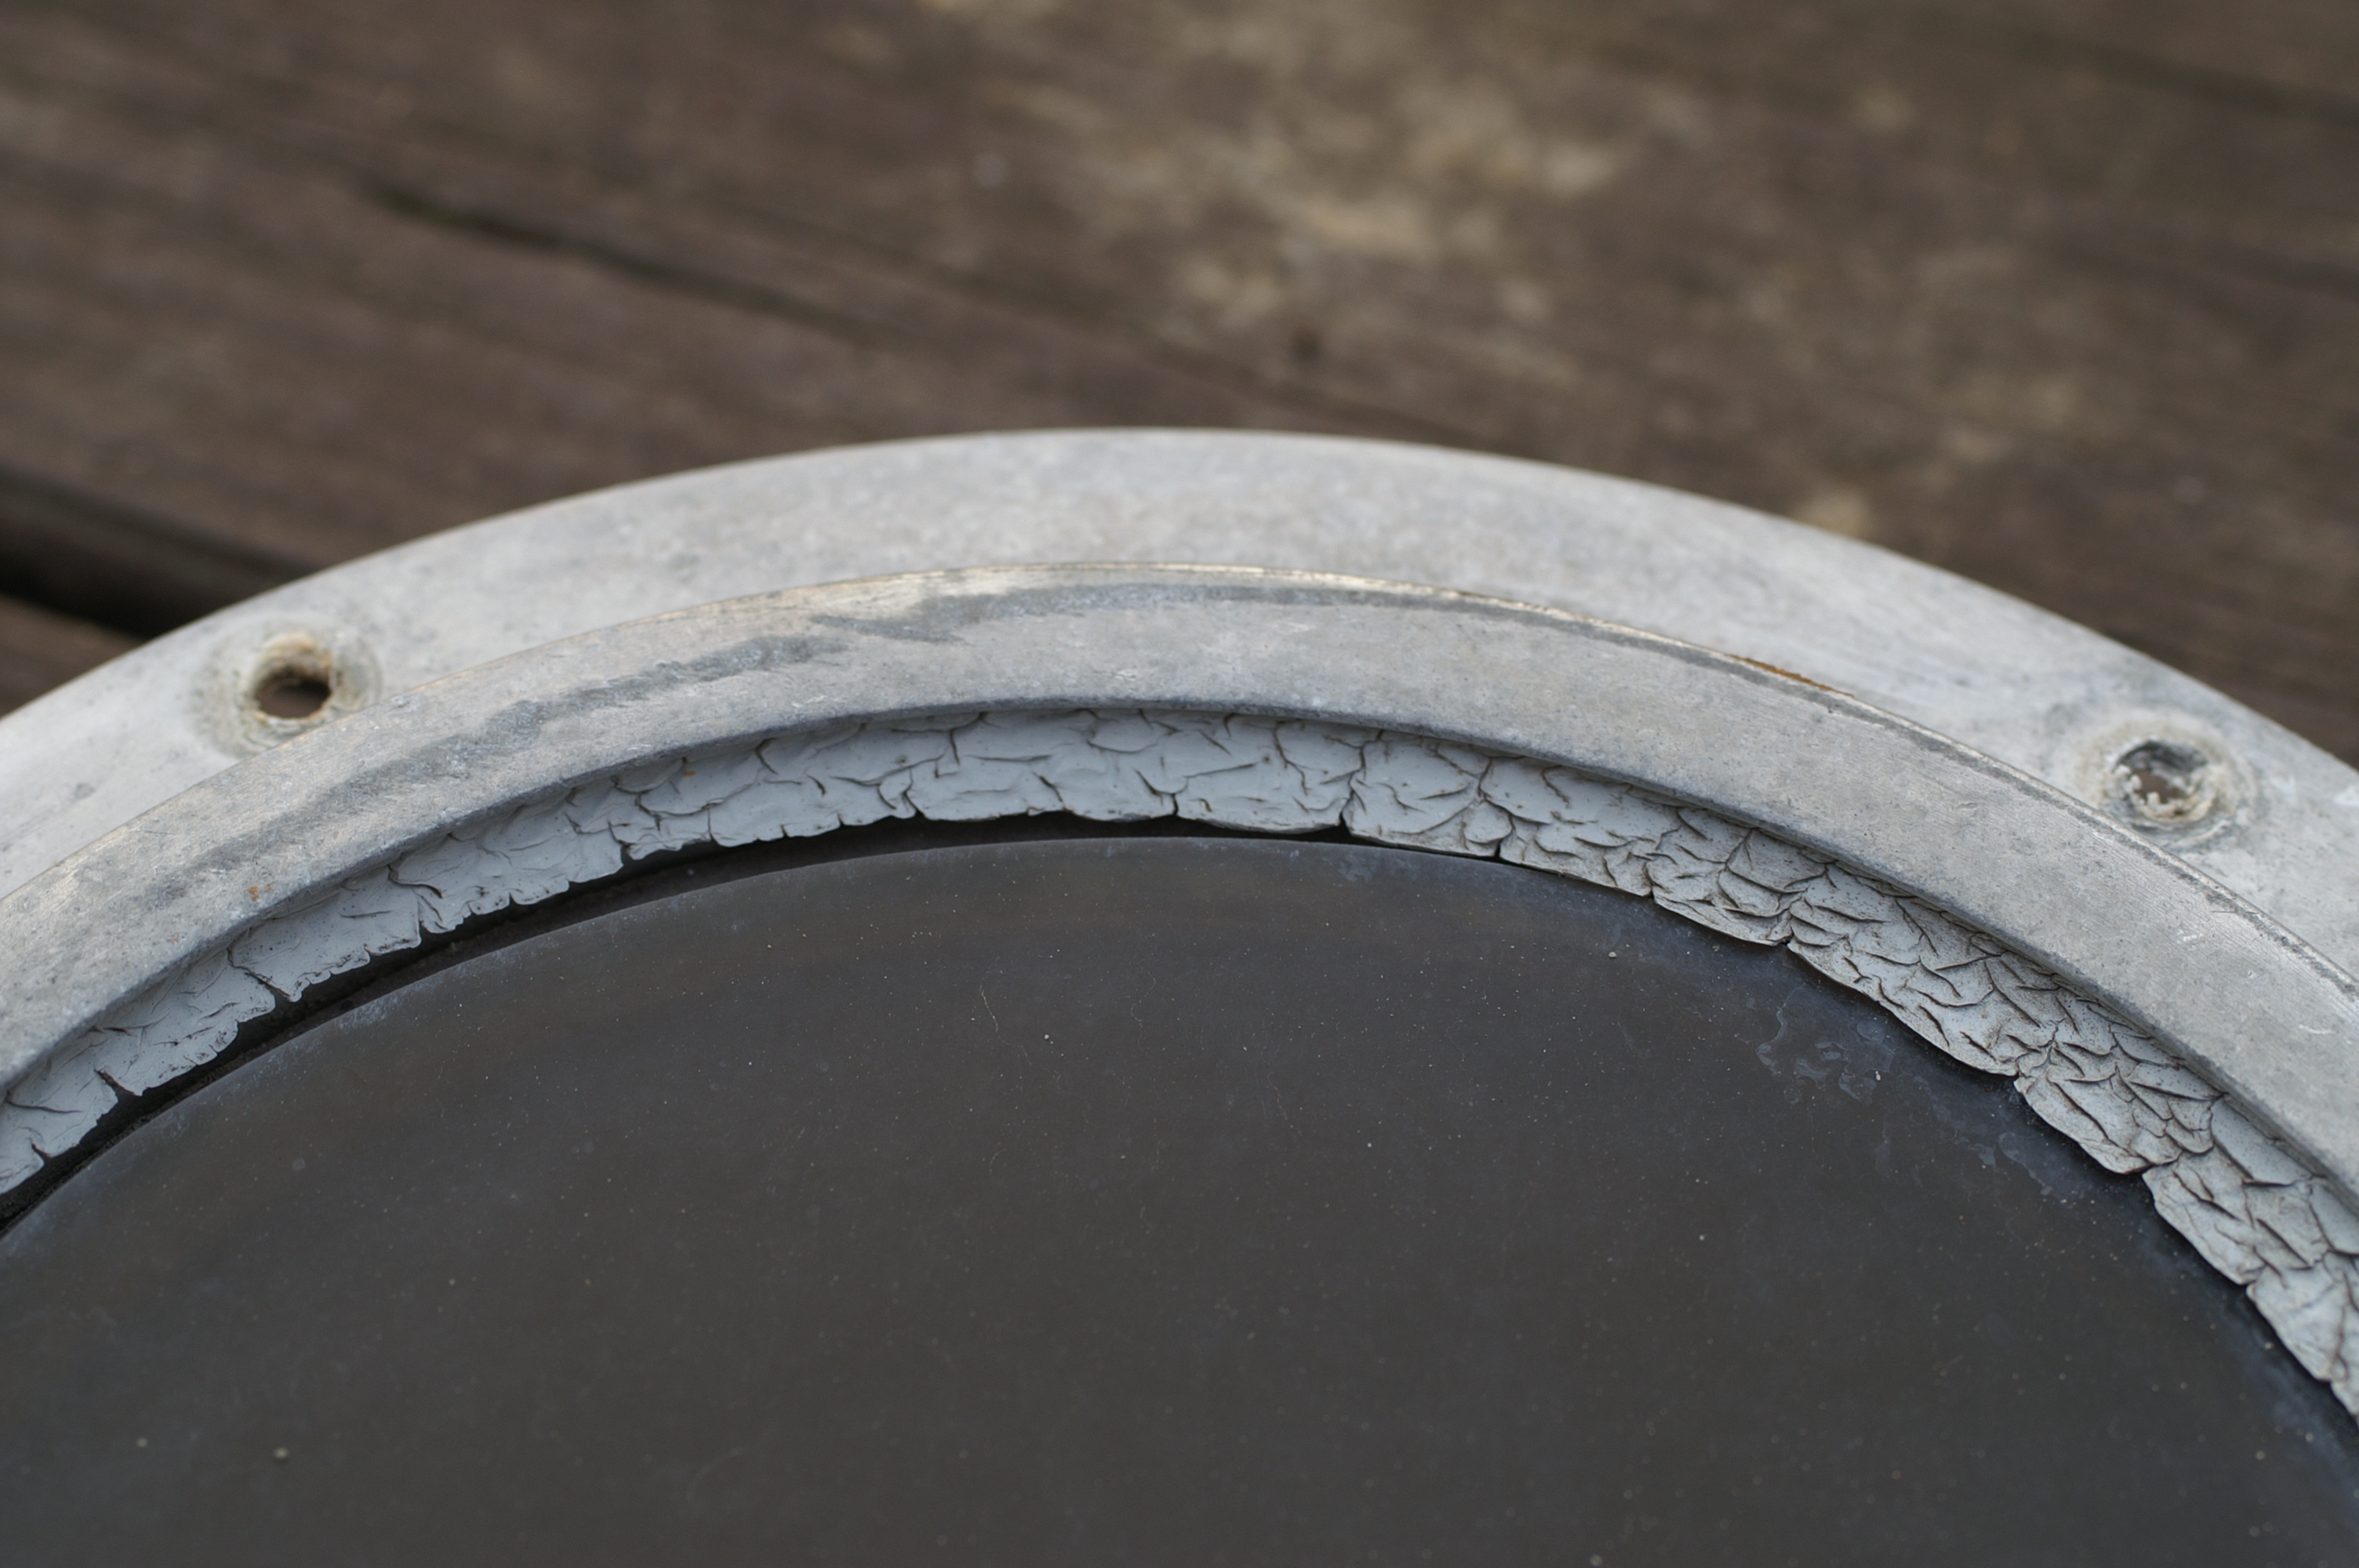
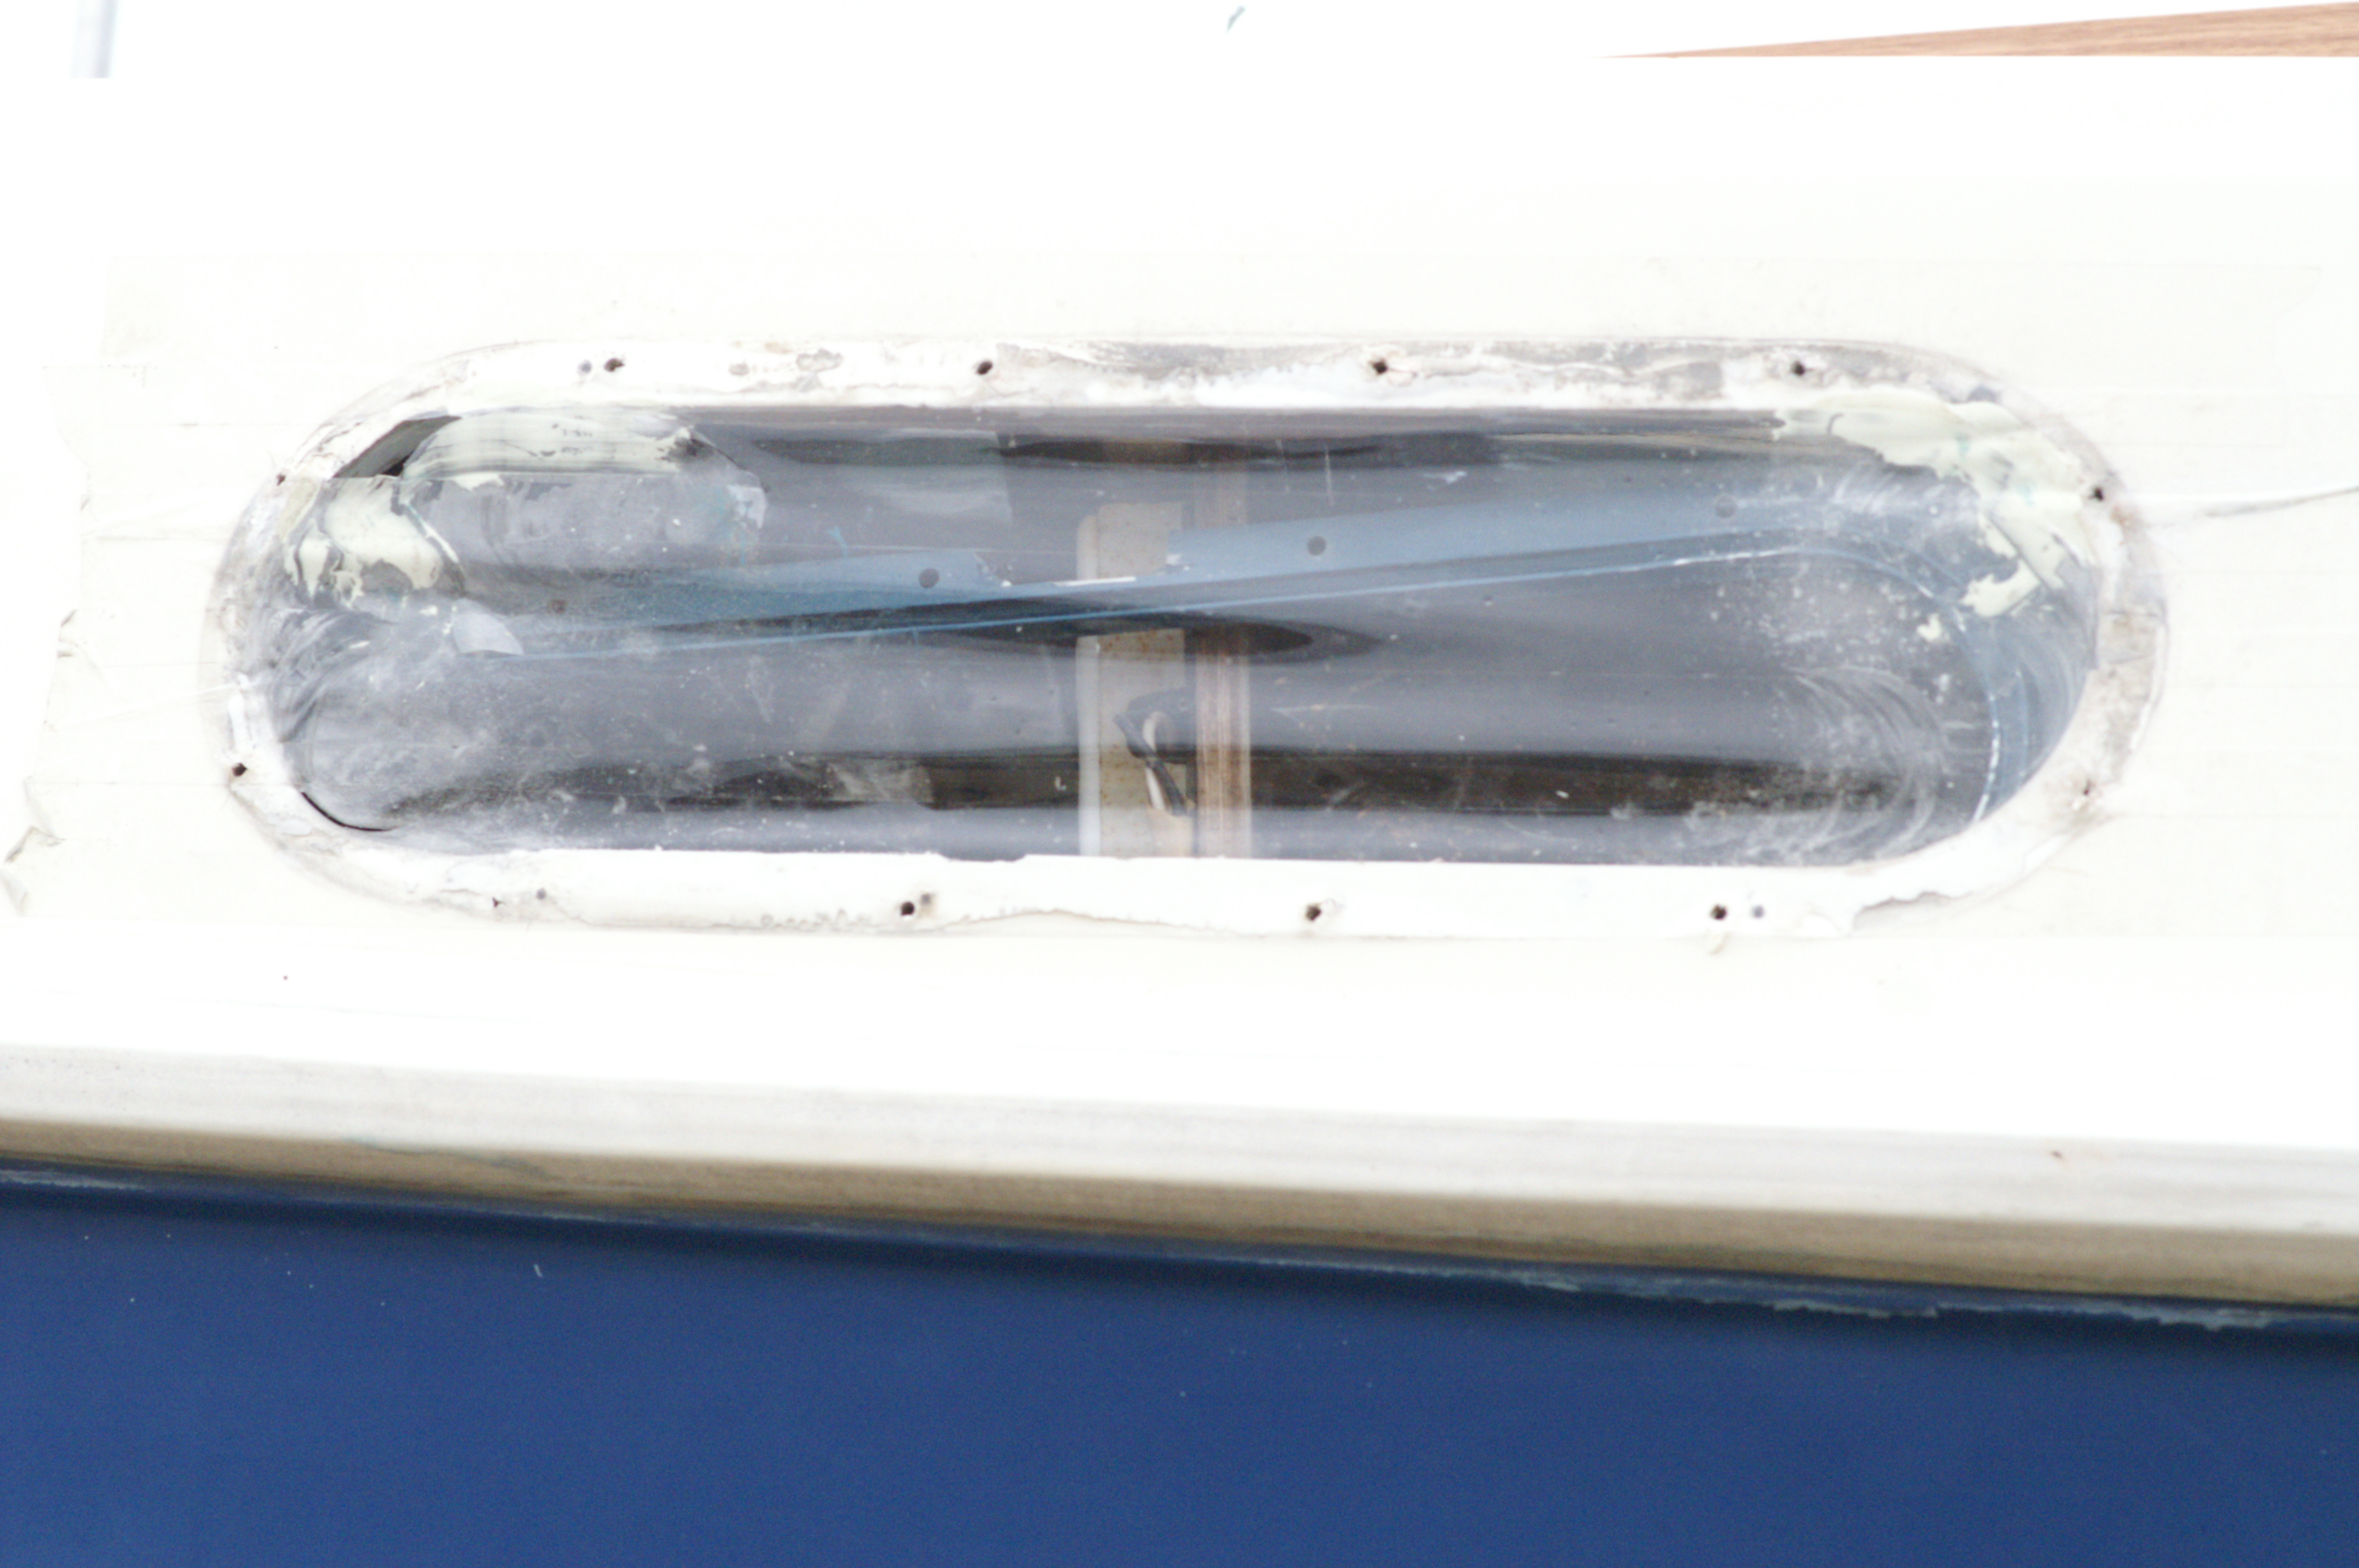
Old
Port Light...Original glazing completely shrunk off weathered Plexiglas.
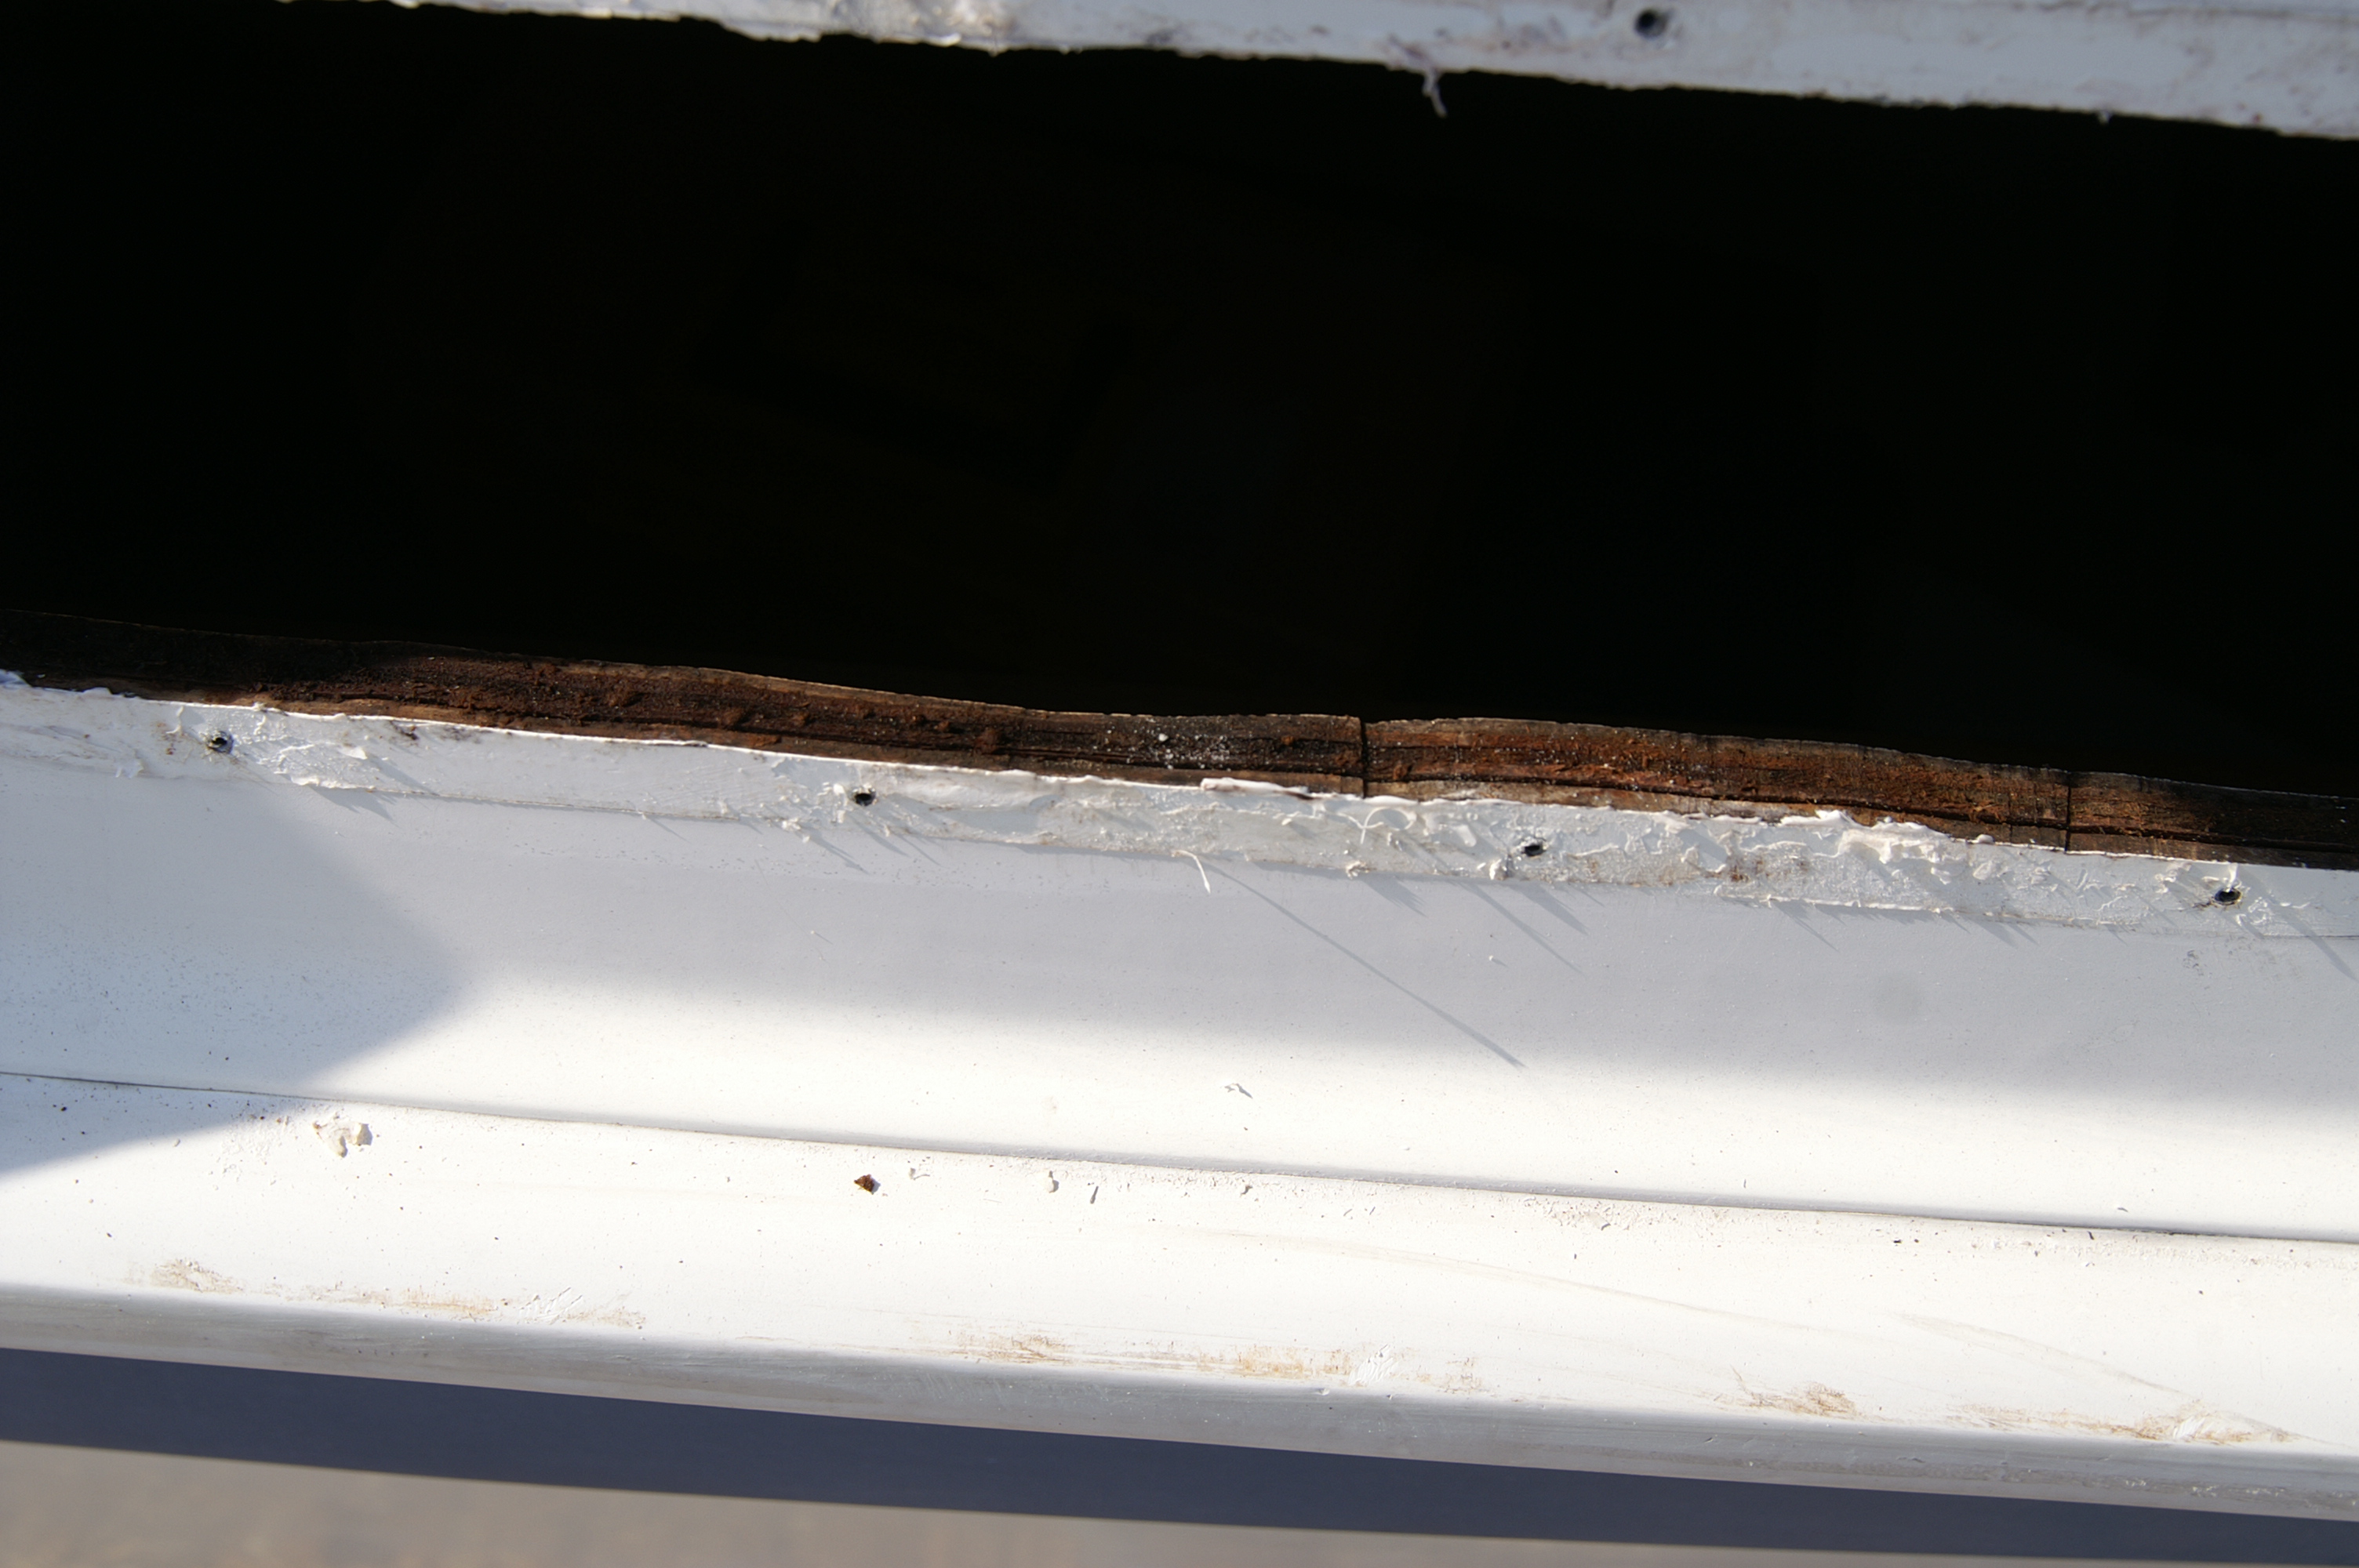
No wonder we had water pouring in while well healed or during a rain.
Plywood backing soaked with some separation. This is still wet in
February even after being covered since November. The decking was
delaminated which required an epoxy and clamp repair.
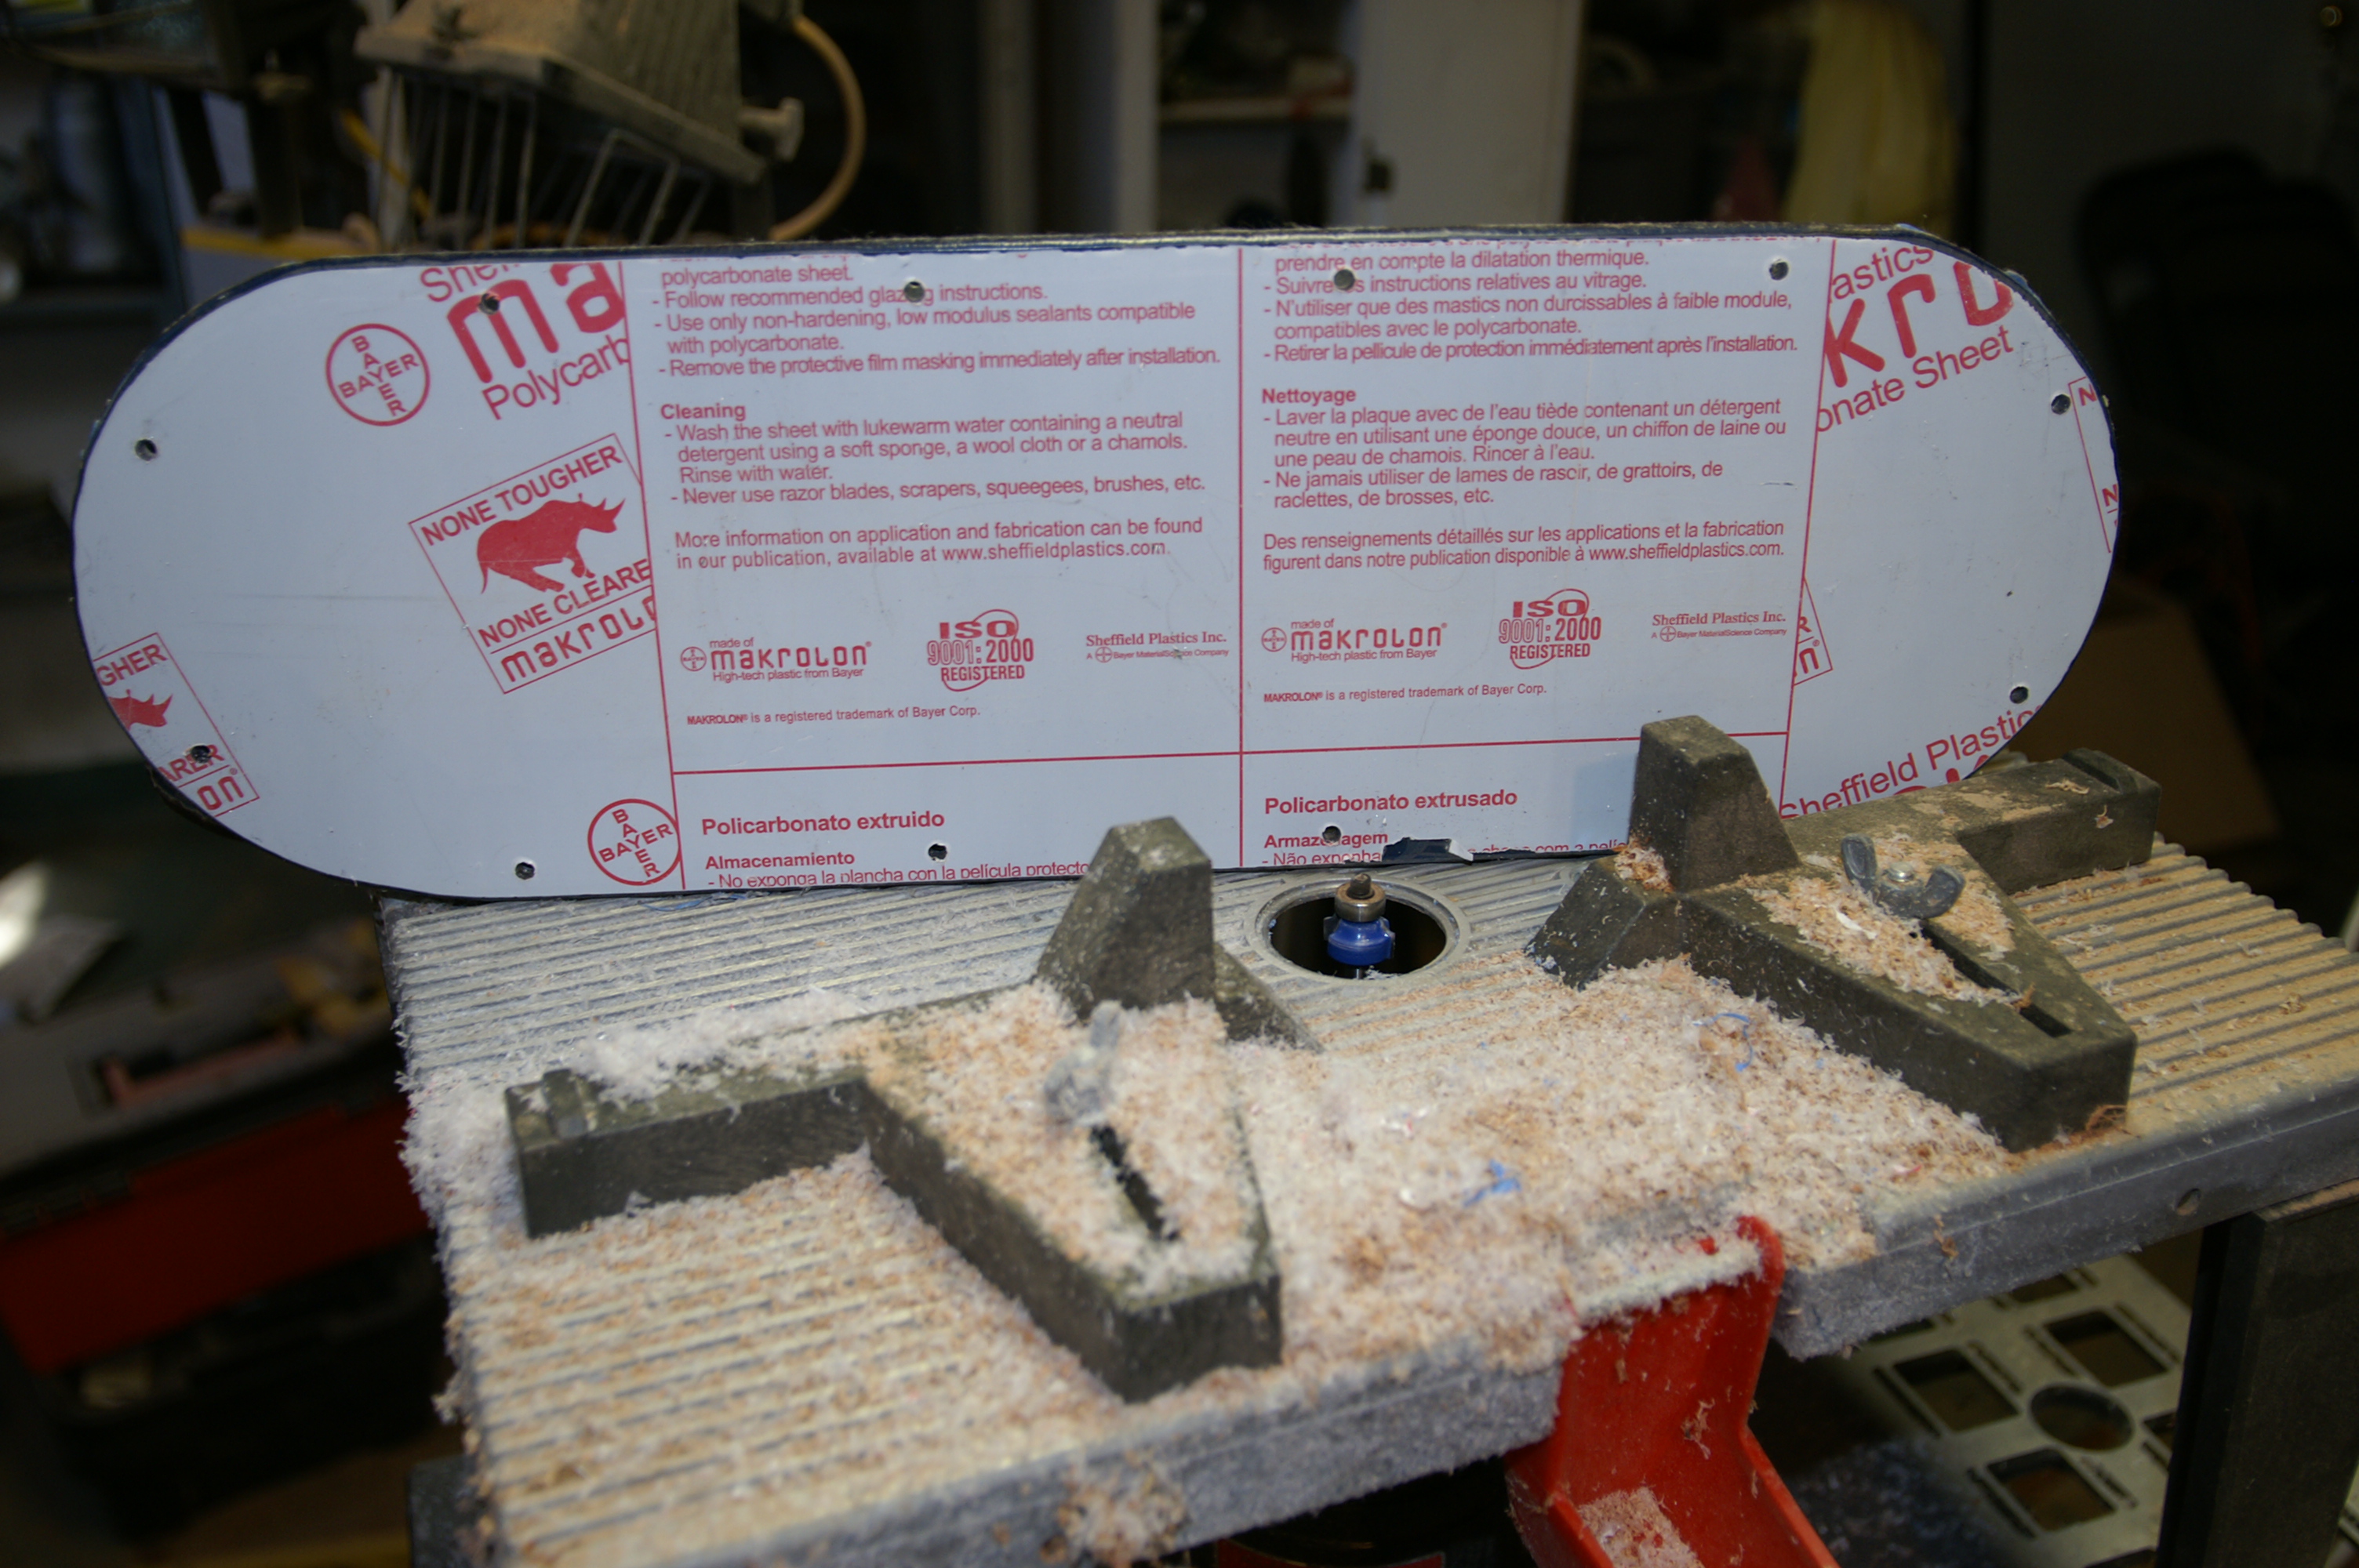
Each piece of Lexan was first cut to size (1/4" taller and wider than
the stock aluminum frame). Then the profile of the frame was drawn
on the Lexan (the curved ends). Most of the excess was removed with a few
passes
on the table saw. The remaining excess material was removed with a drum
sander sanding to the line drawn previously. This was the only reliable way to get a good curve and not
risk damaging the pieces with reciprocating bladed or melting with it
with a spiral cutter.
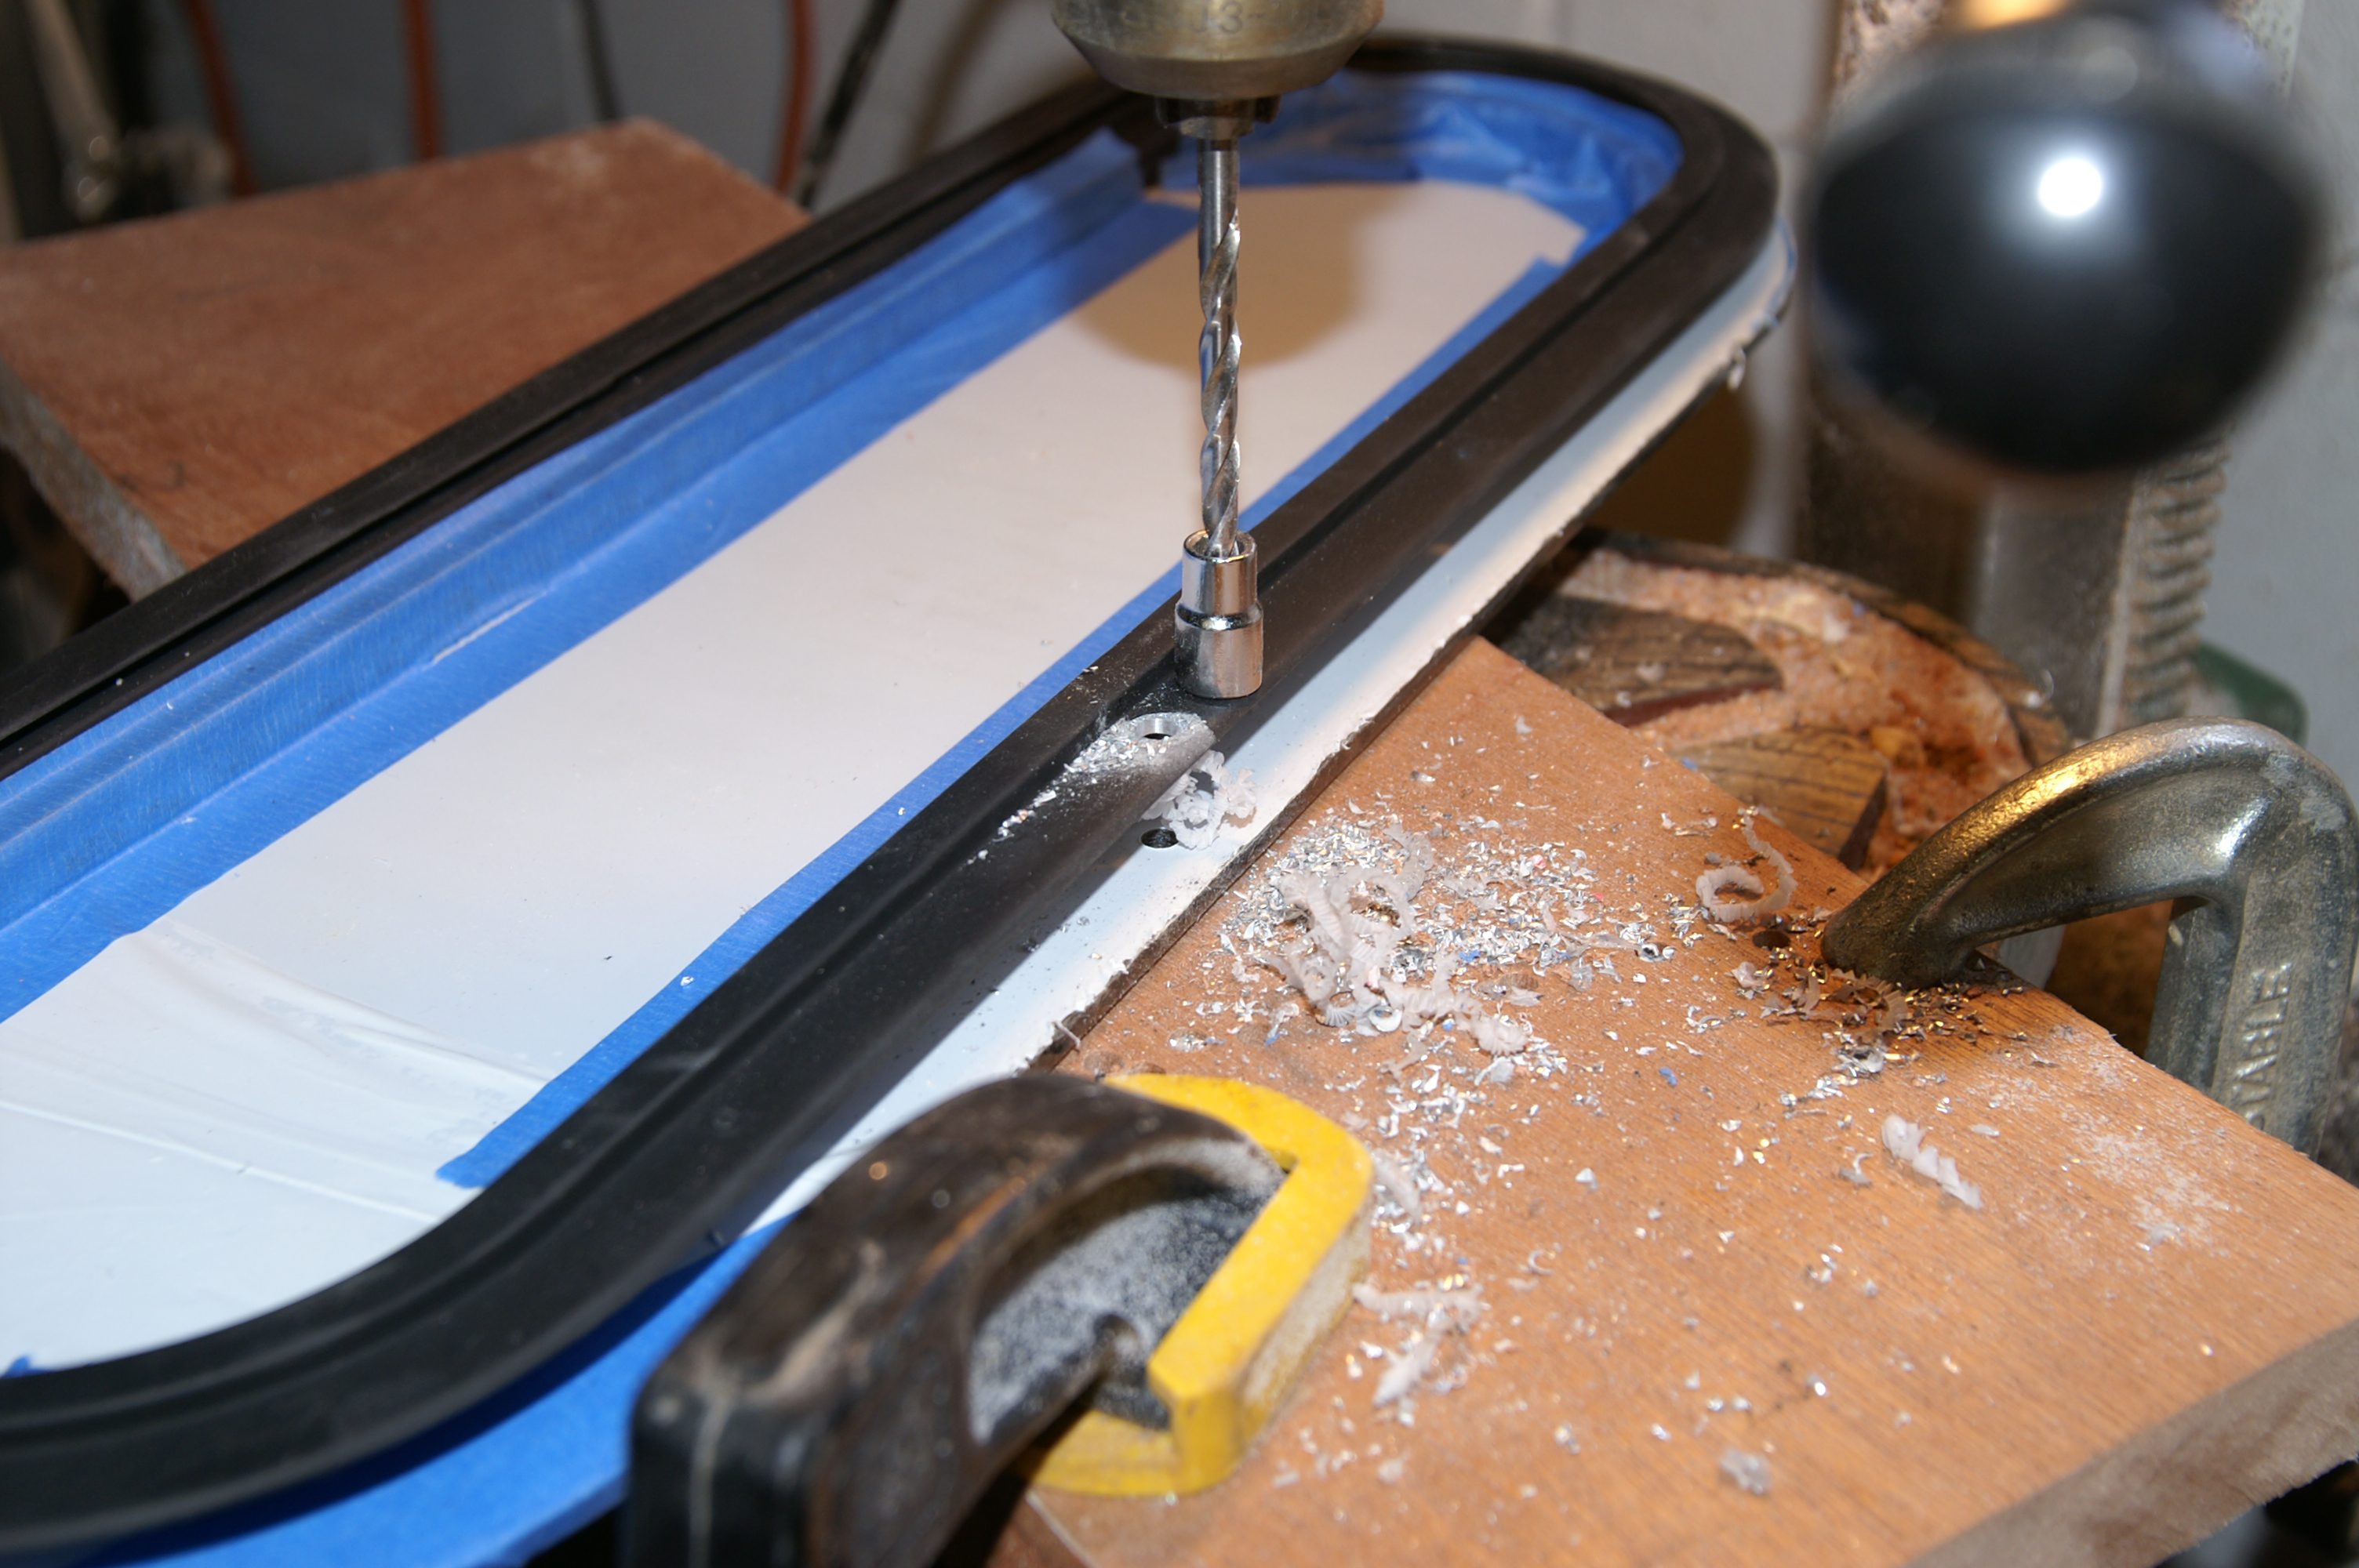
Then each frame was taped to a lite (accounting for a 1/8" margin of the
larger lit than frame) to keep it from moving while drilling the frame
and Lexan. This ensured alignment of holes between frame and lite.
I used a socket to keep the drill far enough away from the frame edge to
get a nut on a bolt during installation. If I did not use the
socket, the drill bill would have wanted to walk to close to the frame
since there was already a screw hole there from when it was mounted on
the boat. I then used a 1/8" round-over router bit on the router
table to round the edge of the lite.
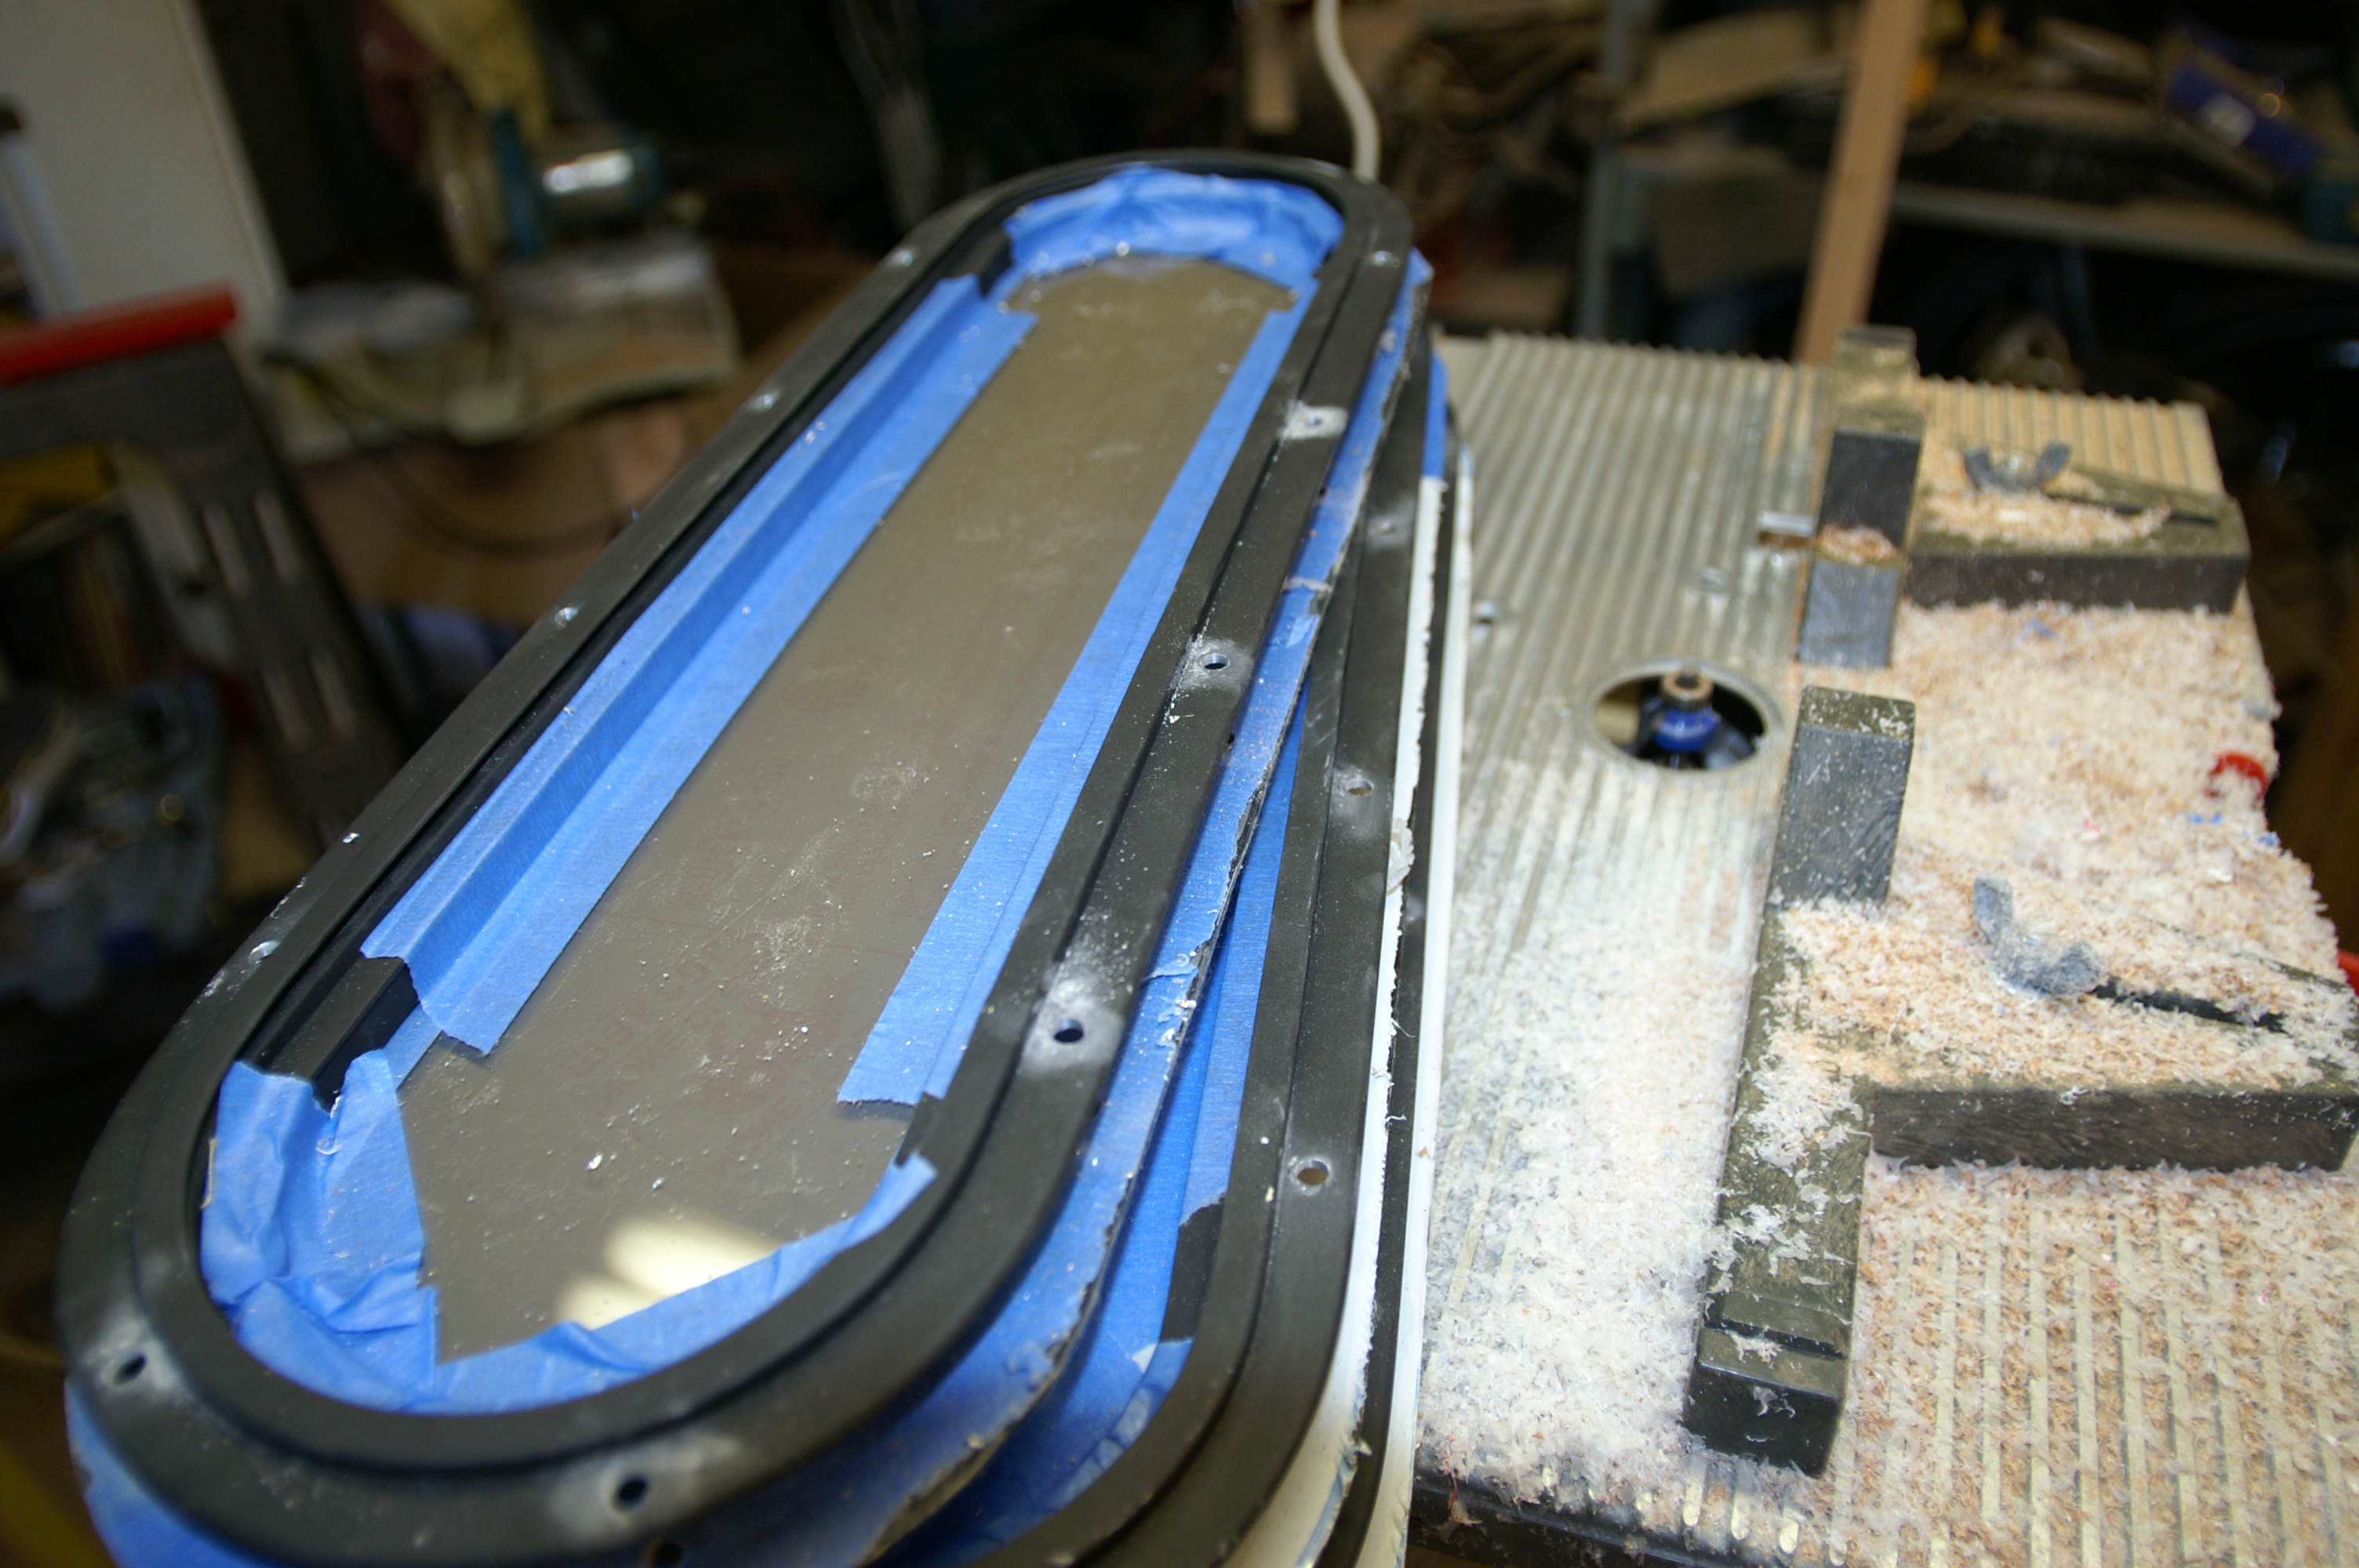
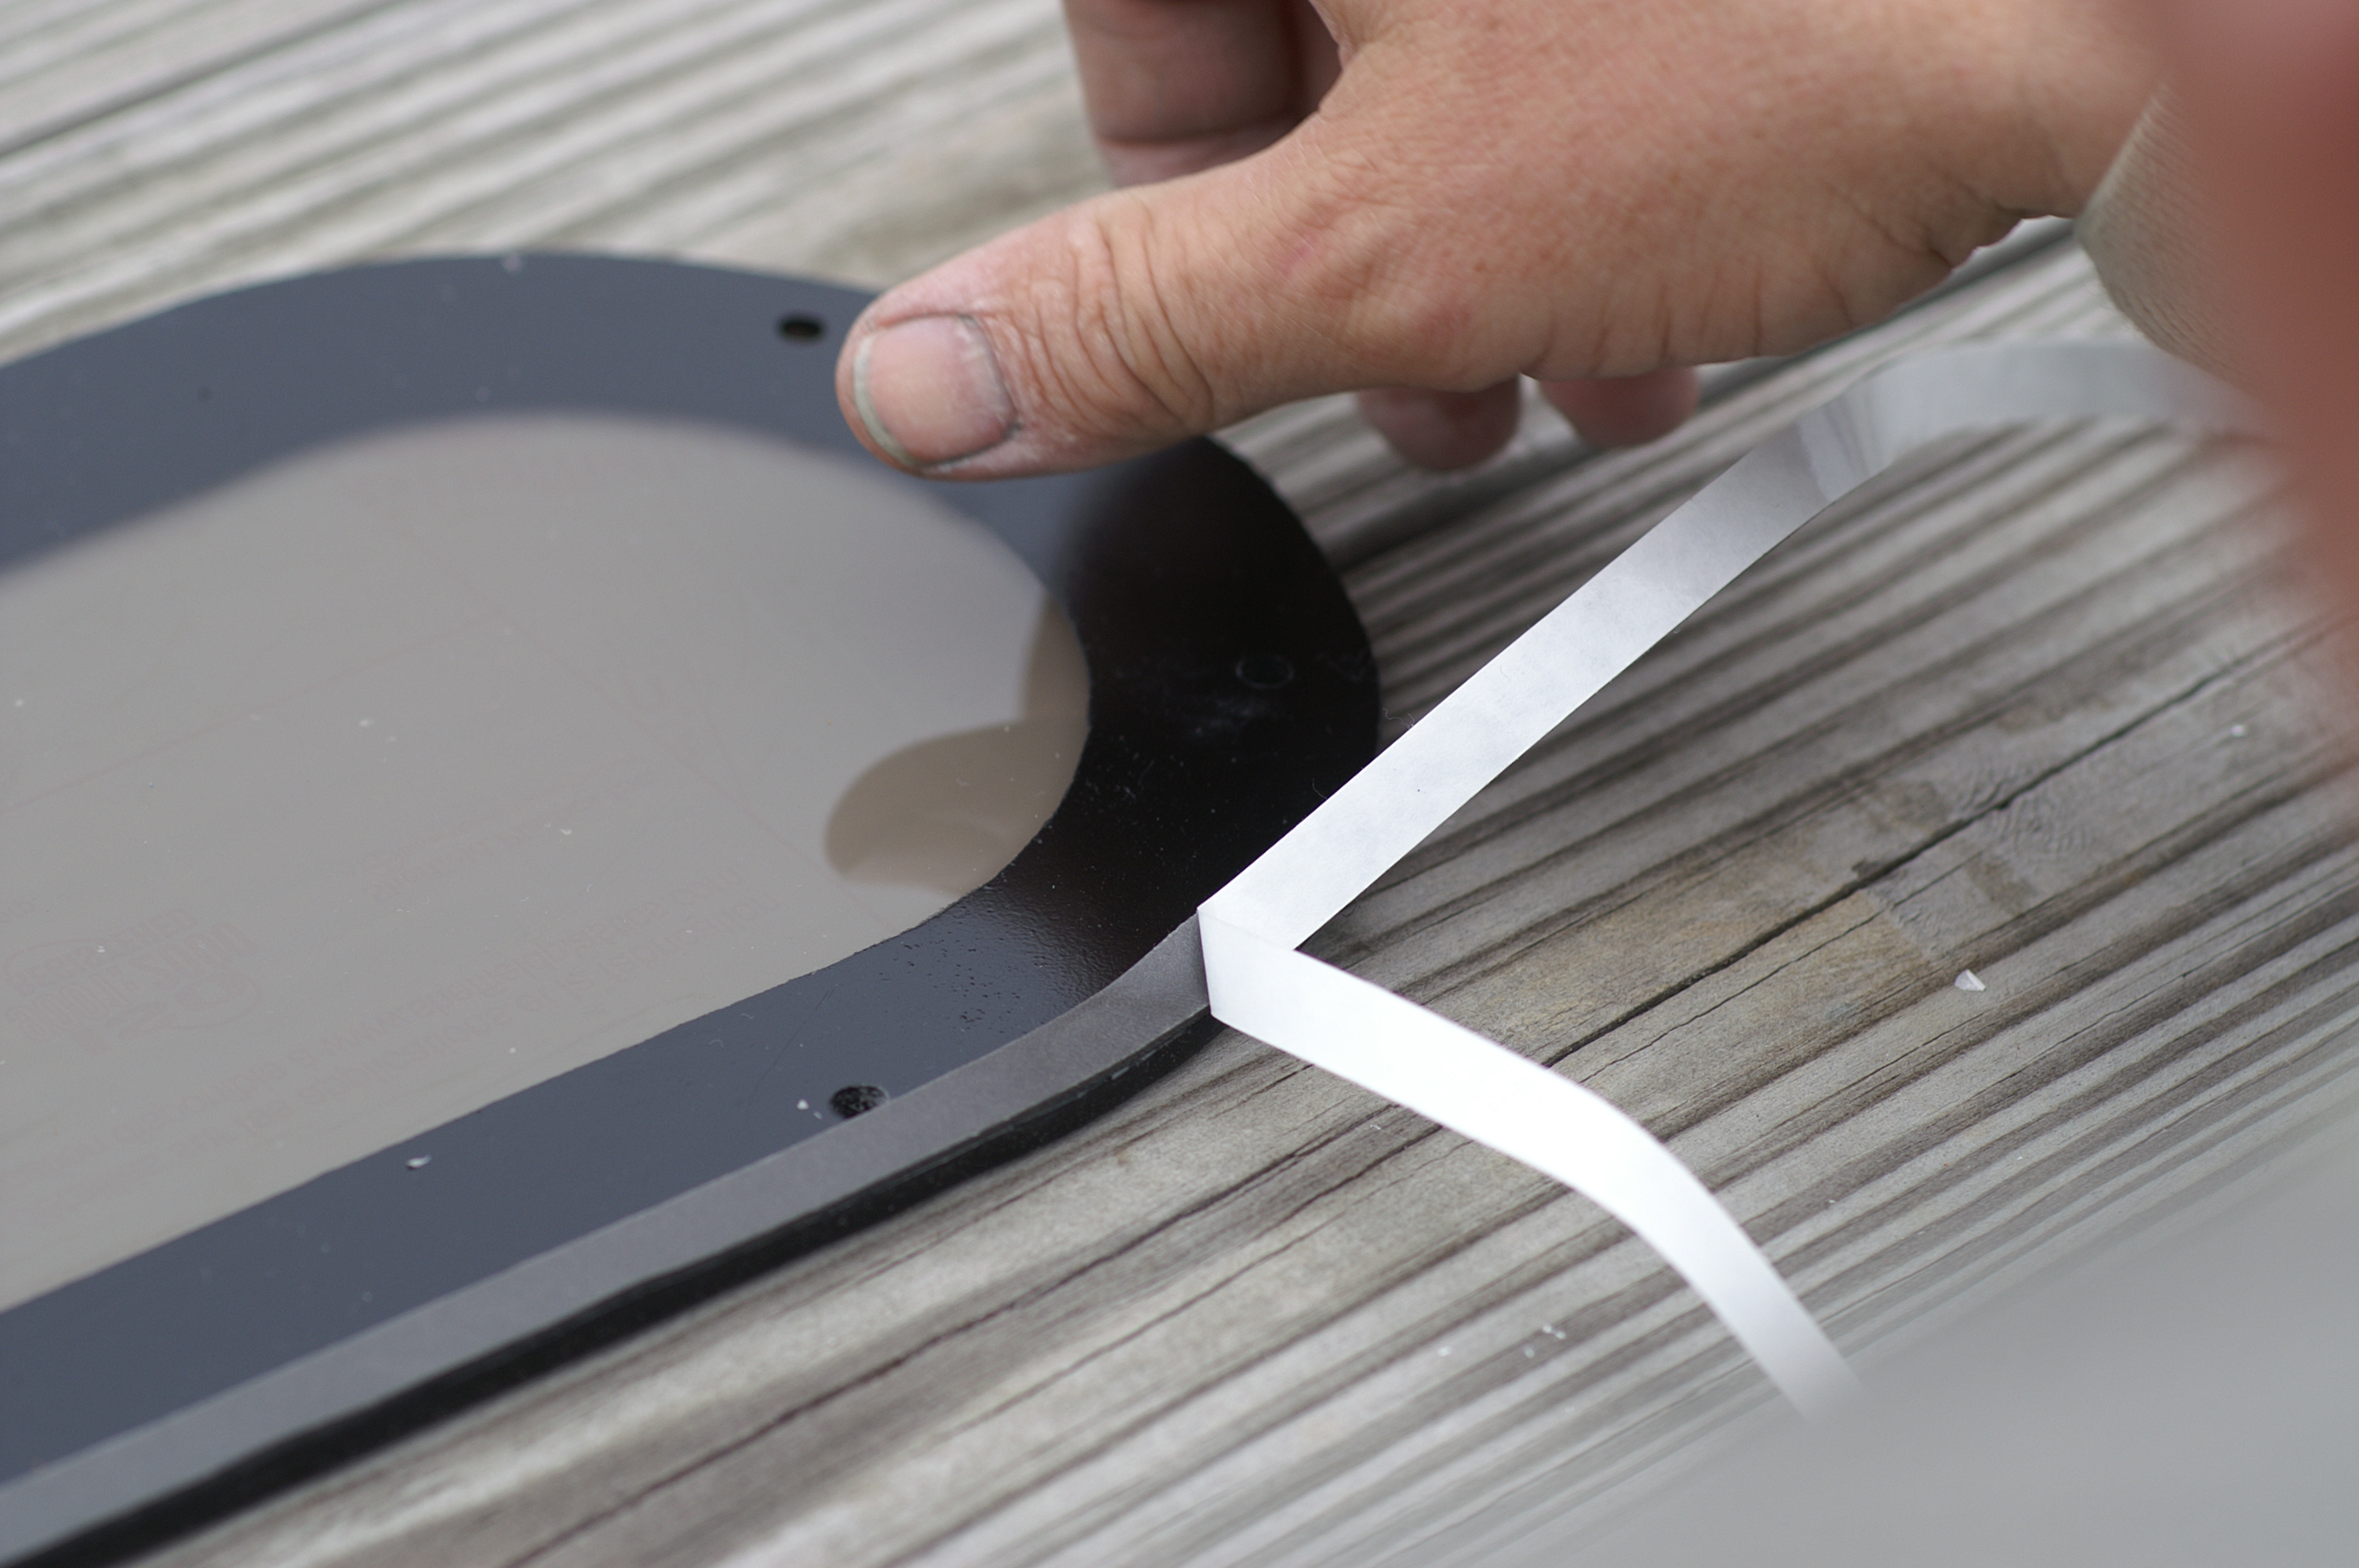
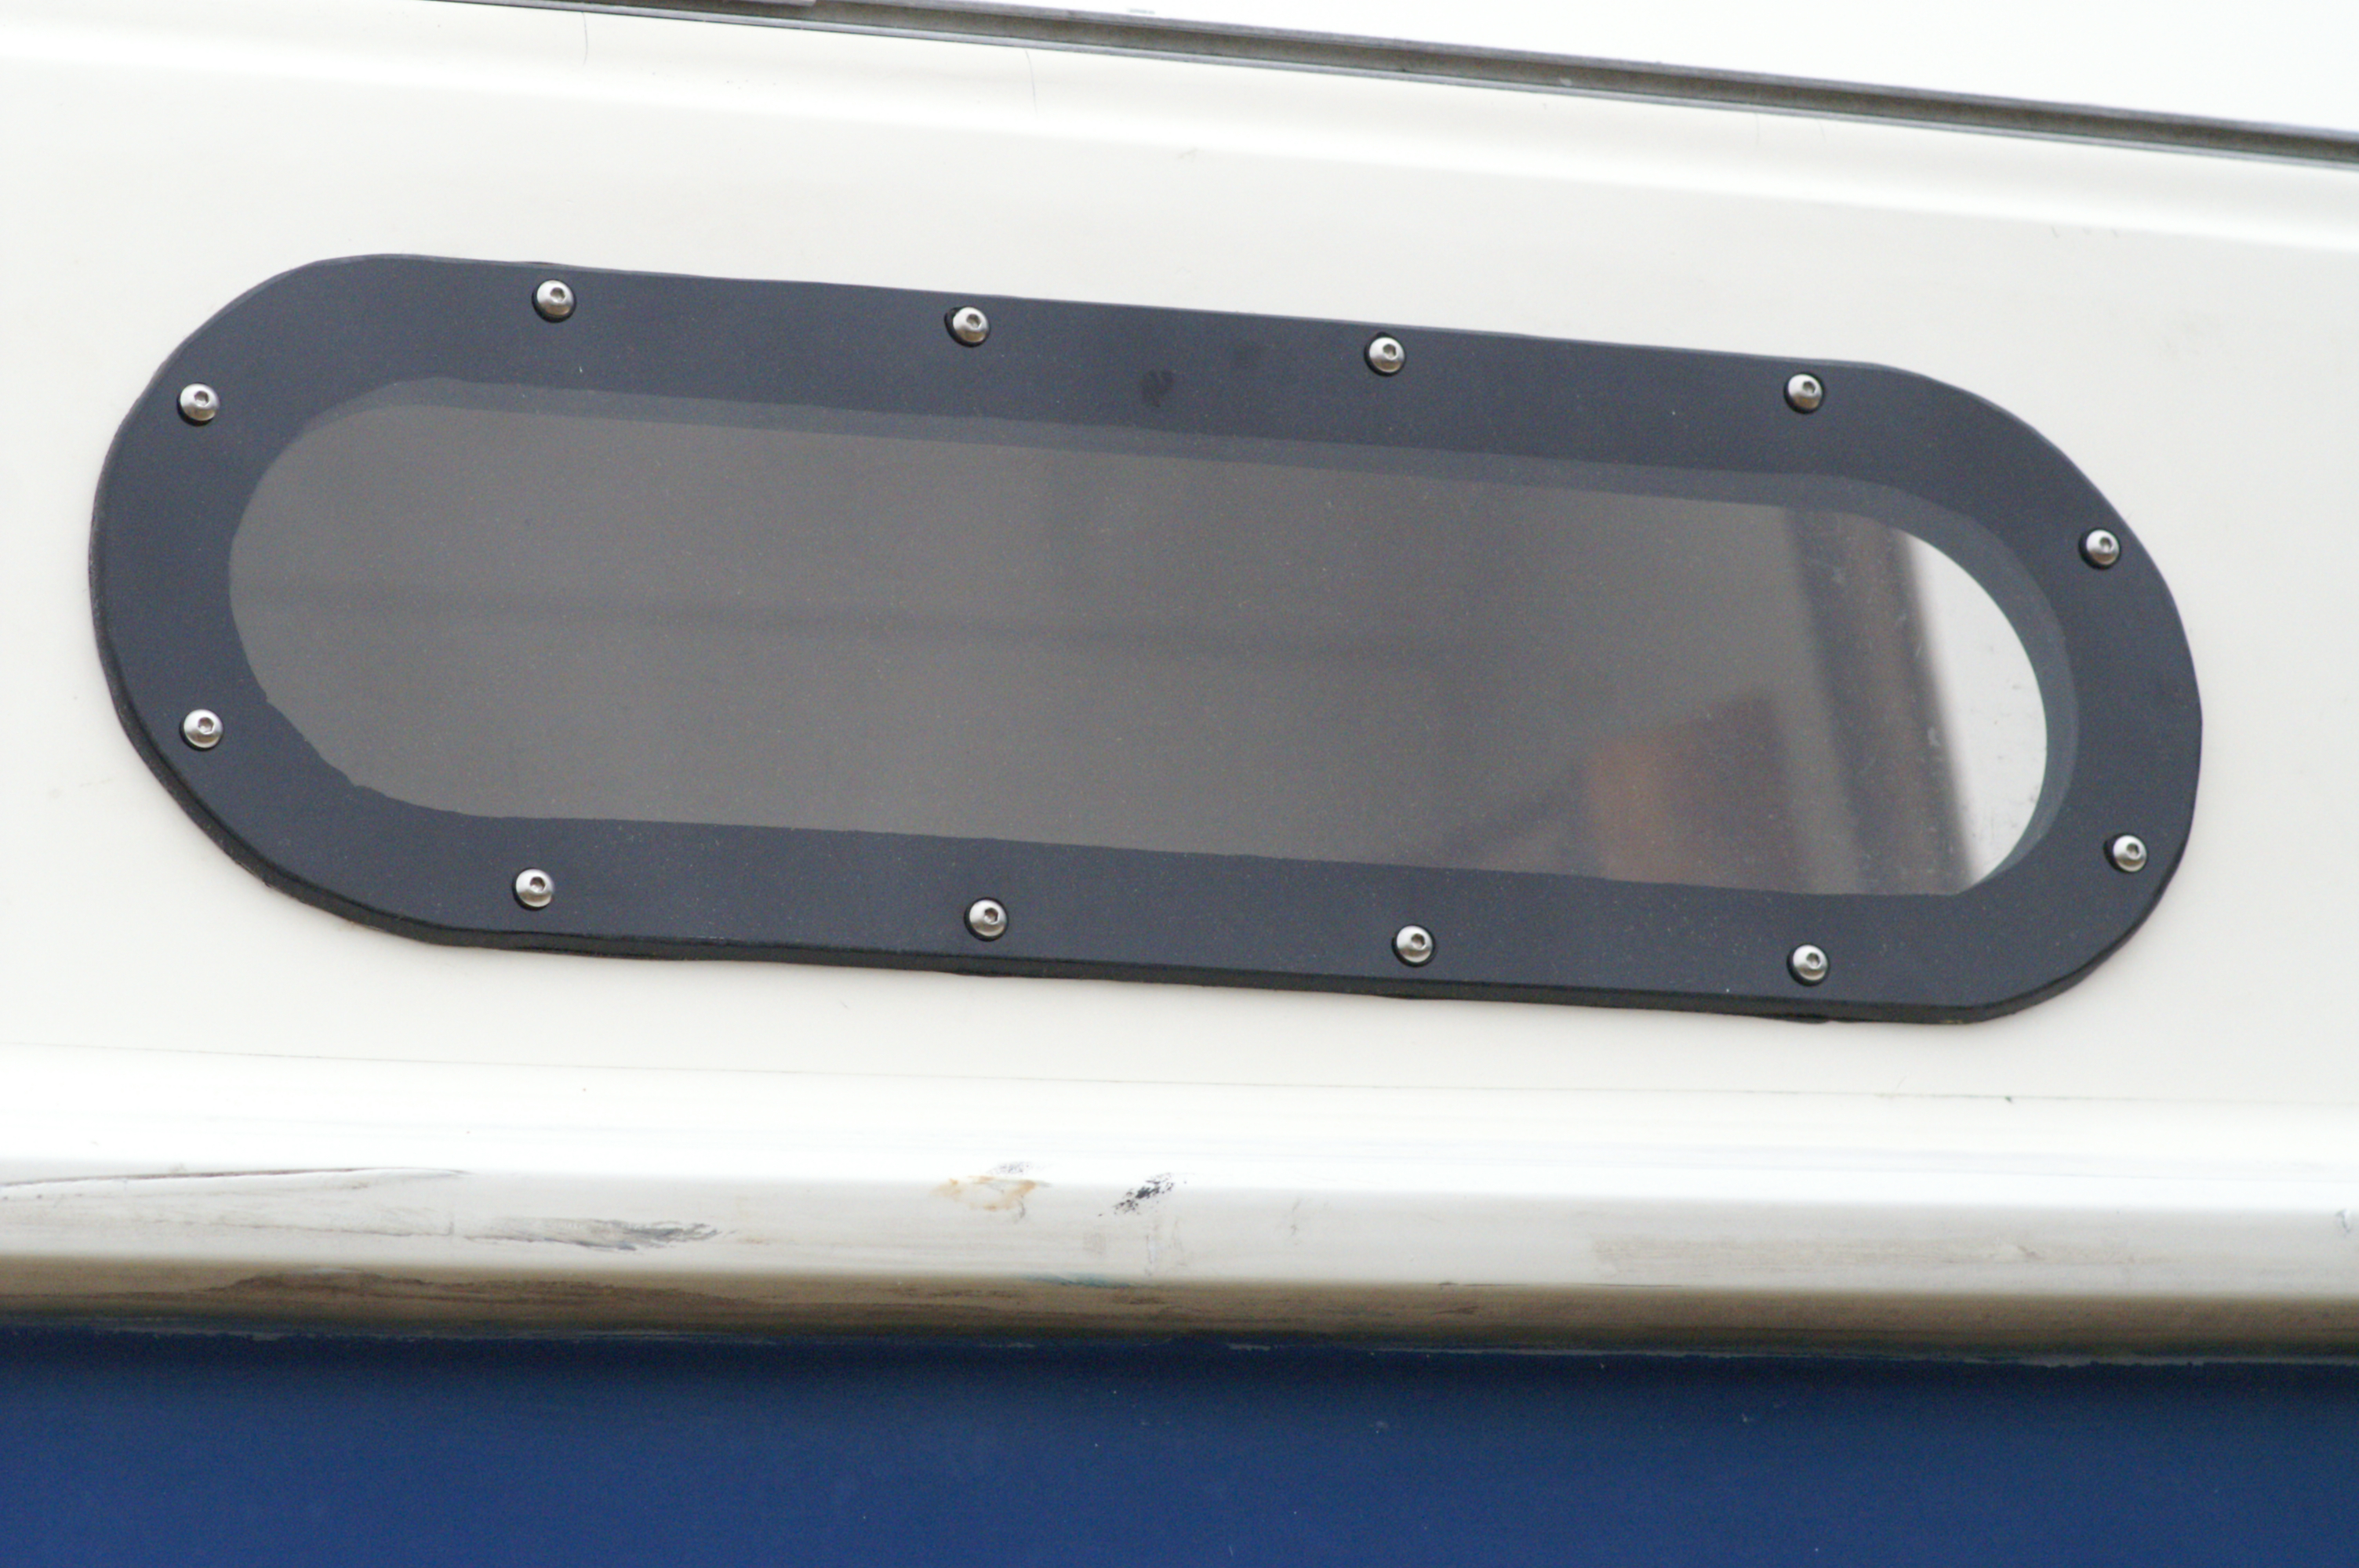
The frames were first painted black, but I decided to change to blue to
match the seat cushions a bit. After the blue paint was dry, I cut
the paper the frame was painted on with a razor pressed on the inner
edge of the frame. This gave me the exact size of the opening of
the port. I then sprayed this paper and with tack spray and placed
it on the lite. I could then paint the lite with black satin
krylon plastic paint and the paper would keep the paint out of the area
where you look through. I called this painted area of the lite; the mask.
It masked the glazing tape and drilled hull from the outside viewer.
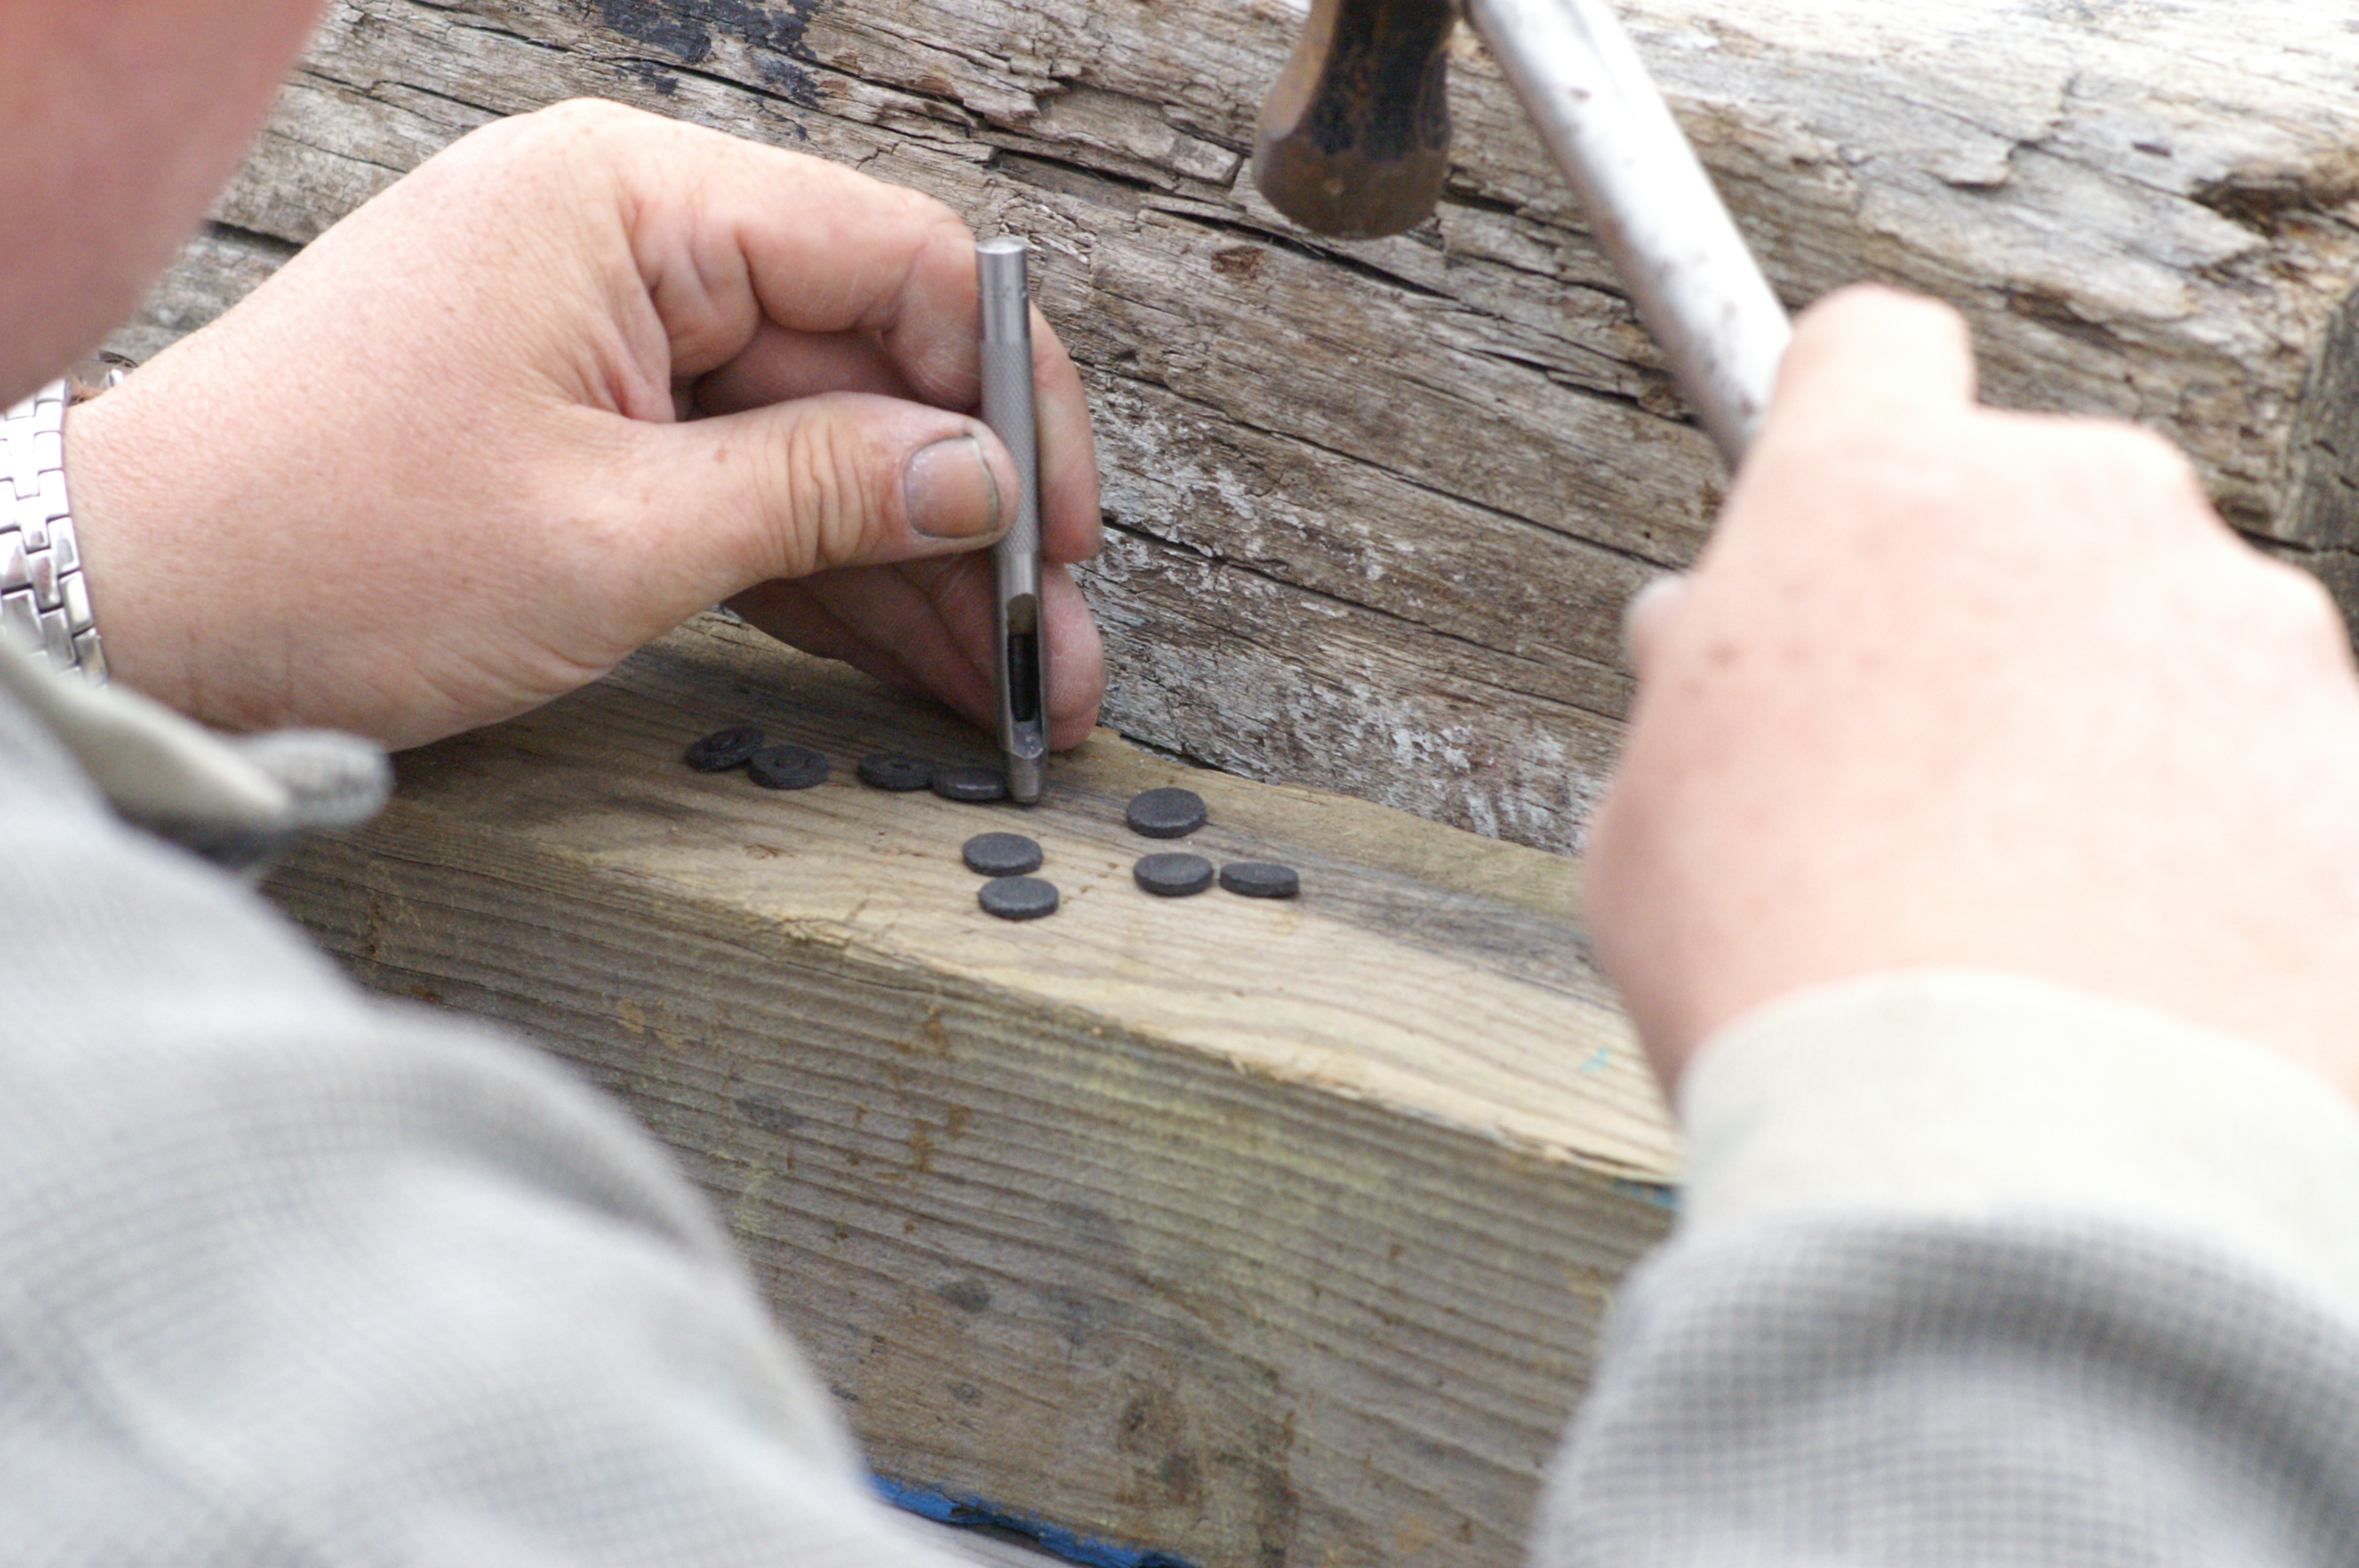
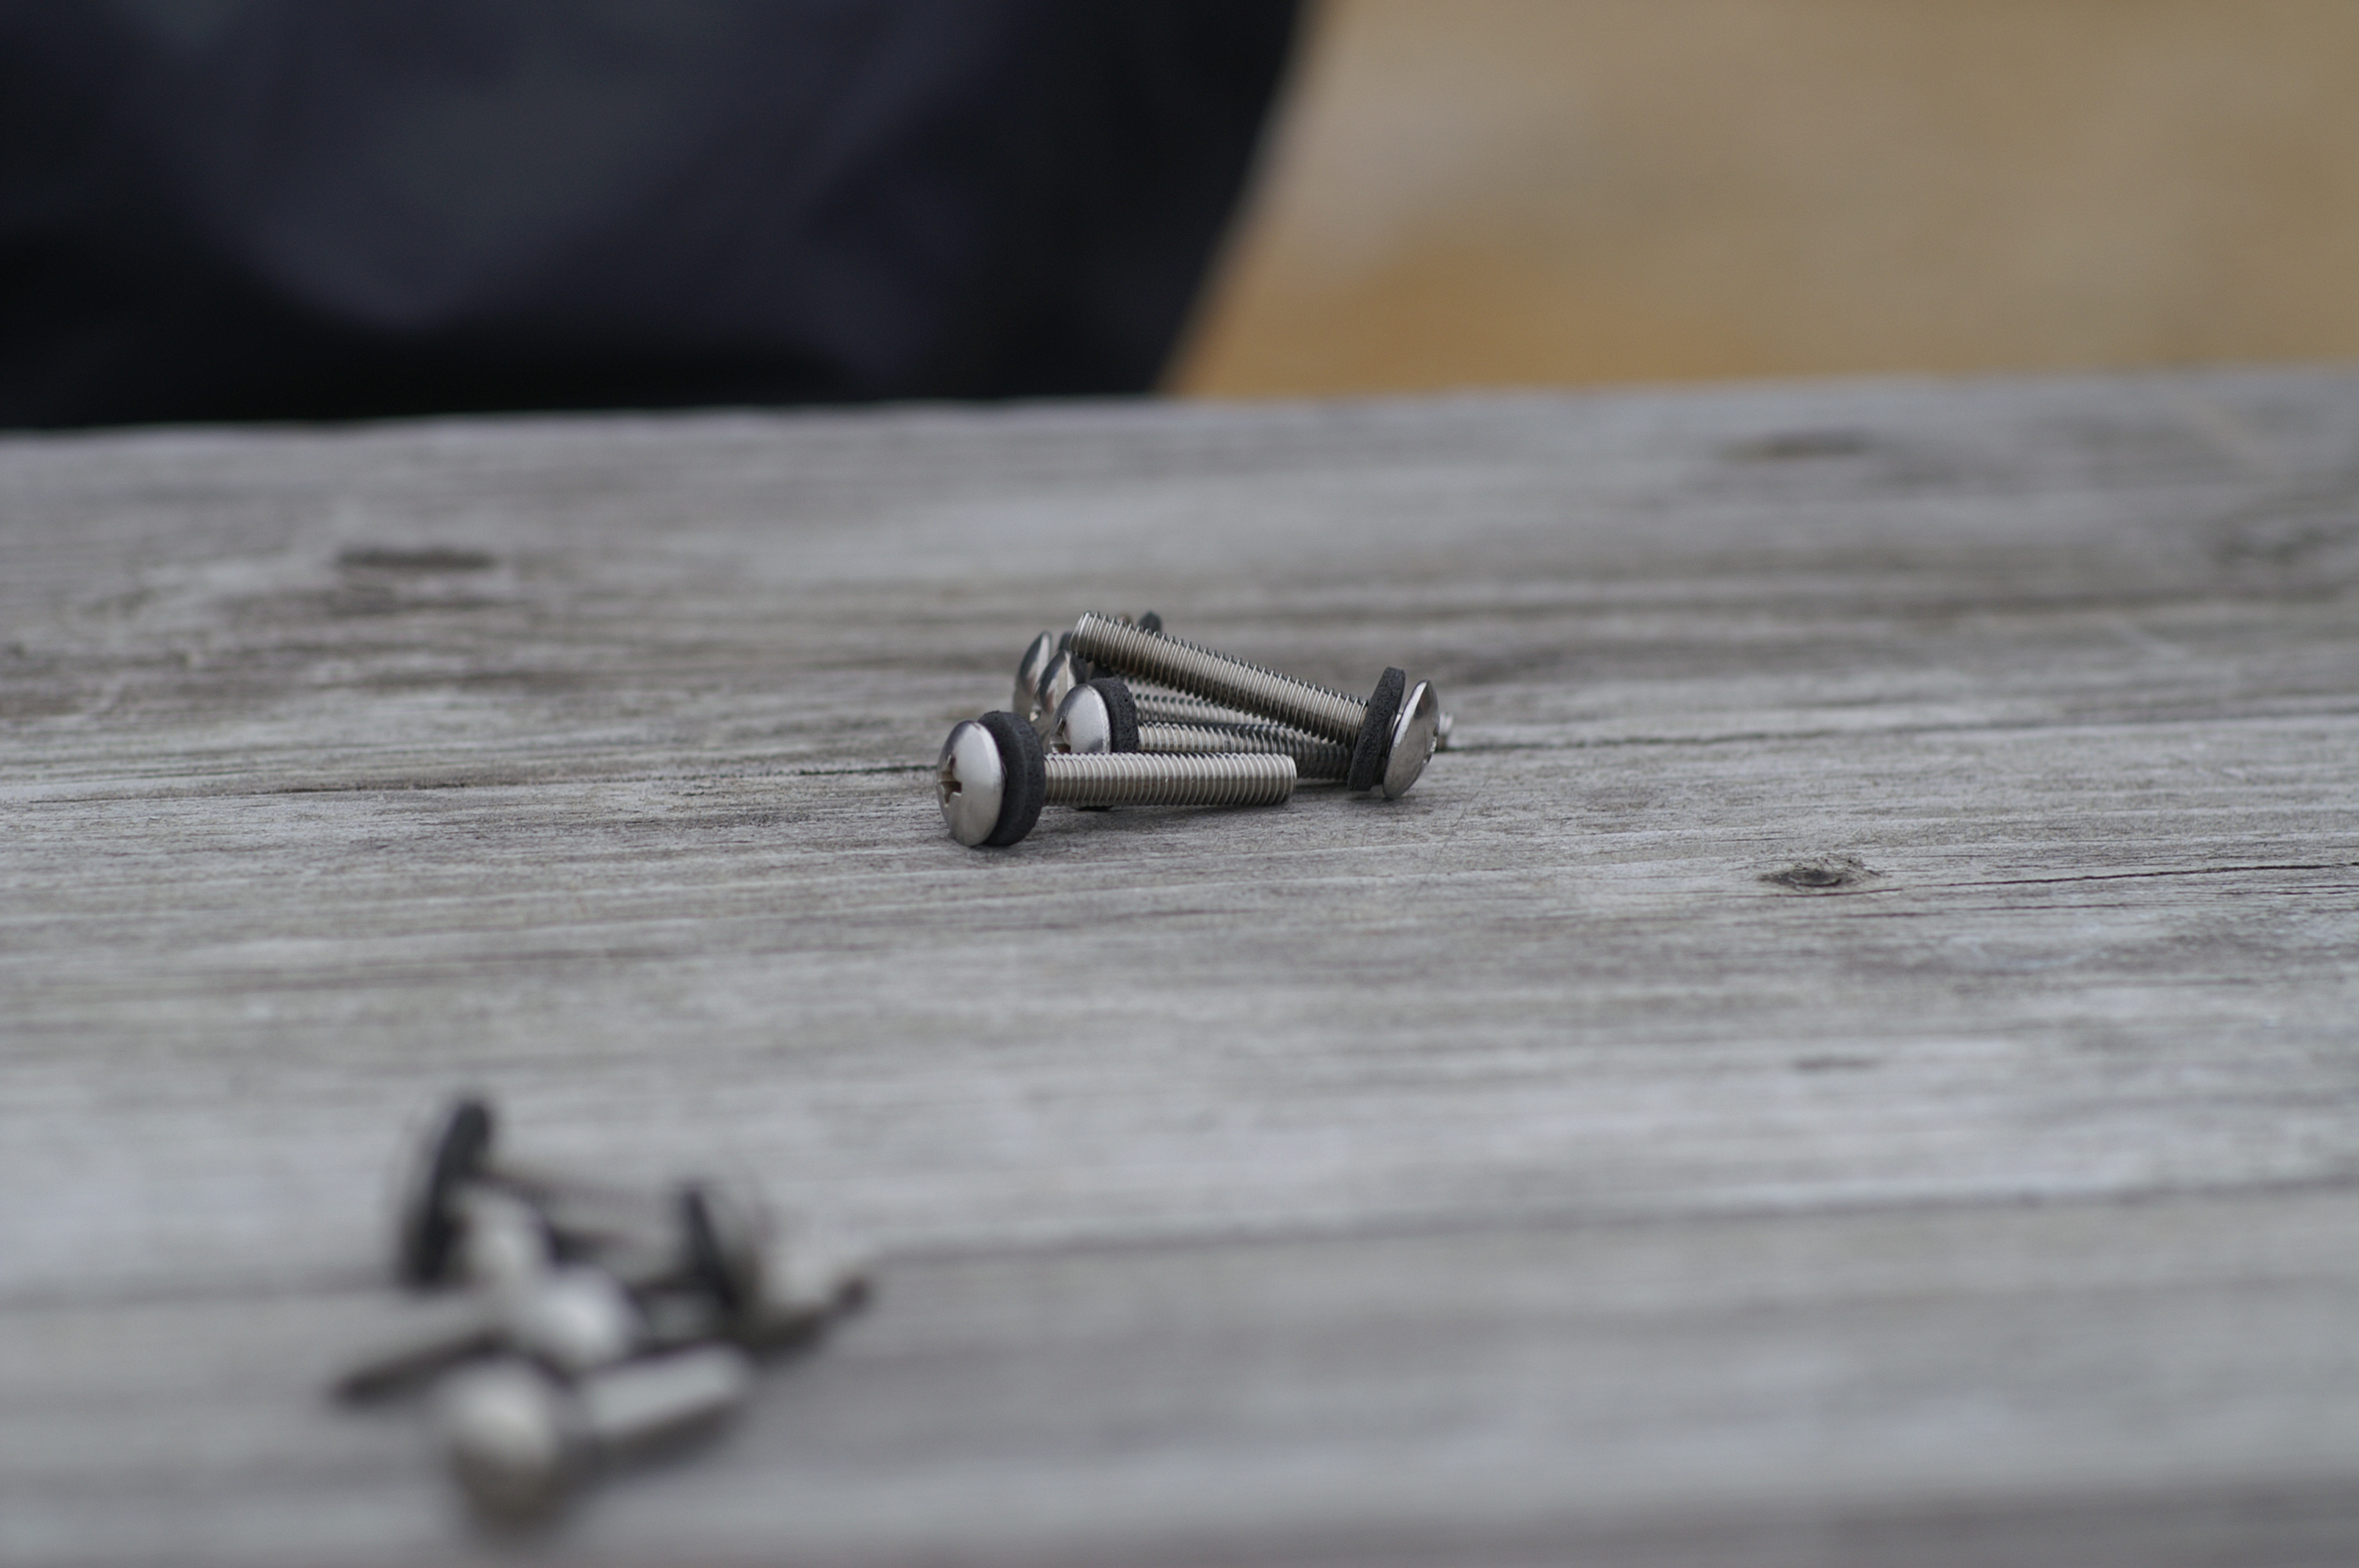
The
washers placed under the truss heads are made from Minicell foam (MiniCell
Foam at Foam by mail) . It
has proved to be partially successful. As long as you don't over
tighten the nut, the washer stays in place. Otherwise, the washer
squishes out.
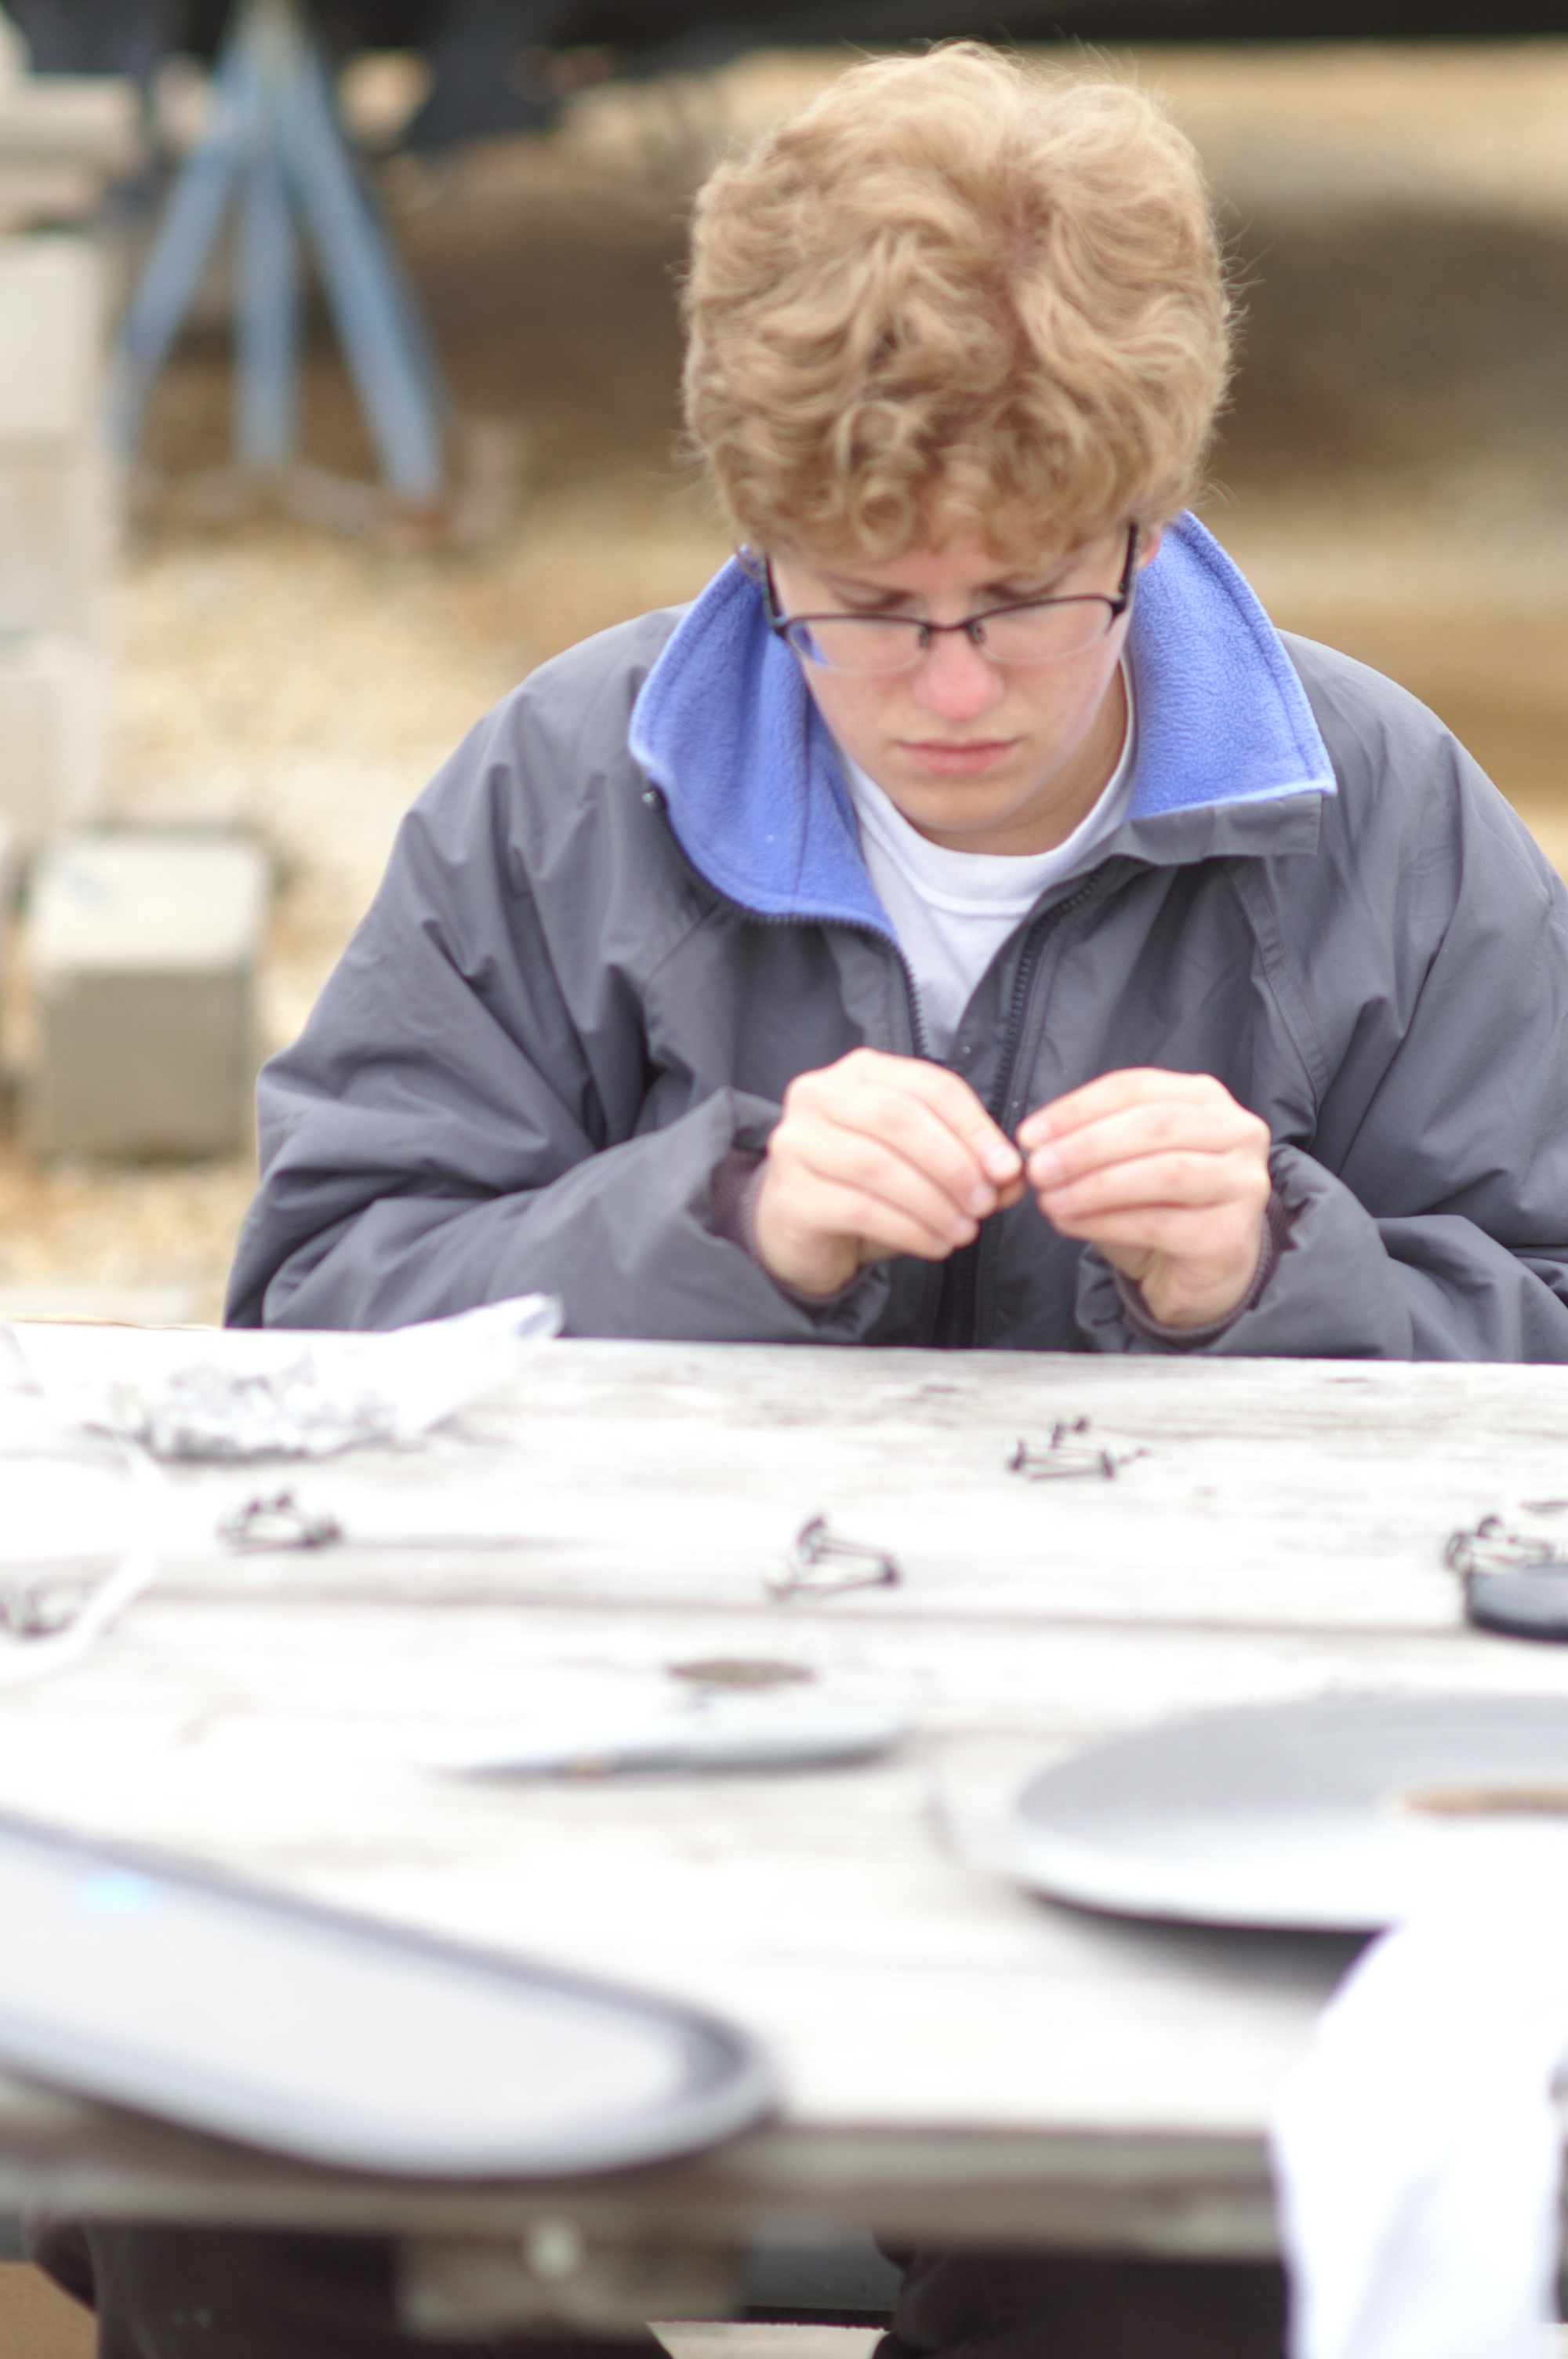
Syd
loaded the bolts with the Minicell washers.
Bolts
in ready piles; 12 bolts per window.
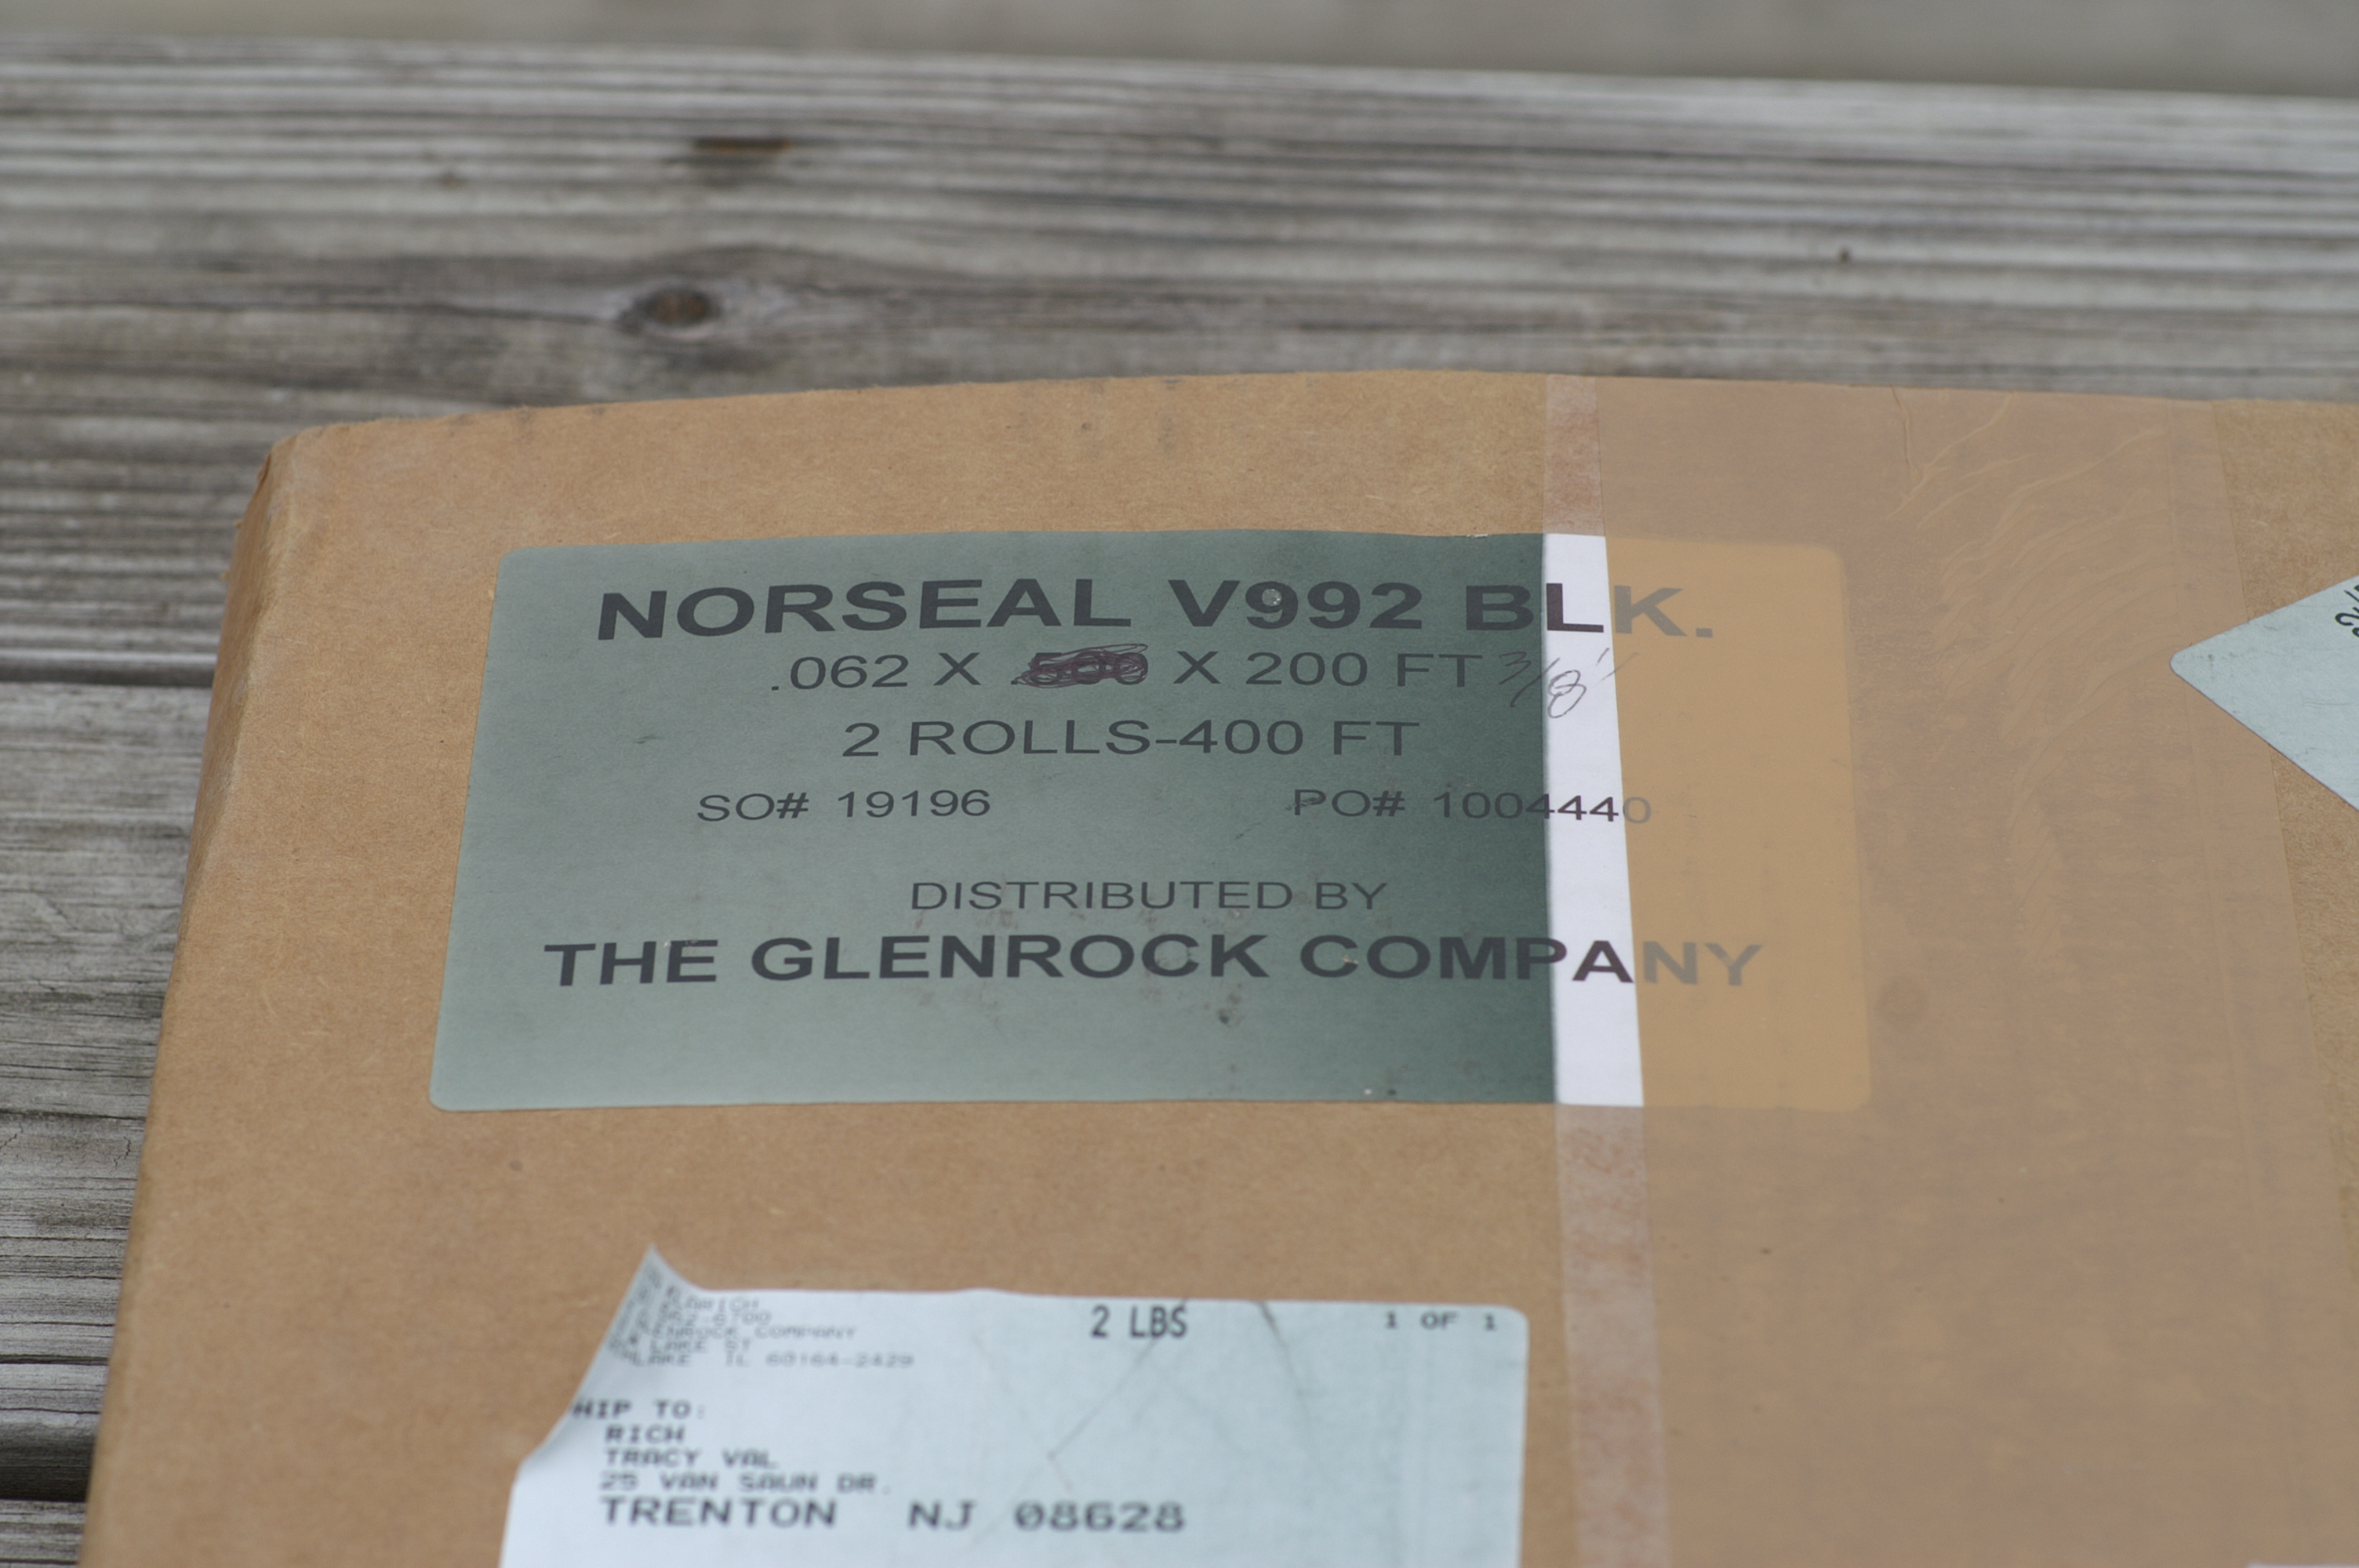
Norseal
v992 glazing tape placed on the lite at the outer edge. 3/8th"
tape comes up to the bolt holes but not over. Each lite is 1/4"
taller and 1/4" wider to allow for this tape.
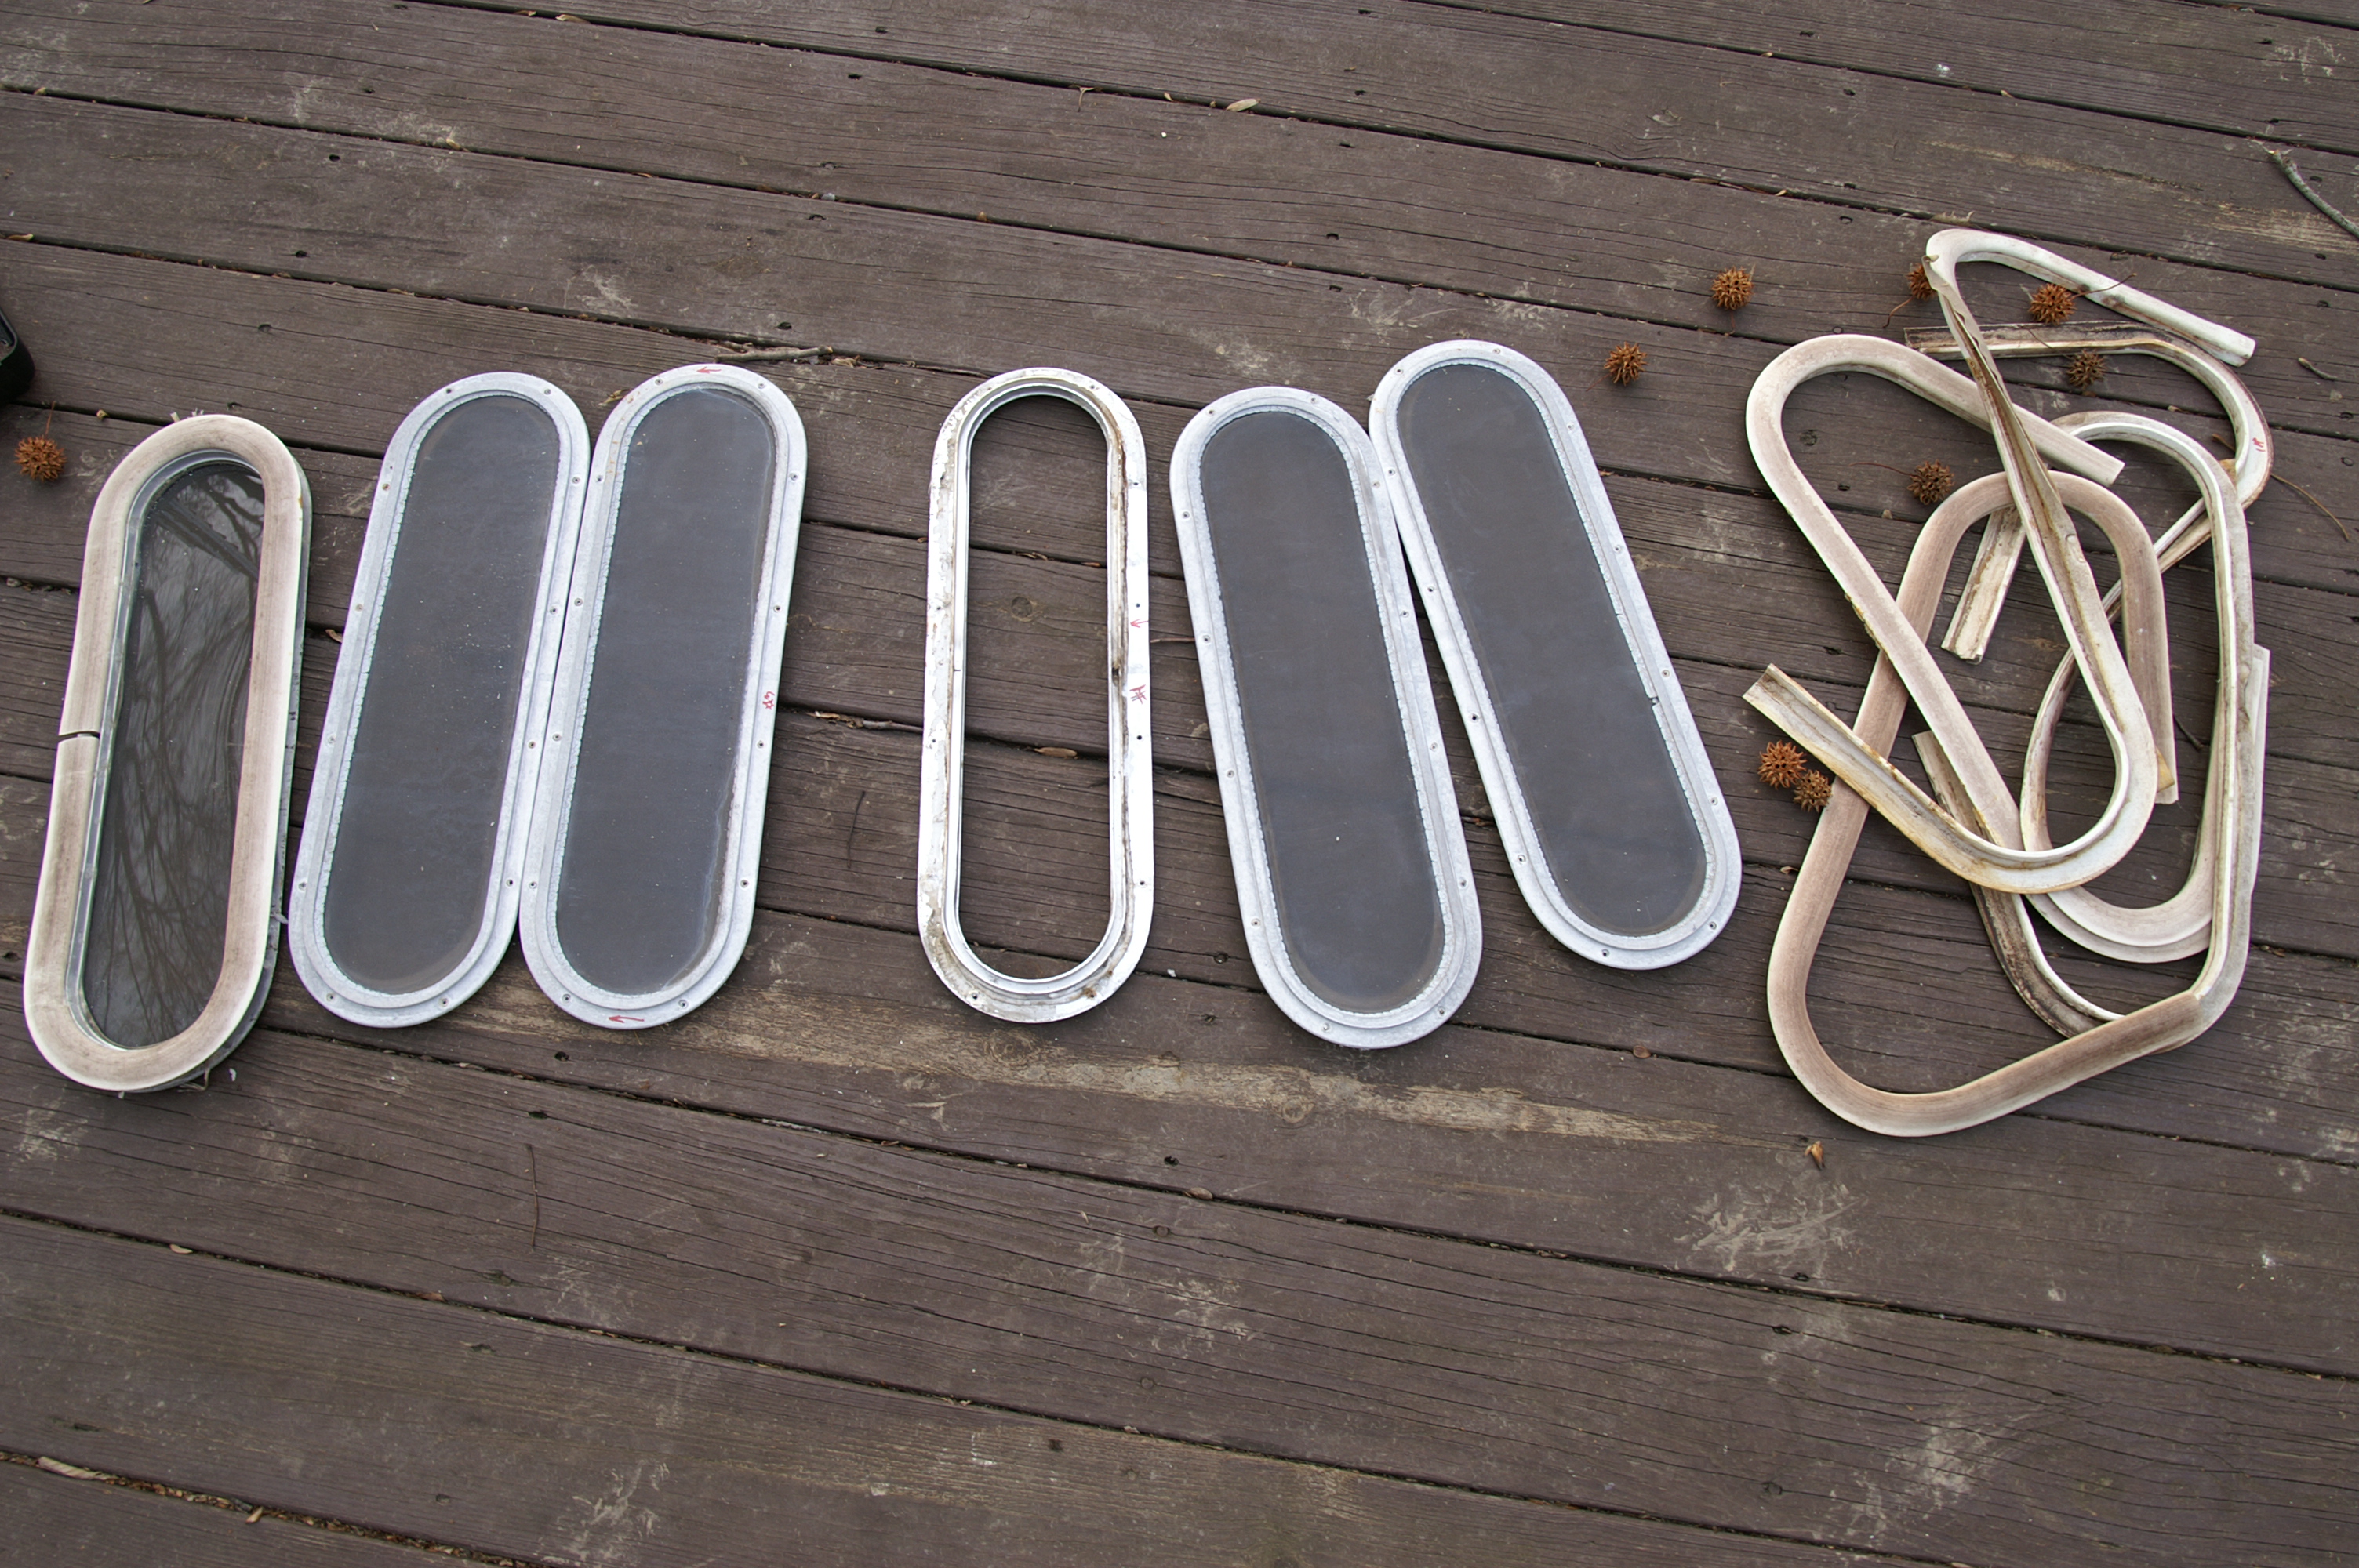
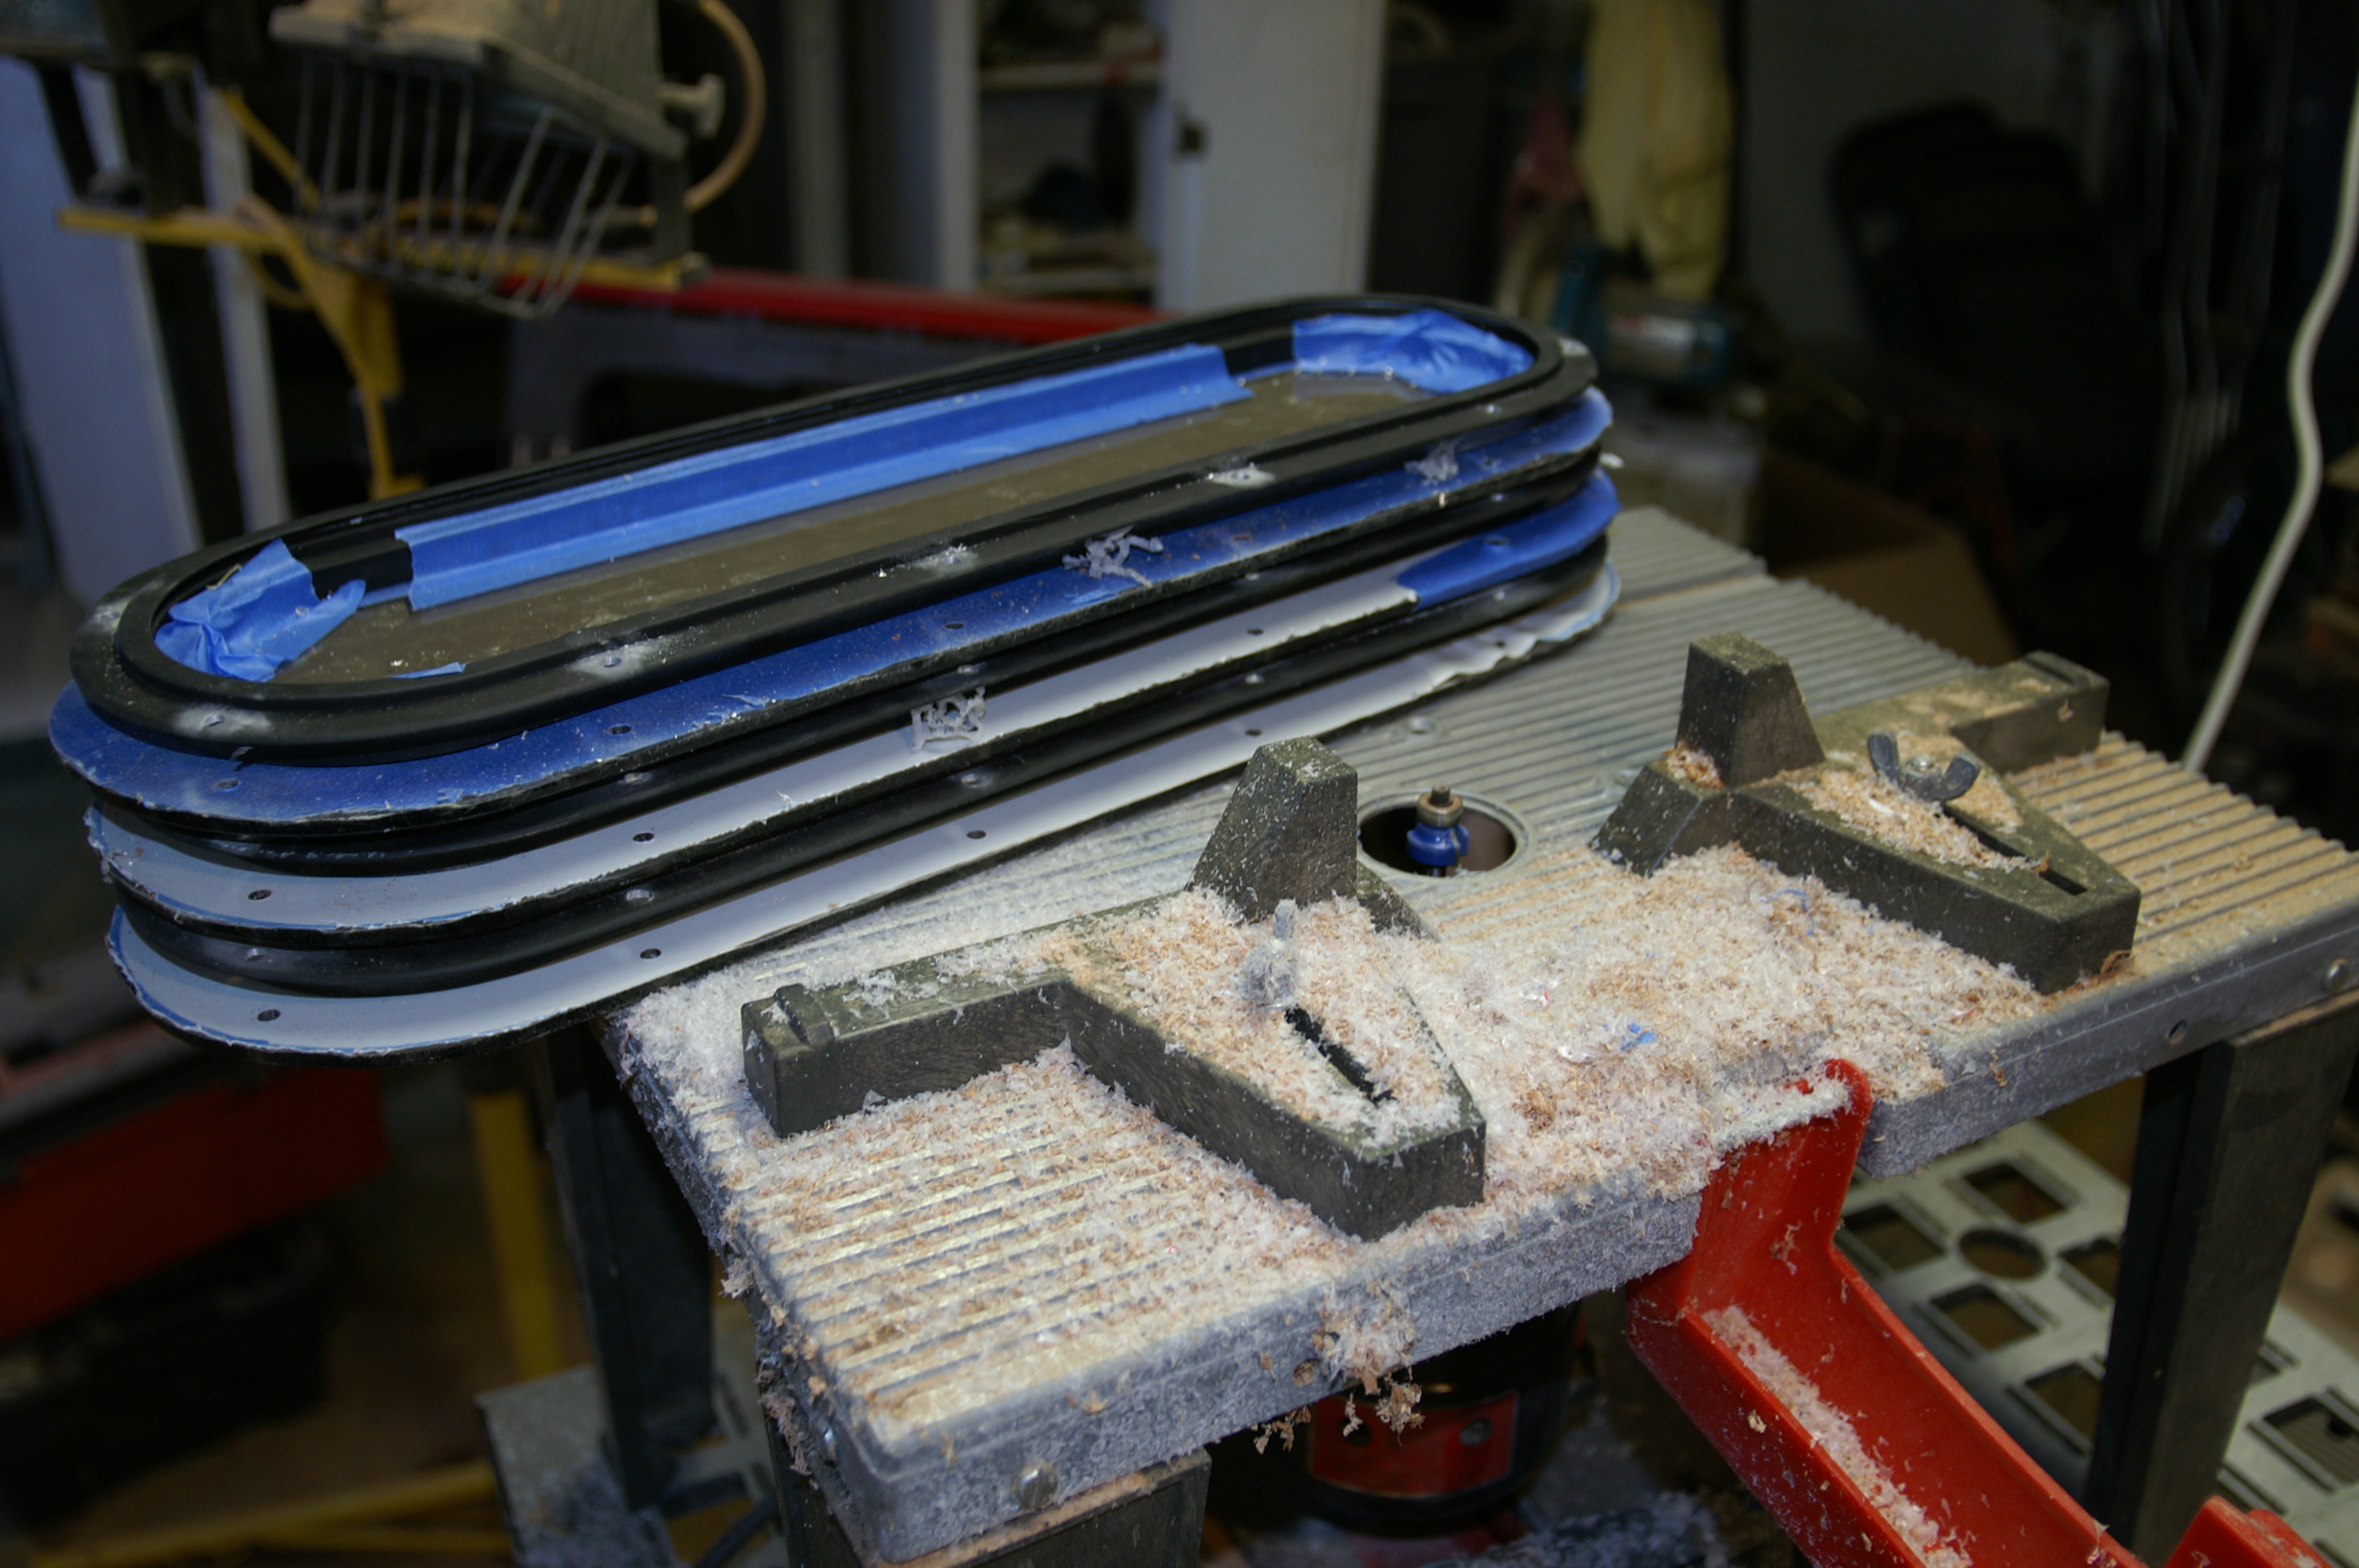
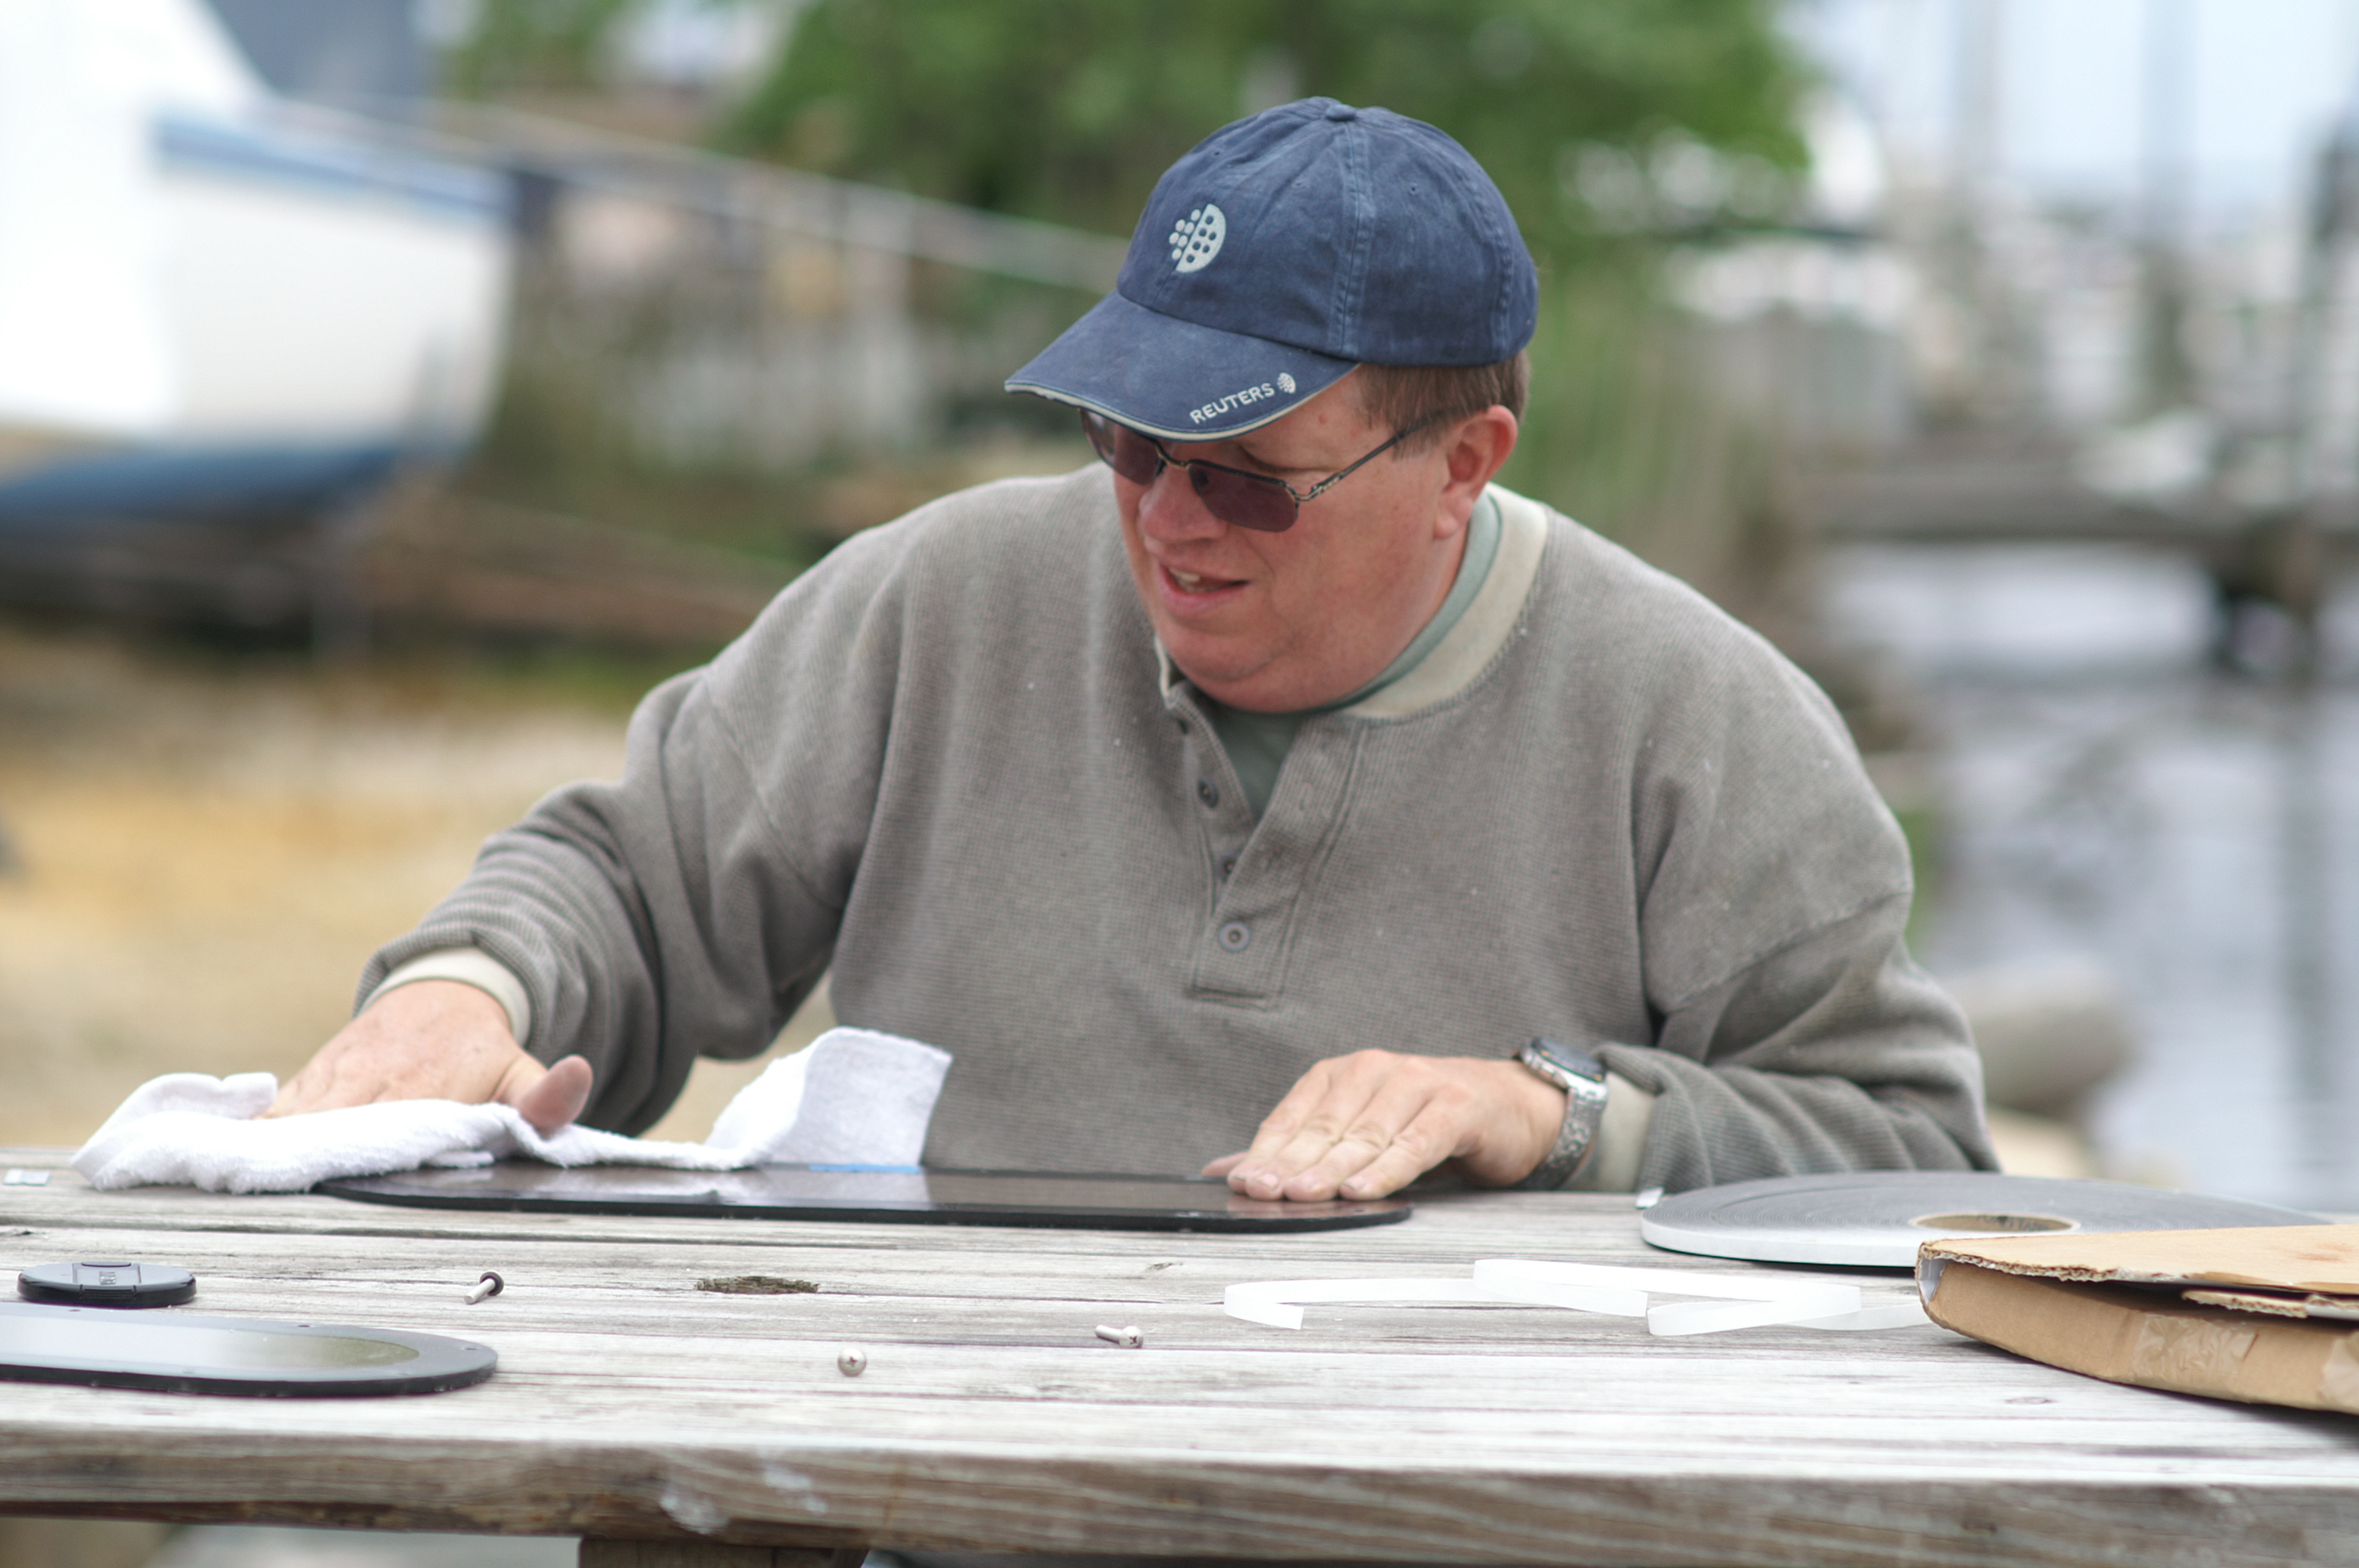
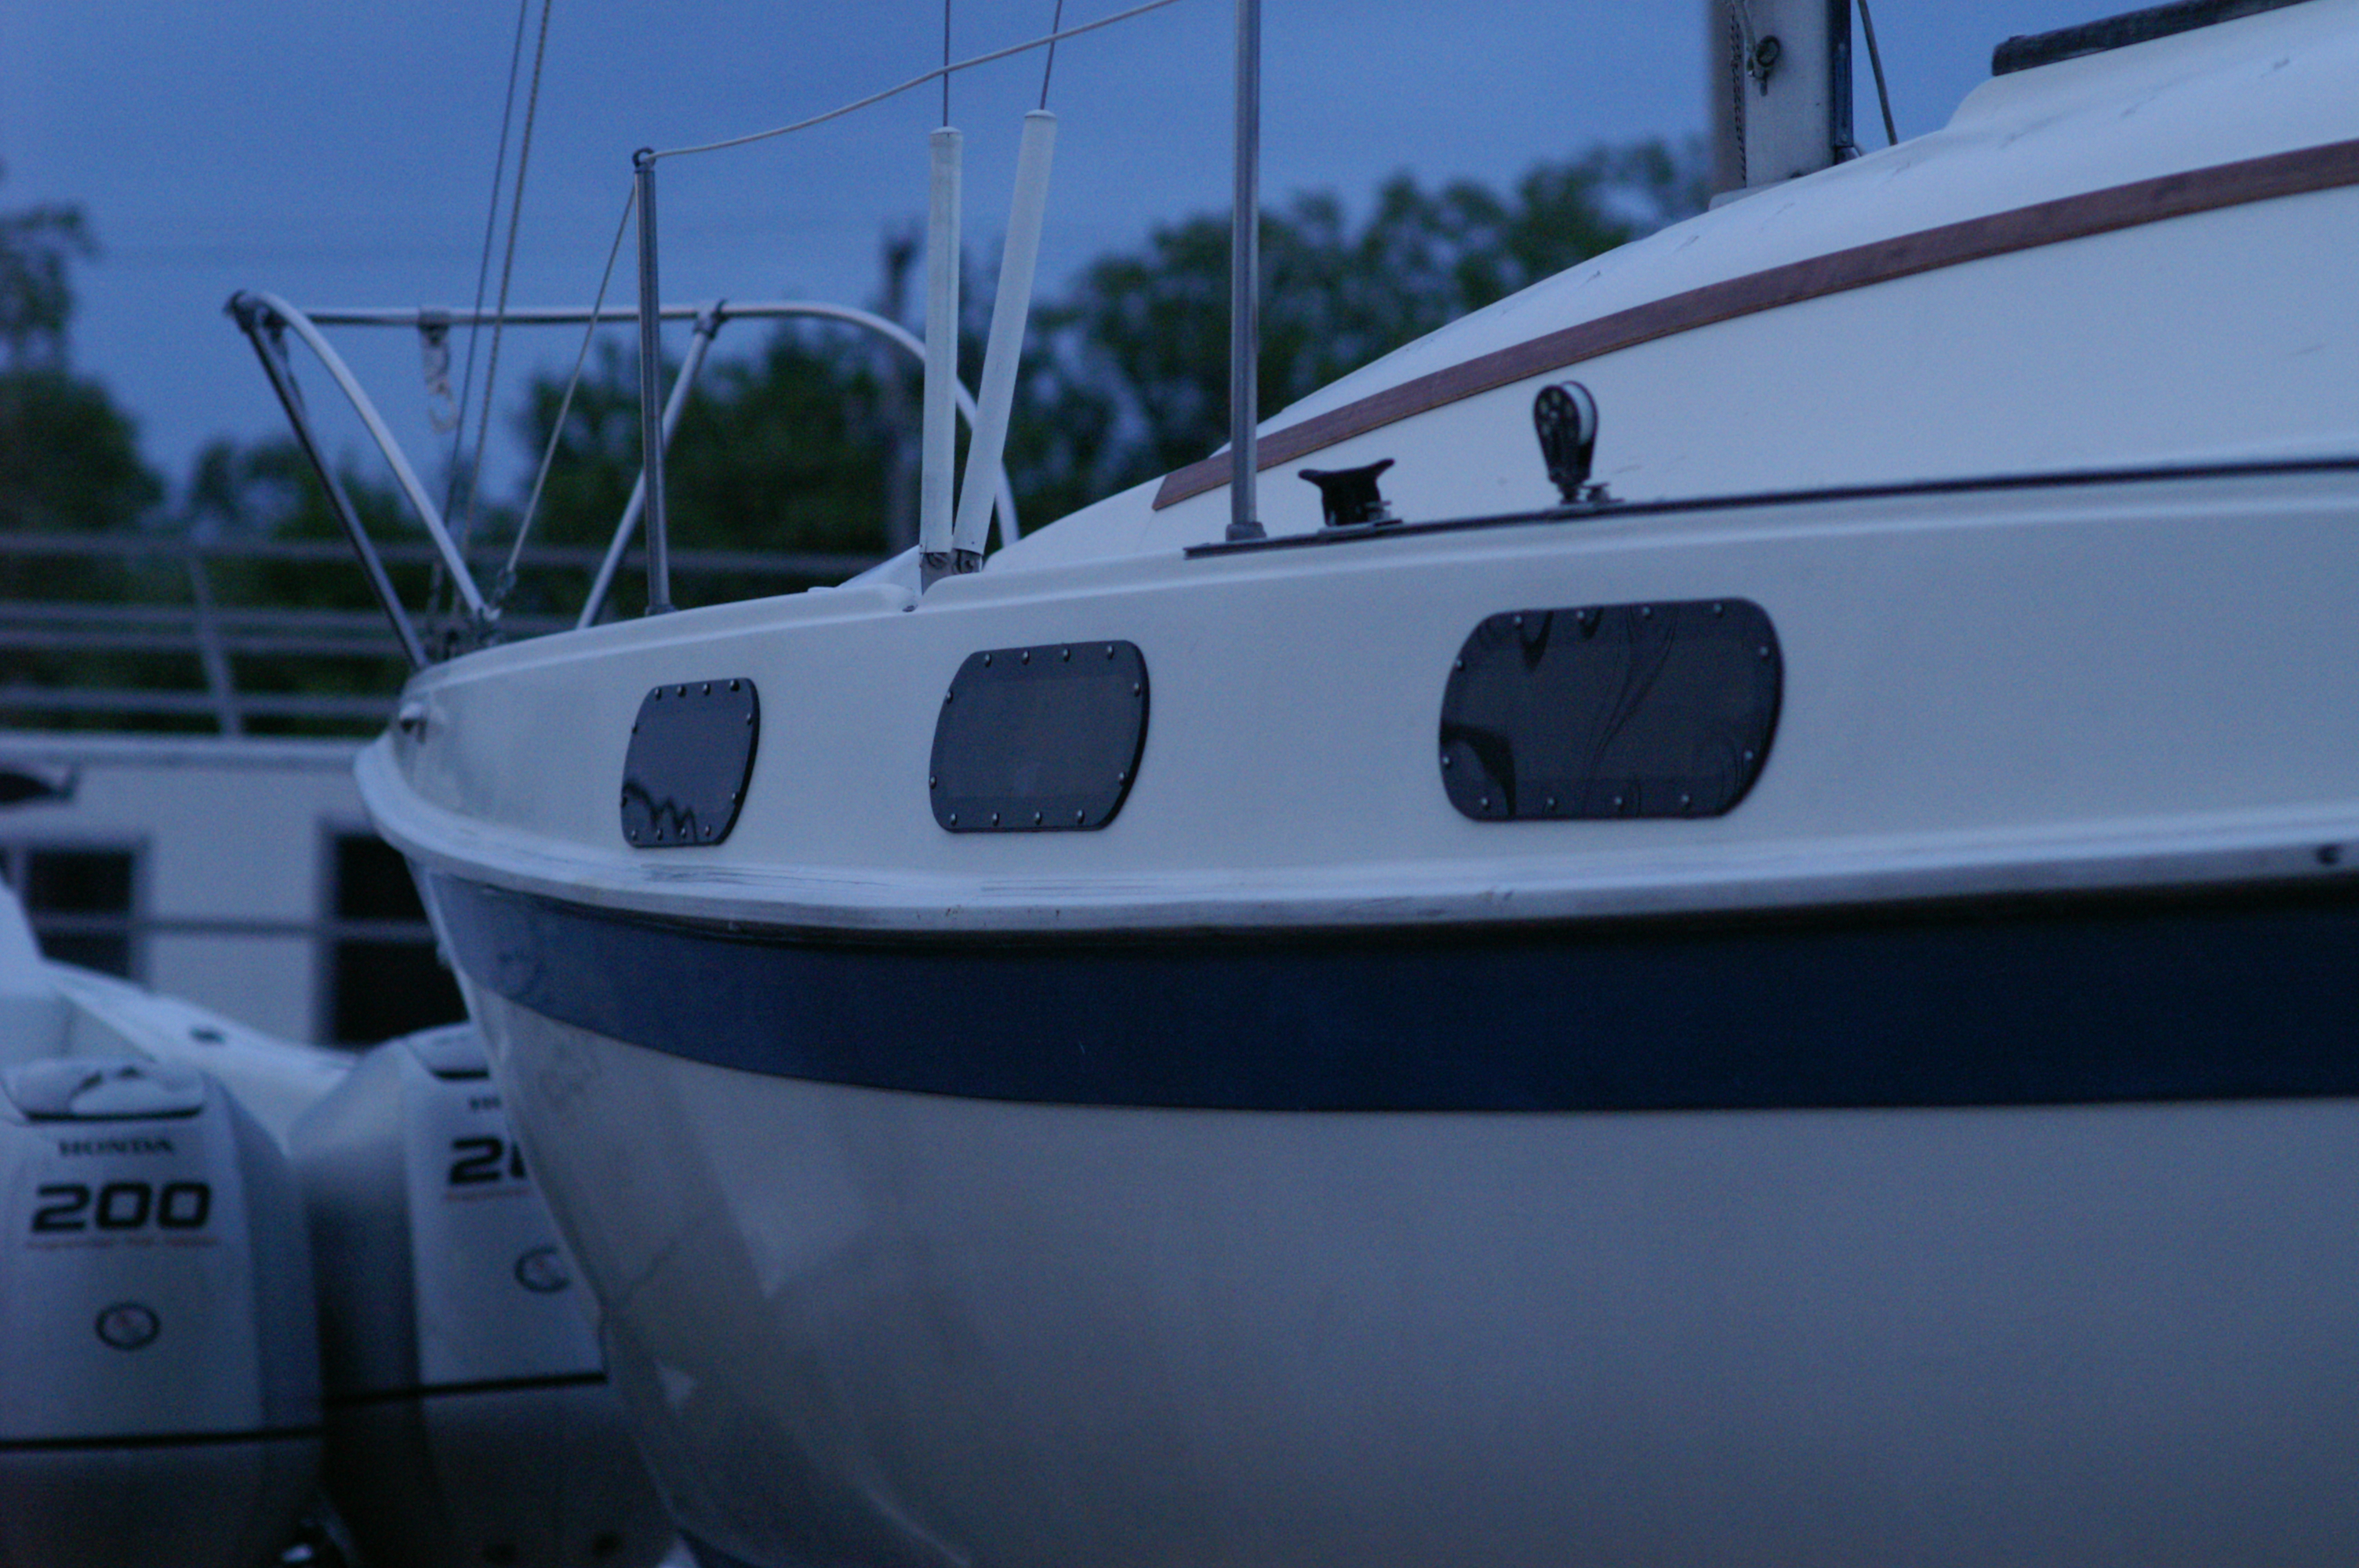
The
glazed lits are placed in ready state on the table.
Each
lite has a mask painted onto the inner side. This hides the
glazing and the mess on the hull/deck. I used tape to keep the
orientation of the frame and lite correct. Blue tape was always on
the bottom.
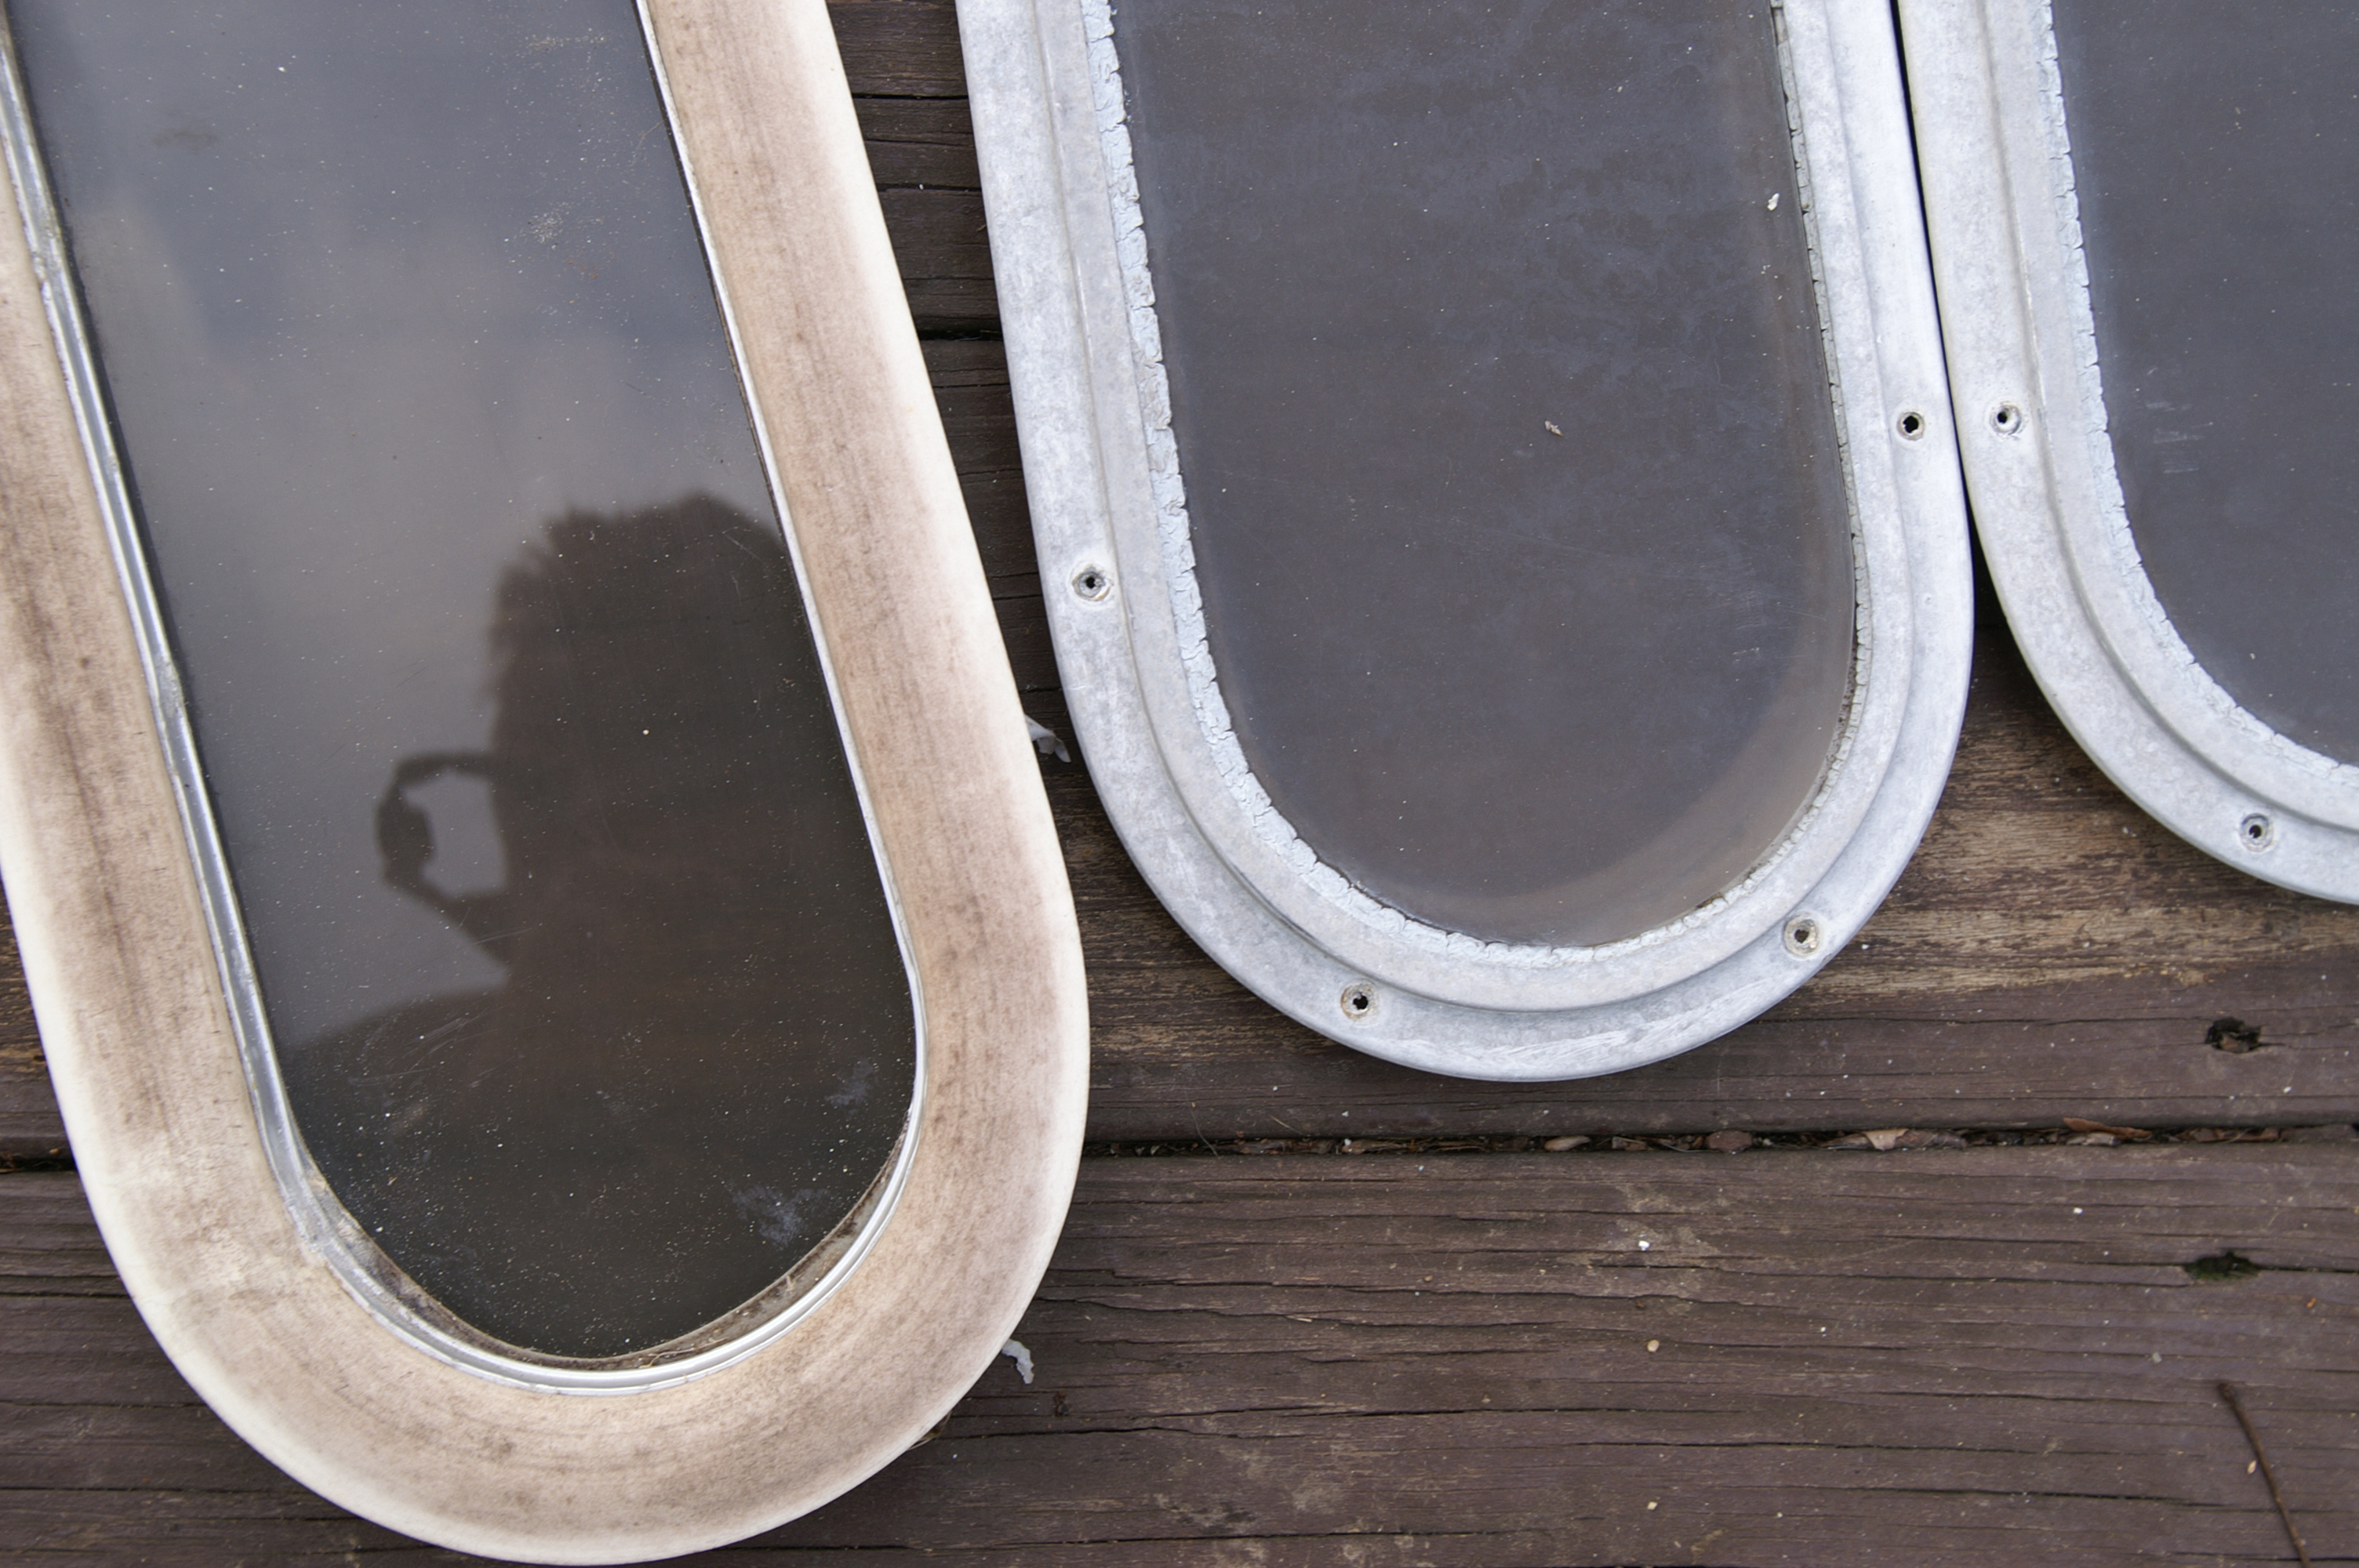
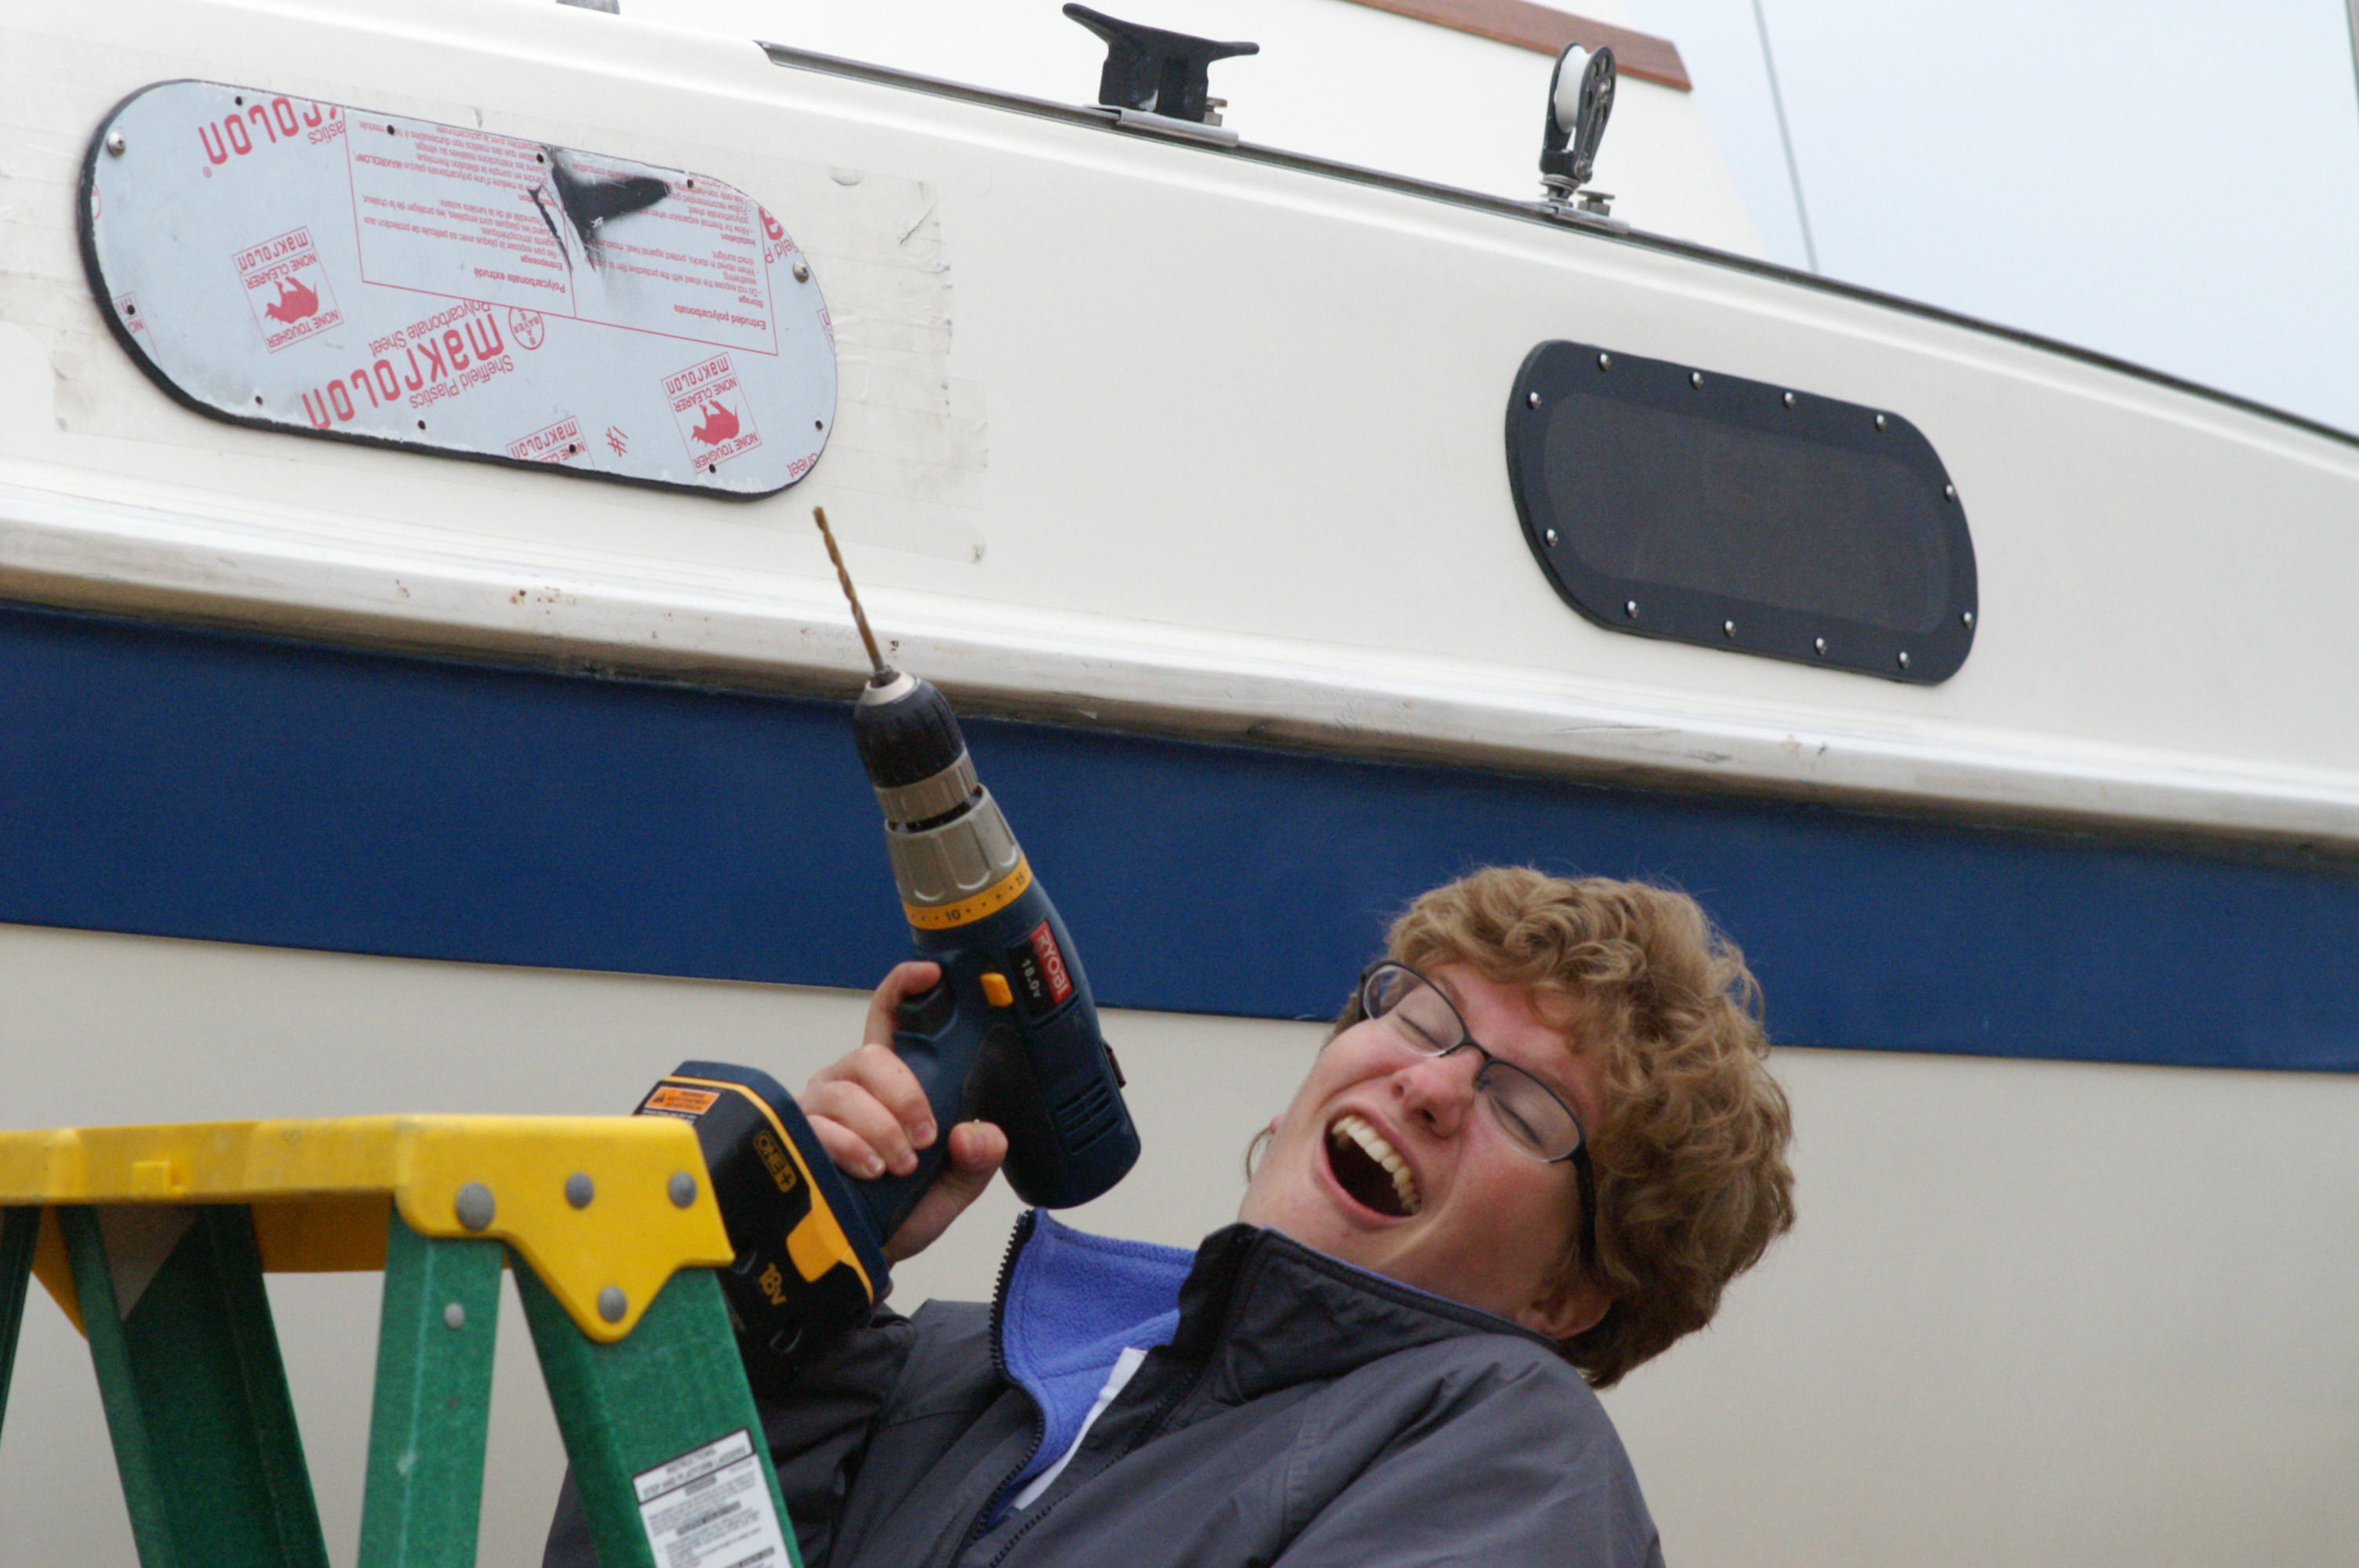
The
frames for the two forward ports need to be notched. Also, since
the pites were out for quite a while, I used weather seal tape to keep
the rain/weather out. During assembly, two bolts (one on each end)
are set through their holes and the other holes are re-drilled to make
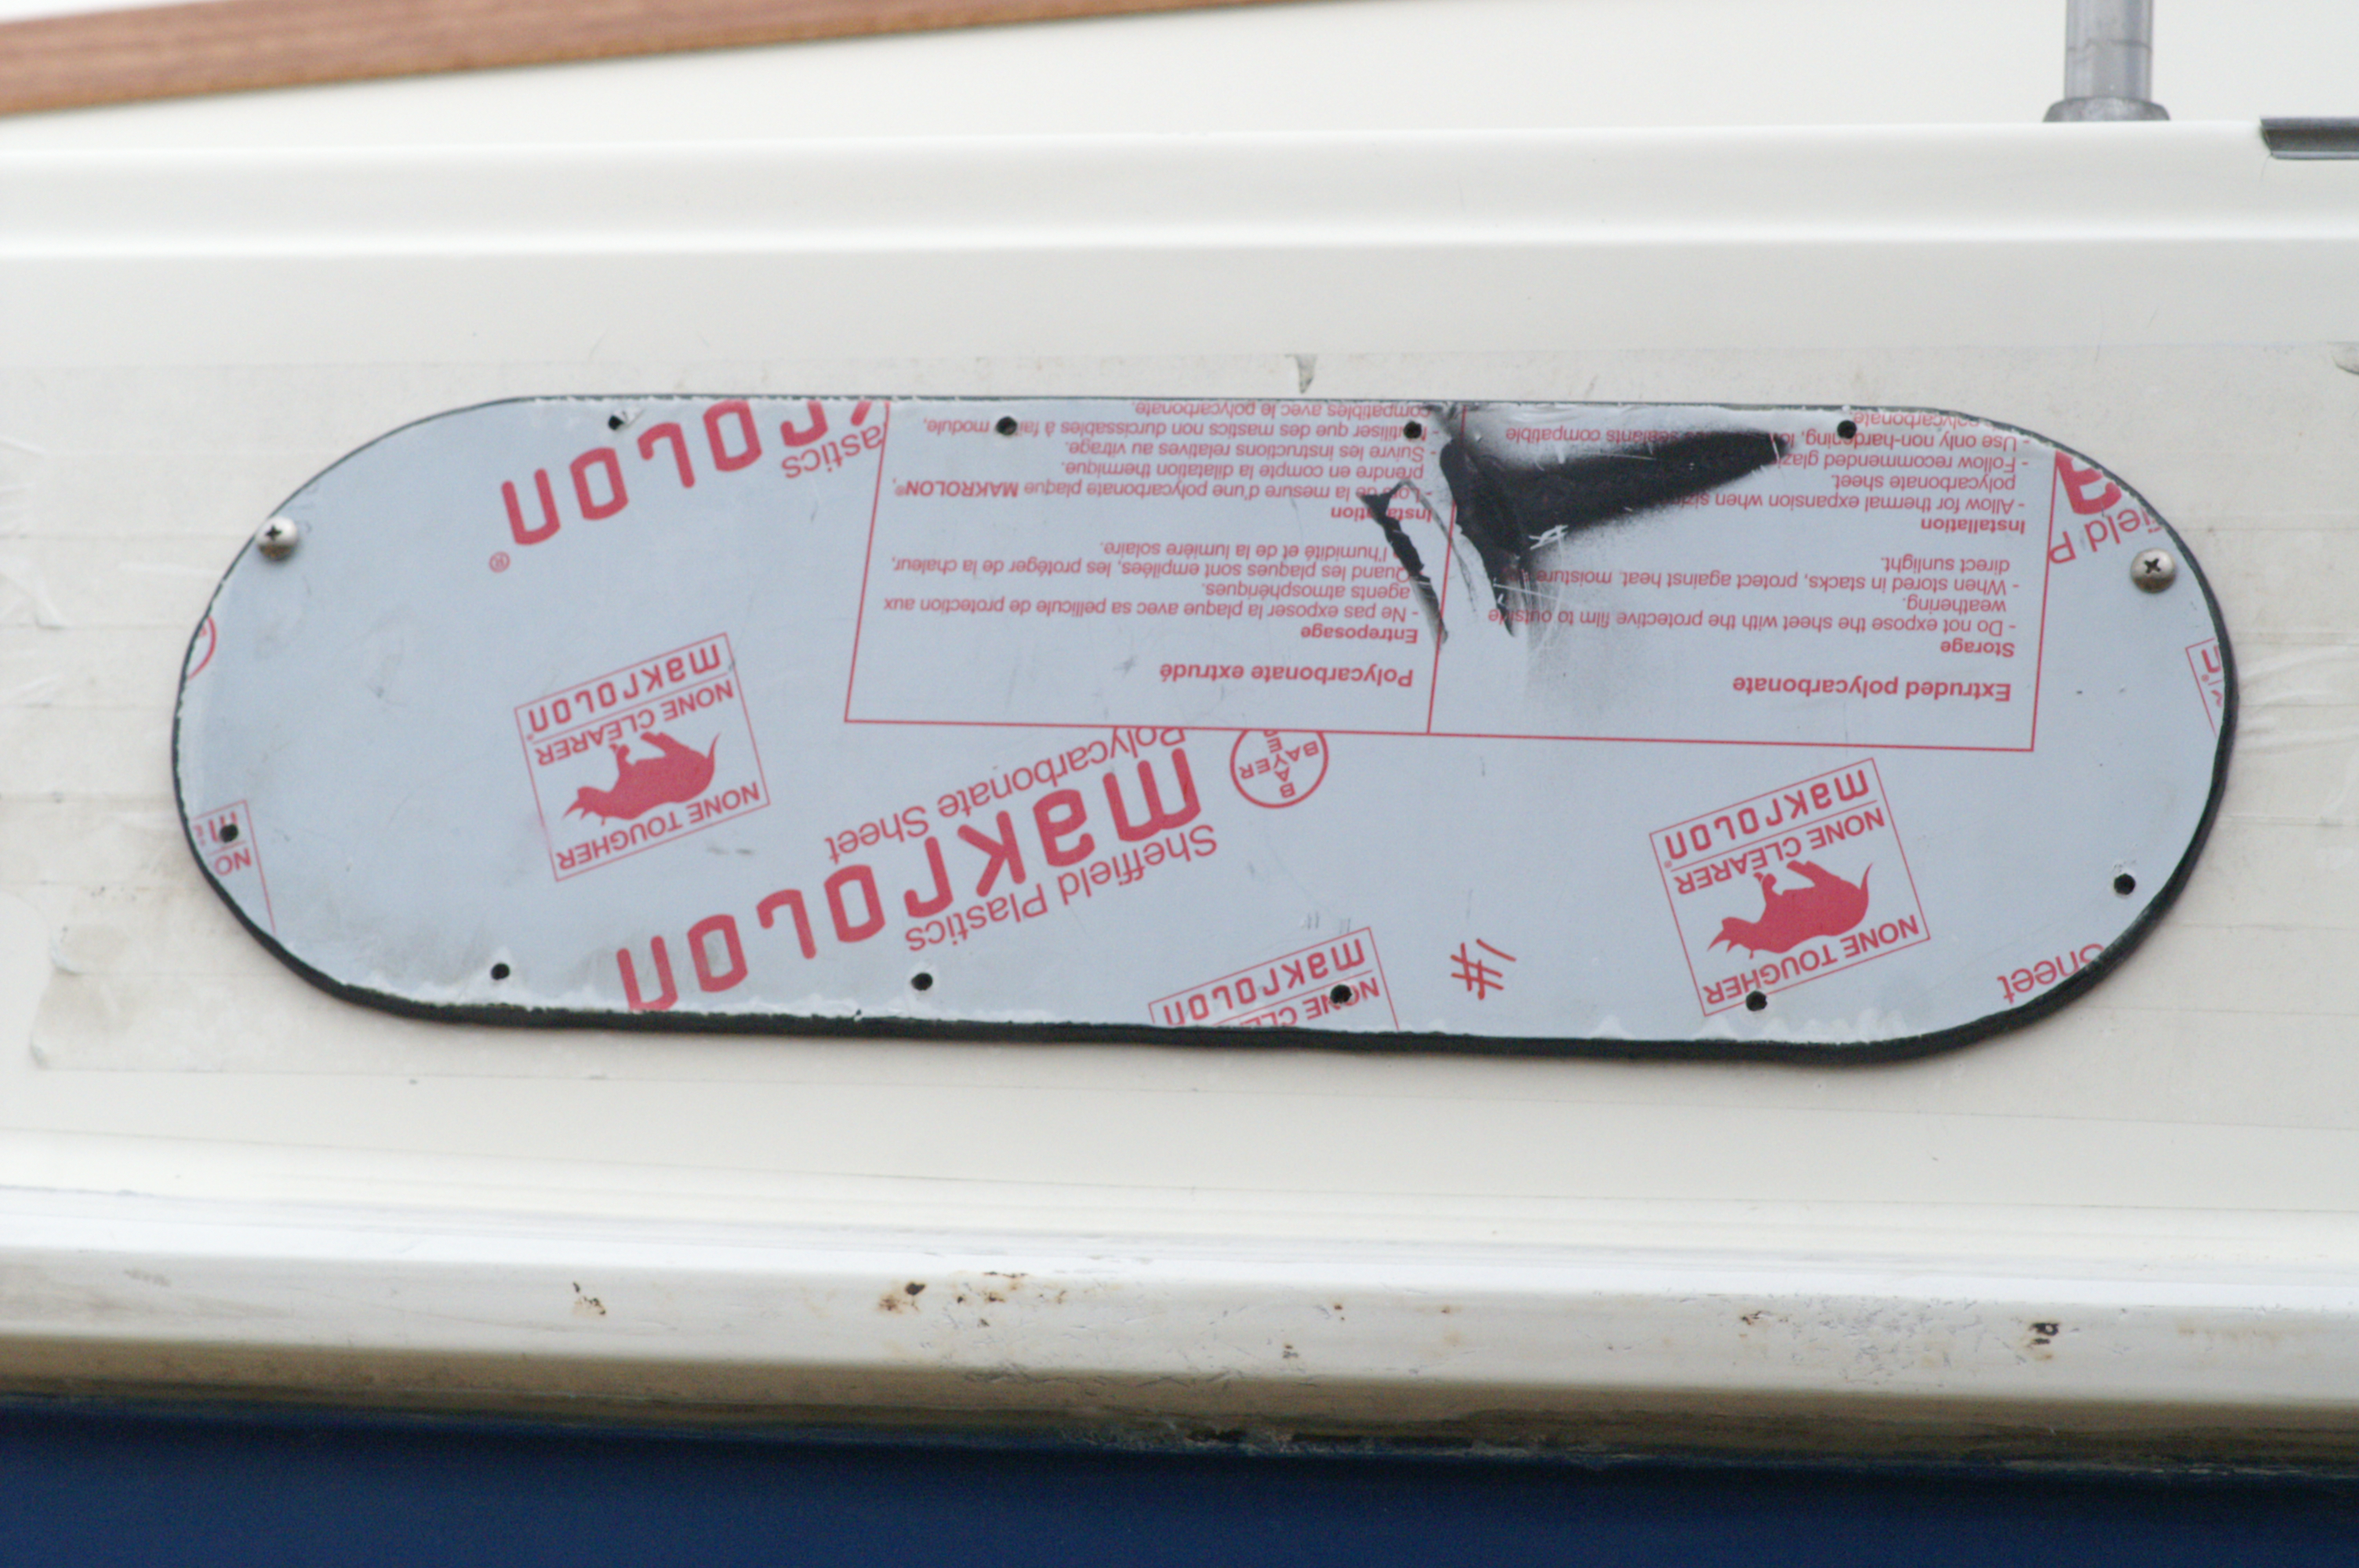
sure the bolts go through without to much binding. The lite is
Lexan (makrolon polycarbonate).
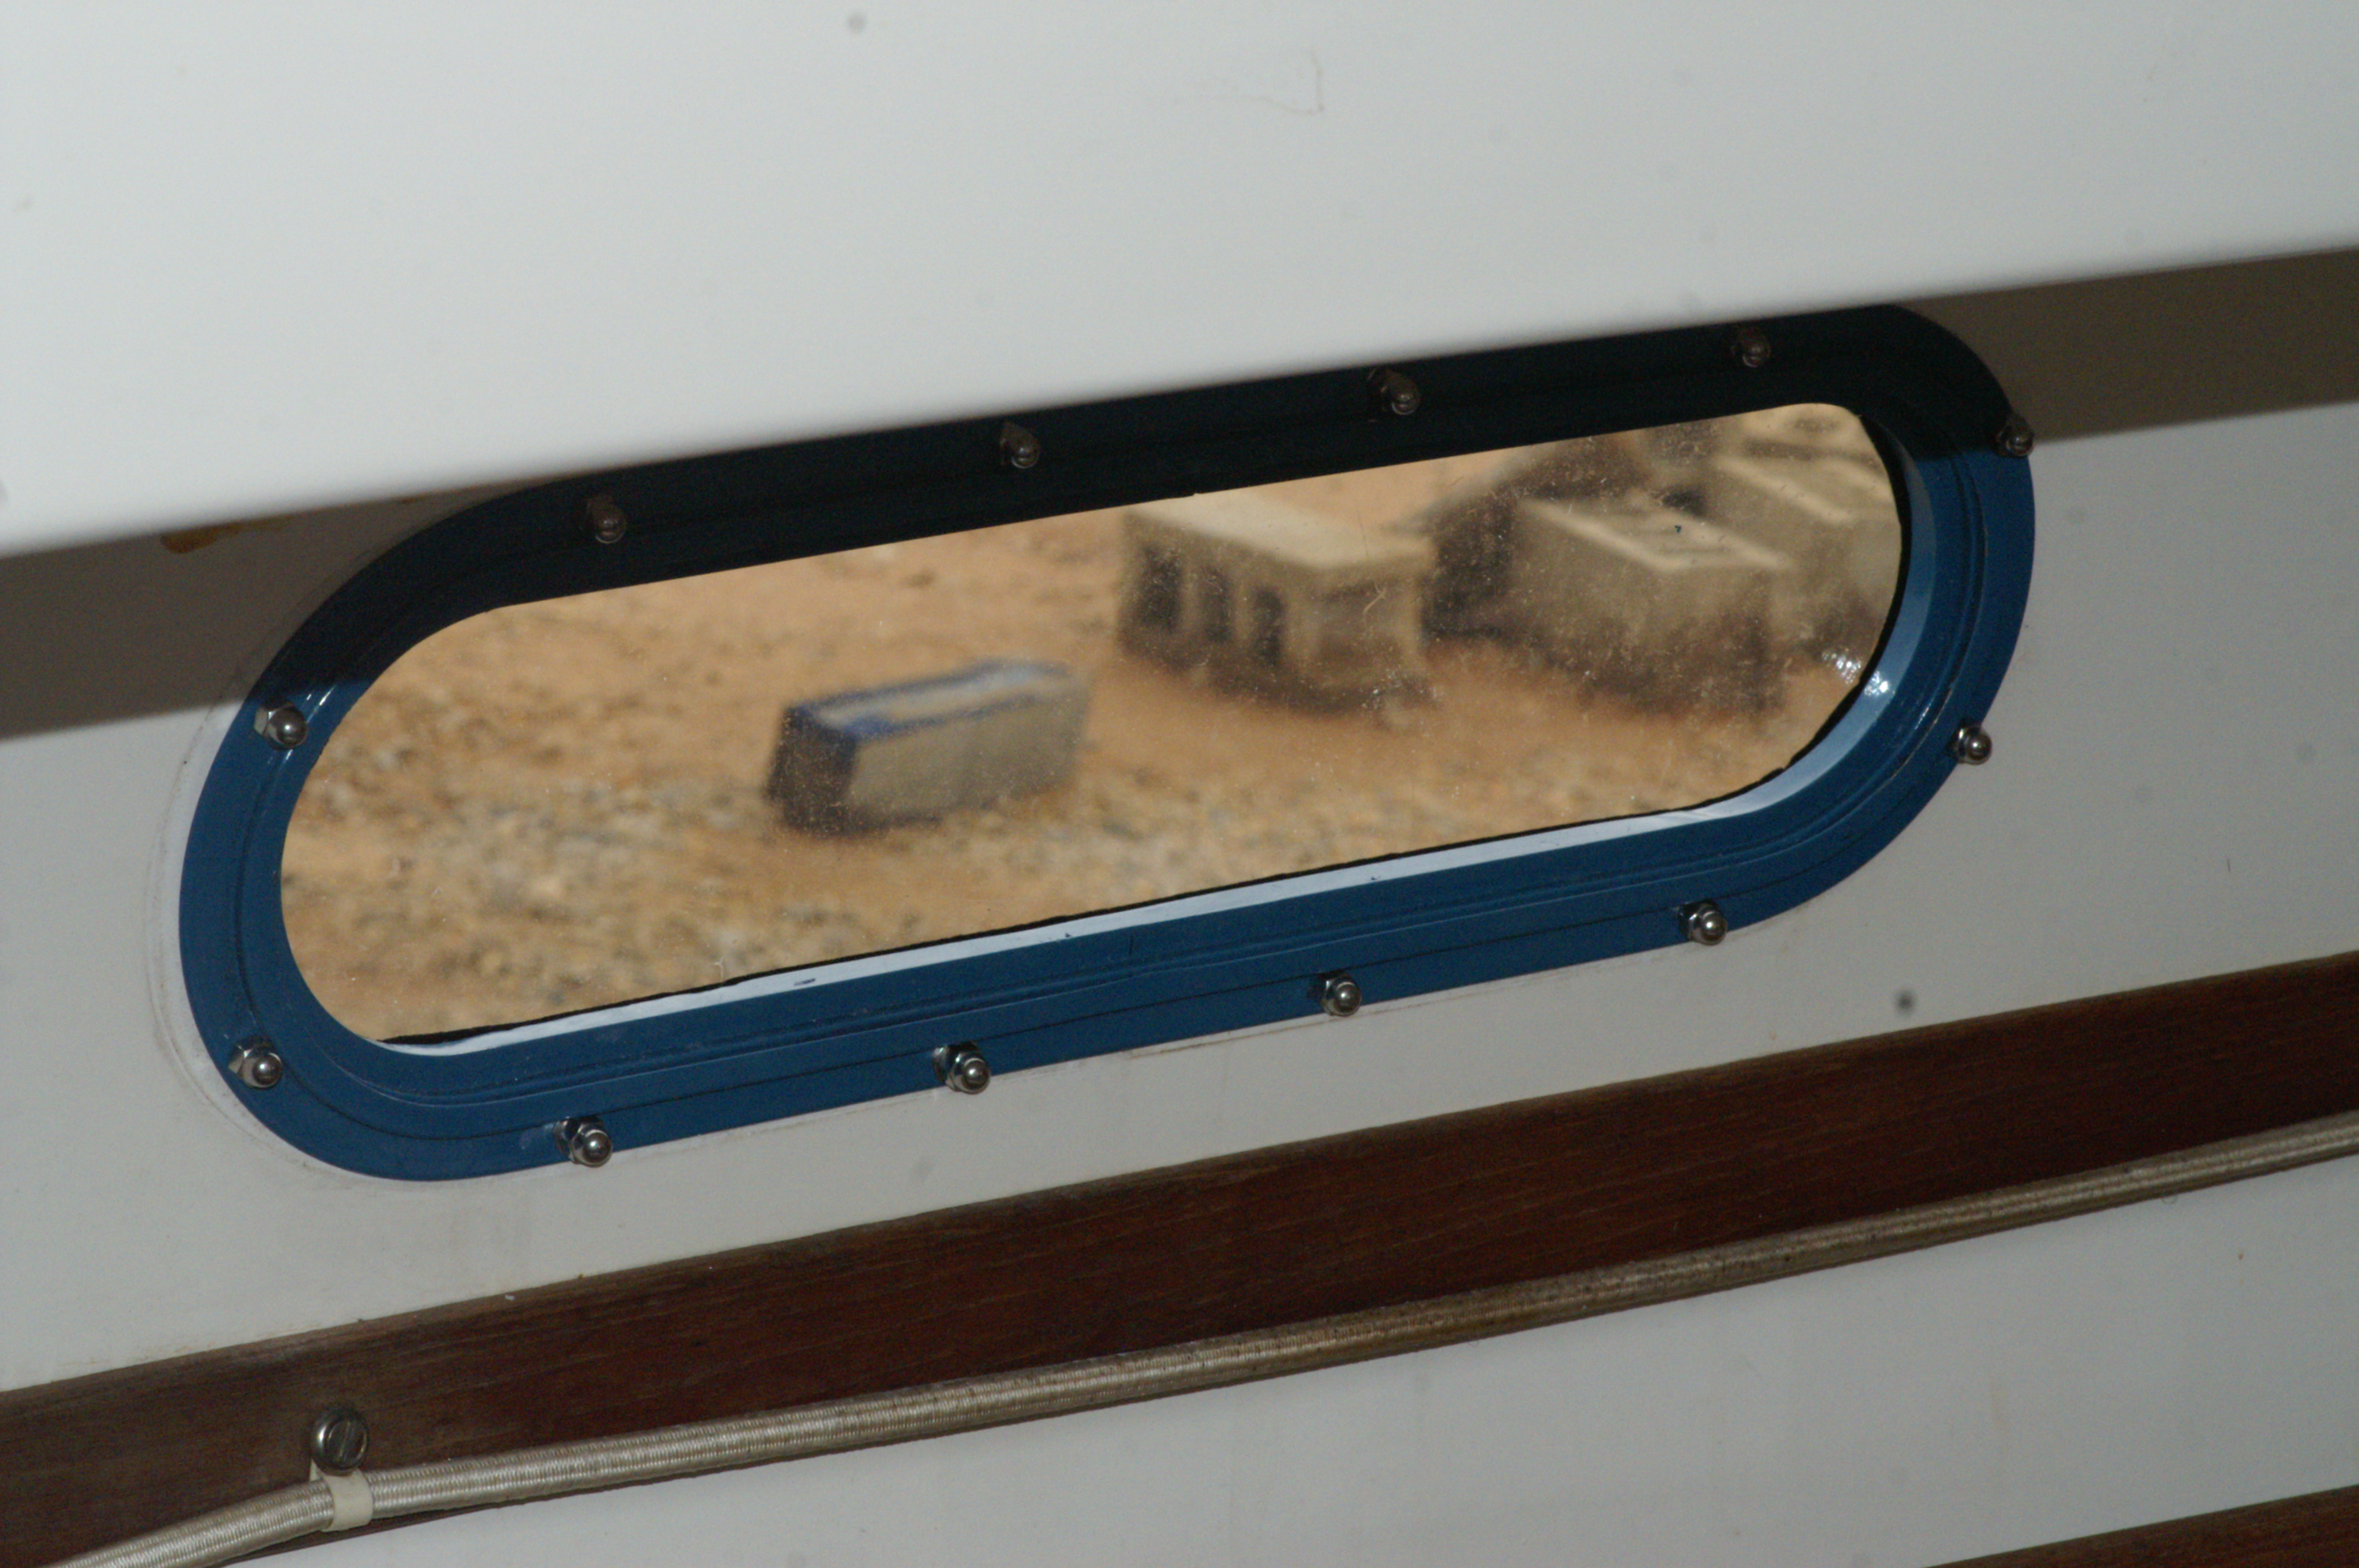
I
worked on the inside while Syd was on the outside driving the screws
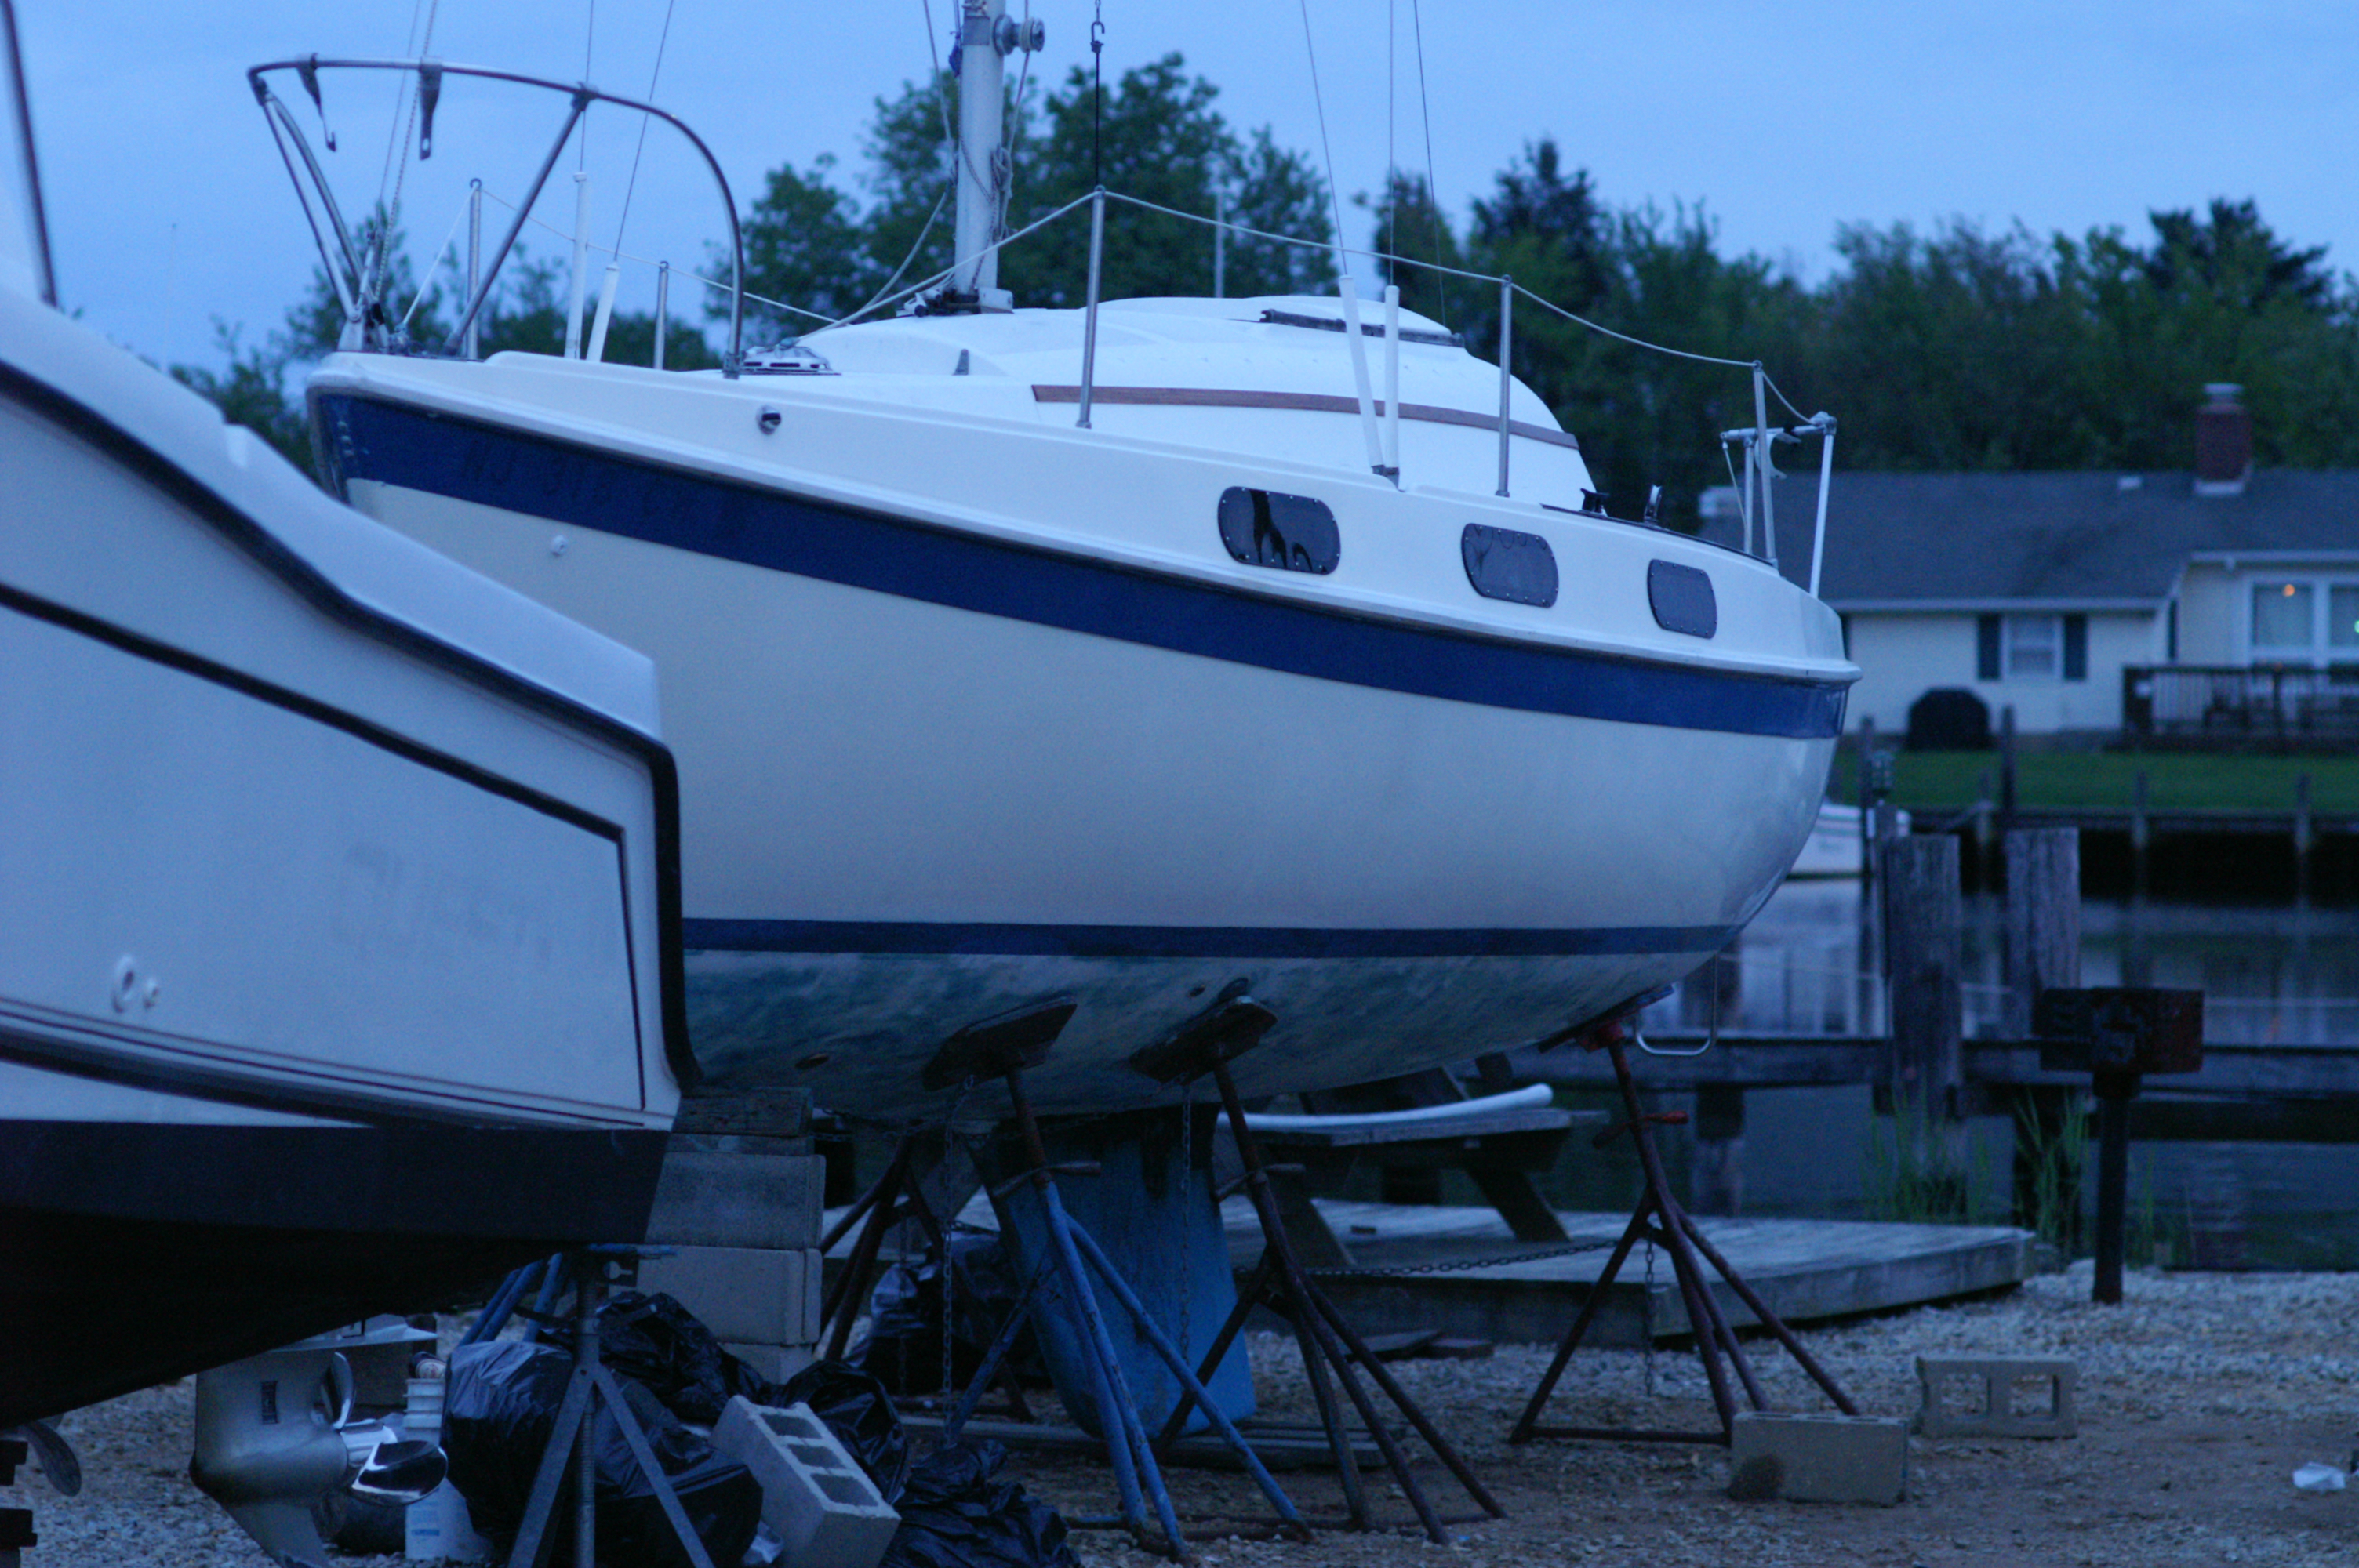
while I backed the cap nuts with a 3/8" open end wrench. The
finished window is seen here from the outside and inside. Notice
the painted mask is hardly visible unless there is light behind.